Removal Procedure
Caution: When replacing stationary windows, use Urethane Adhesive Kit GM P/N 12346392
(Canadian P/N 10952983), or a urethane adhesive system meeting GM Specification
GM3651G, to maintain original installation integrity. Failure to use the urethane
adhesive kit will result in poor retention of the window which may allow unrestrained
occupants to be ejected from the vehicle resulting in personal injury.
Caution: When working with any type of glass or sheet metal with exposed or rough
edges, wear approved safety glasses and gloves in order to reduce
the chance of personal injury.
Tools Required
| • | Adhesive Kit GM P/N 12346284 or equivalent |
| • | J 24402-A Glass Sealant Remover (Cold Knife), or equivalent |
| • | J 24402-15 Windshield Remover Blade, or equivalent (used
with cold Knife) |
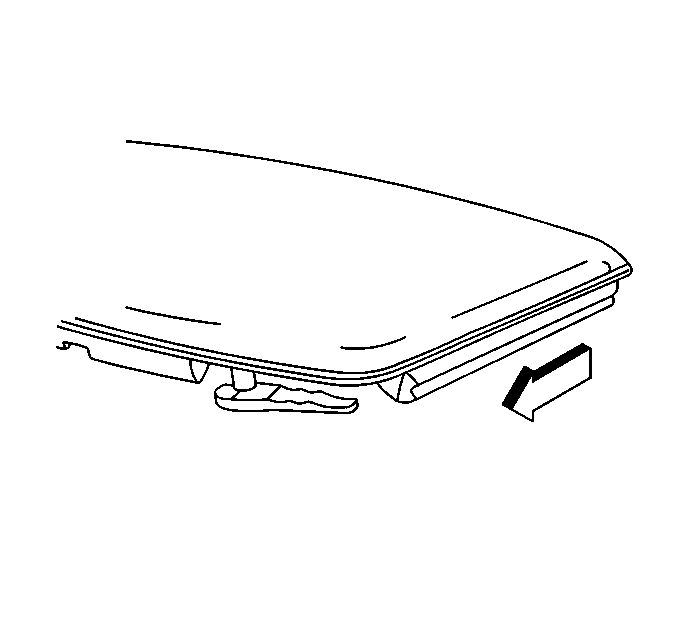
- Remove the roof panel.
Refer to
Roof Lift Off Panel Replacement
in Roof.
- Lower the door windows.
- Open the hood.
- Remove the windshield wiper arms and washer hoses. Refer to
Windshield Wiper Arm Replacement
in Wiper/Washer System.
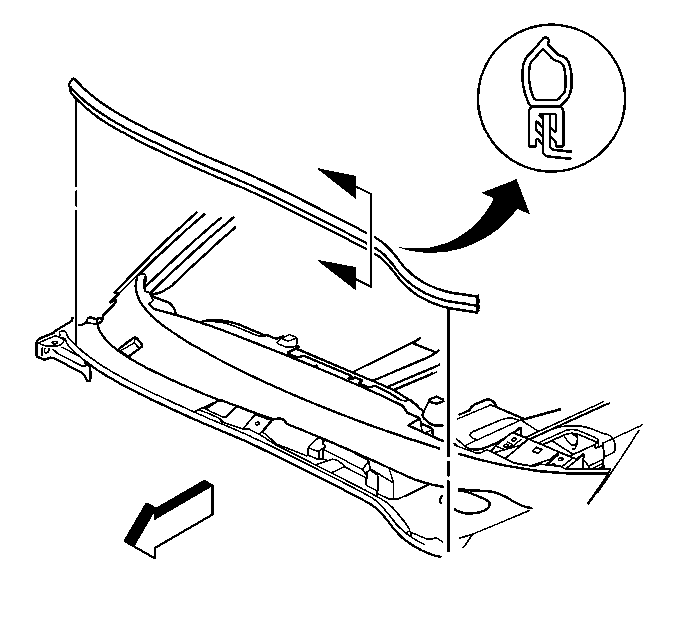
- Remove the plenum to hood
seal.
Hood Rear Seal Replacement
in Body Front End.
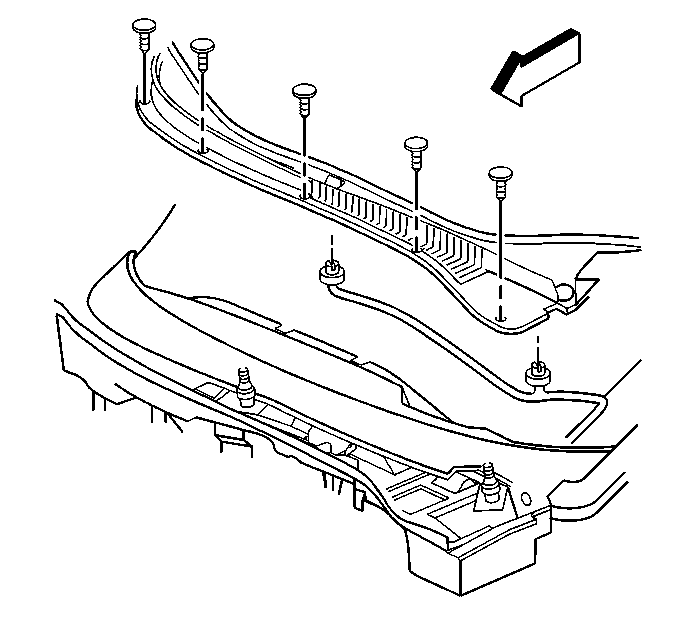
- Carefully remove the air
inlet plenum screen panel. Refer to
Plenum Panel Screens
in Body Front End.
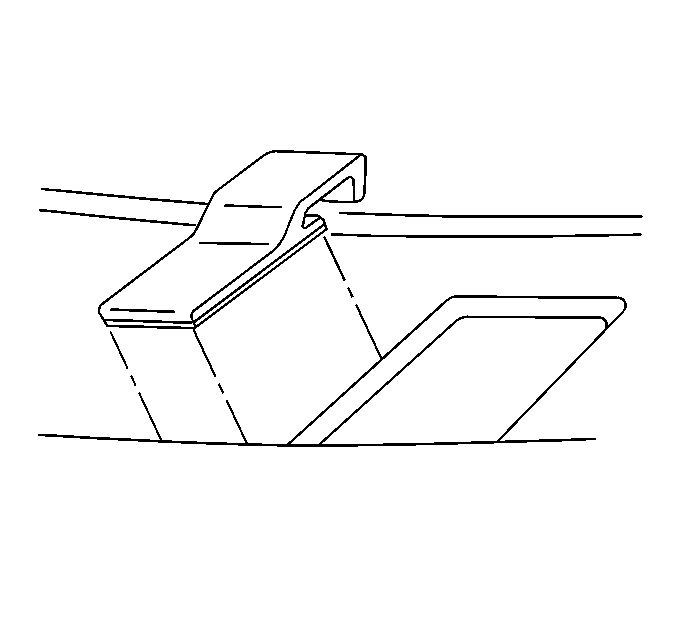
- Reposition the lower stops
away from the windshield.
- Cover the vehicle interior
in order to protect from broken glass.
- Tape over the defogger vent.
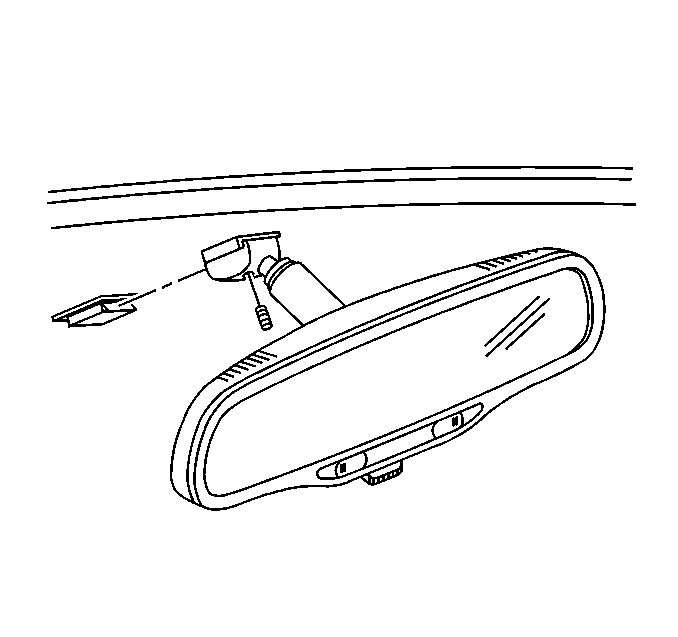
- Remove the inside rearview mirror. Refer to
Inside Rearview Mirror Replacement
.
- Disconnect the antenna lead connection.
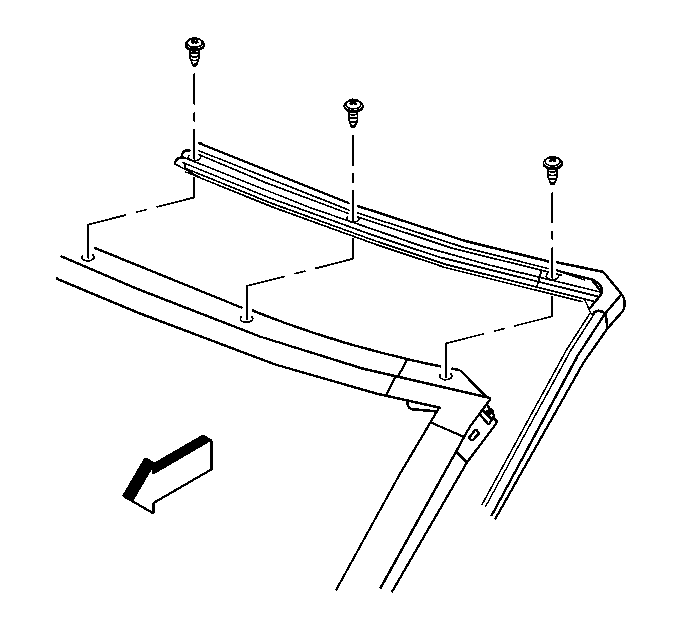
- Remove the windshield
weatherstrip. Refer to
Weatherstrip Side Retainer Replacement
.
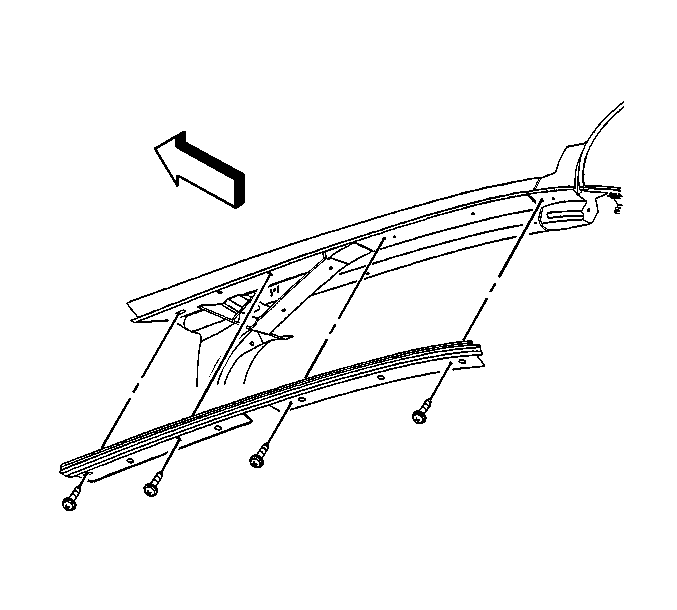
- Remove the windshield
side reveal moldings. Refer to
Windshield Side Reveal Molding Replacement
.
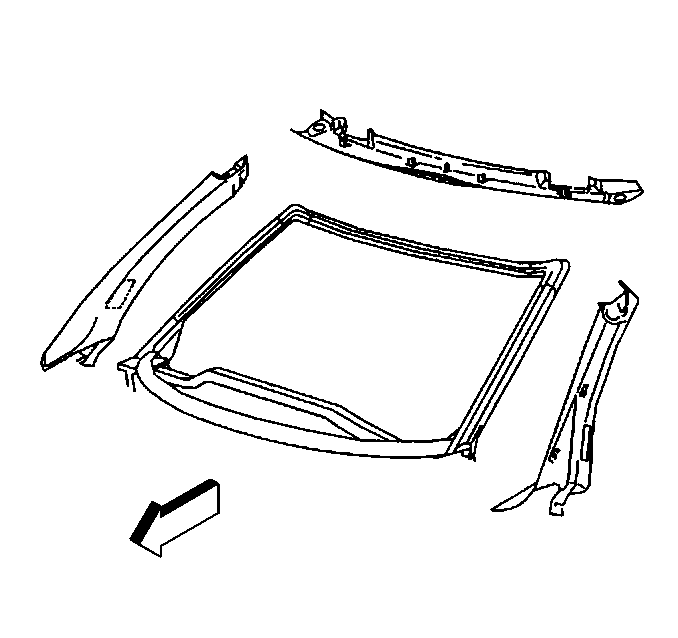
- Remove the windshield
side and upper garnish molding. Refer to
Windshield Upper Garnish Molding Replacement
.
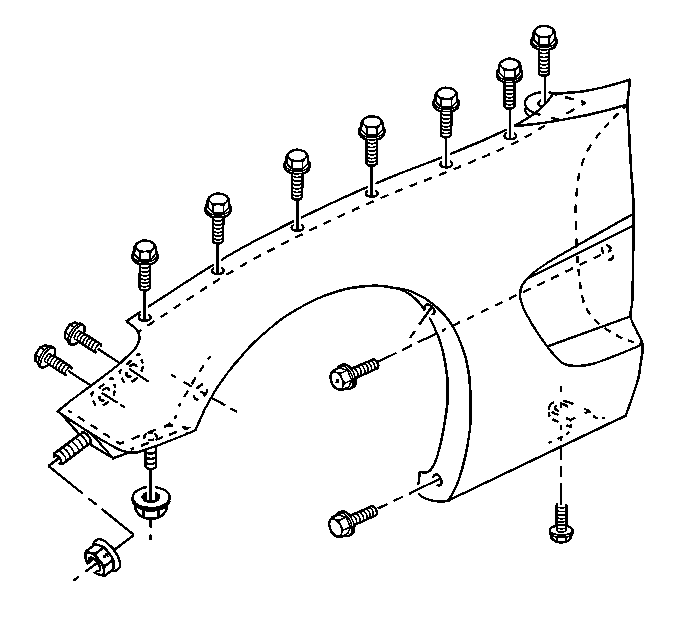
- Remove the 4 rearmost screws attaching the top of the fender to the
wheelhouse.
- Reposition the fender.
- Tape or otherwise protect the fender from the cutting tool.
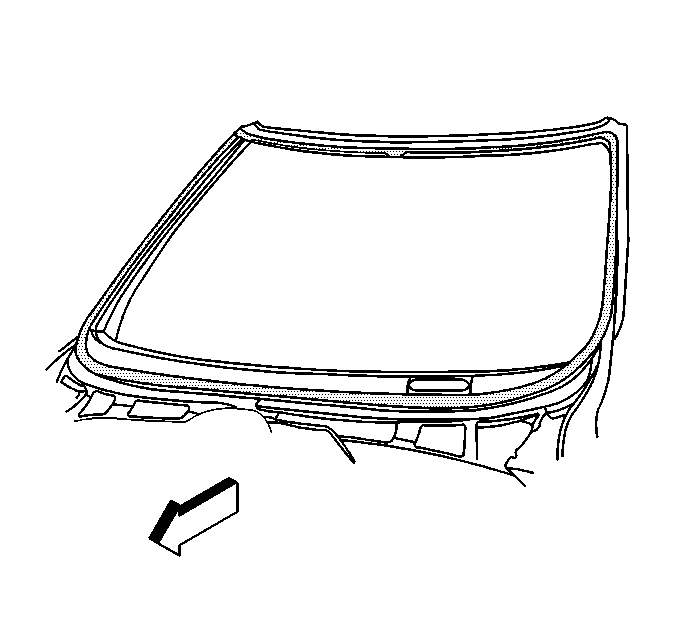
Important: Do not damage the VIN plate when cutting through the urethane.
- Cut around the periphery of the windshield.
| • | Cut as close to the inside of the windshield as possible. |
| • | Use a cold knife, a pneumatic knife, or a steel music wire with
wooden handles. |
| • | Leave 6.0 mm (0.25 in) of adhesive on the pinch-weld. |
- Remove the windshield from the body opening.
- Vacuum the inside and outside of the vehicle including the vents
to remove all traces of shattered glass.
- Remove any old adhesive from a reusable windshield.
Installation Procedure
Caution: When replacing stationary windows, use Urethane Adhesive Kit GM P/N 12346392
(Canadian P/N 10952983), or a urethane adhesive system meeting GM Specification
GM3651G, to maintain original installation integrity. Failure to use the urethane
adhesive kit will result in poor retention of the window which may allow unrestrained
occupants to be ejected from the vehicle resulting in personal injury.
Caution: When working with any type of glass or sheet metal with exposed or rough
edges, wear approved safety glasses and gloves in order to reduce
the chance of personal injury.
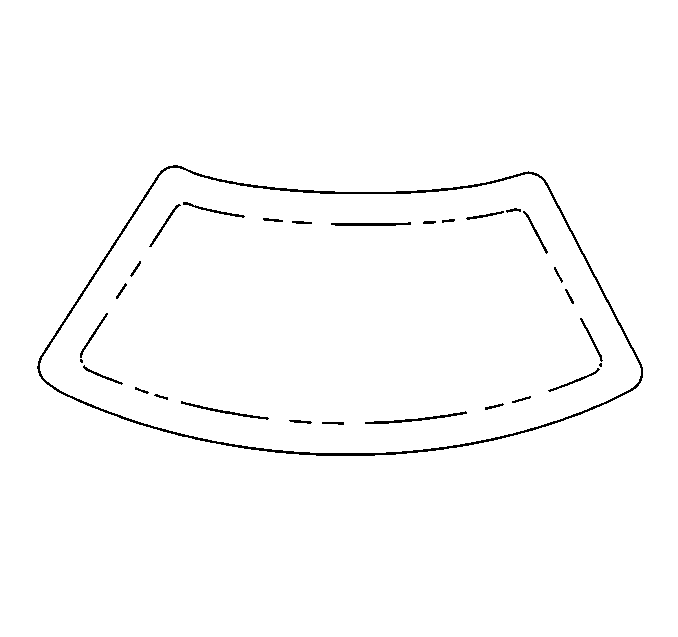
- Inspect the acoustic strip
on the dash panel and replace if necessary.
- Using suction cup holders, position the replacement windshield
in the body opening.
- Carefully inspect the windshield overlap at the body pinch-weld
and the retaining flanges all the way around the body opening.
Specifications
Minimum overlap is 5.0 mm (0.19 in).
- Mark the windshield position at the following locations using
tape:
- Cut the tape.
- Remove the windshield from the body opening.
- Place the windshield on a protected surface.
- Thoroughly clean the replacement windshield surface to which urethane
is to be applied with an alcohol dampened cloth. Allow the alcohol coated
surface to air dry.
- Apply Clear Glass Prep #1 with a dauber to the edge and inner
100 mm (2 in) of the perimeter of the windshield surface and
wipe the surface dry with a clean cloth.
Important:
| • | Urethane will not bond to the windshield unless Black Primer #2
has been applied to the windshield. |
| • | DO NOT apply Black Primer #2 to existing urethane. |
- Apply Black Glass Primer #2 with a dauber to the edge and inner 100 mm
(2 in) of the windshield surface and allow the surface to dry for
approximately 6 to 10 minutes.
- Cut a notch in the side of the caulking tip 4 mm (3/16 in)
high and wide.
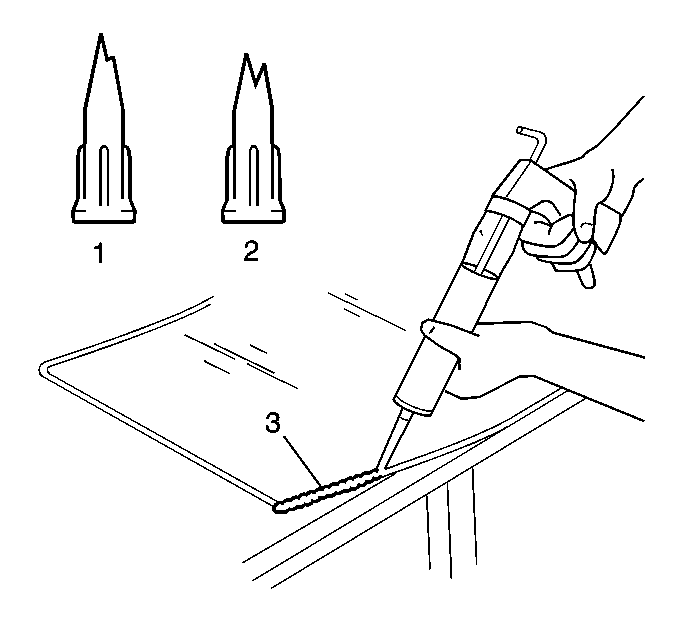
- Apply the windshield adhesive
using a caulking gun:
| • | Hold the gun perpendicular to the surface. |
| • | Apply a smooth continuous 4.0 mm (0.17 in) bead
of adhesive directly to the old adhesive in the body opening. |

- Apply a smooth continuous
4.0 mm (0.17 in) bead of adhesive directly to the old adhesive
in the body opening.

- Install the windshield:
| 14.1. | Position the windshield in the body opening. |
| 14.2. | Hand press around the windshield periphery. Paddle the urethane
as needed. |
| 14.3. | Tape the windshield into place. |

- Adjust the windshield
stops.
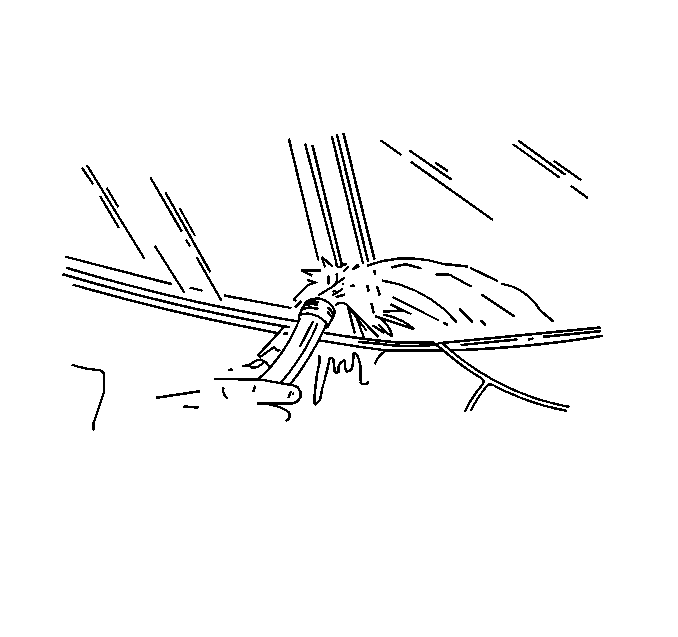
- Water test the windshield
immediately.
| • | Use warm or hot water to accelerate the cure of the urethane adhesive. |
| • | DO NOT direct a hard stream of high pressure water at the fresh
urethane adhesive. |
| • | If leaks are found, apply extra urethane at the leak points using
a plastic paddle and then retest. |

- Install the windshield
side reveal moldings. Refer to
Windshield Side Reveal Molding Replacement
.

- Install the windshield
weatherstrip. Refer to
Weatherstrip Side Retainer Replacement
.

- Install the air intake
plenum screen. Refer to
Plenum Panel Screens
in Body Front End.

- Install the plenum to
hood seal.
- Install the windshield wiper arms and washer hoses. Refer to
Windshield Wiper Arm Replacement
in Wiper/Washer Systems.
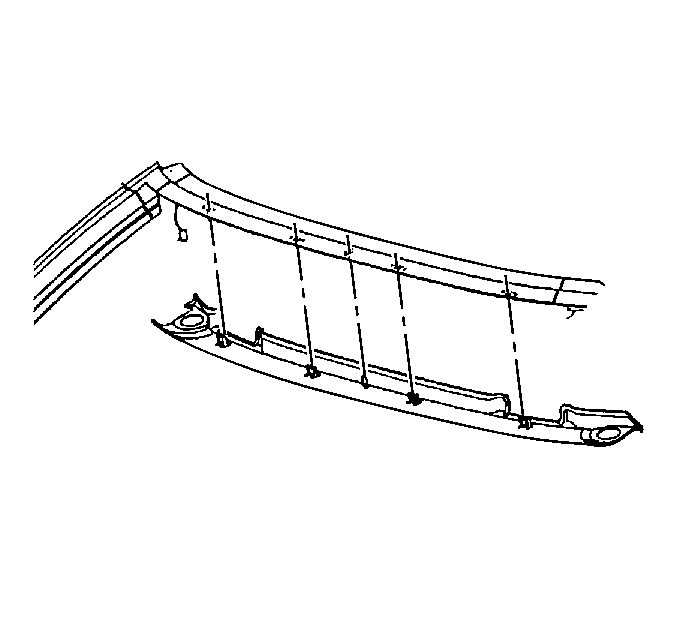
- Install the windshield
upper garnish molding. Refer to
Windshield Upper Garnish Molding Replacement
.

- Install the mirror. Refer
to
Inside Rearview Mirror Replacement
.
- Leave the door windows open.
- Close the hood.
- Allow the windshield adhesive to cure.
Specifications
| • | Minimum Curing time is 6 hours |
| • | Optimum Curing temperature is 22°C (72°F) |
| • | DO NOT use Compressed air to cure (dry) the urethane adhesive. |
| • | DO NOT drive the vehicle until the urethane is cured. |


