Intake Manifold Replacement Upper
Removal Procedure
- Disconnect both the battery negative cables from the batteries. Refer to Battery Cable in Engine Electrical.
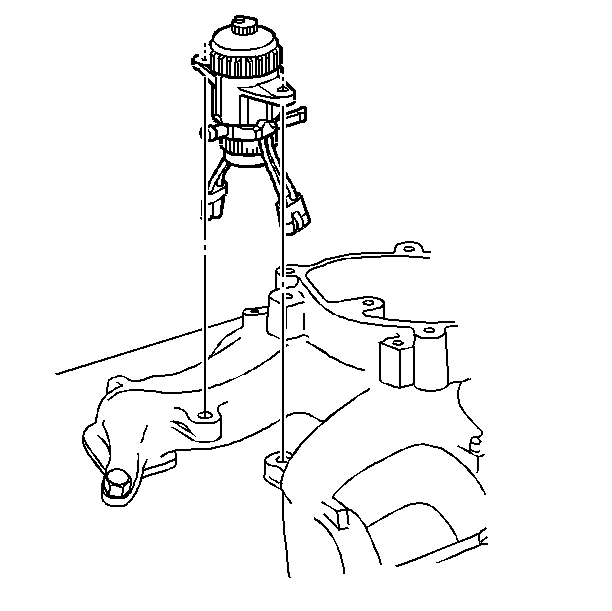
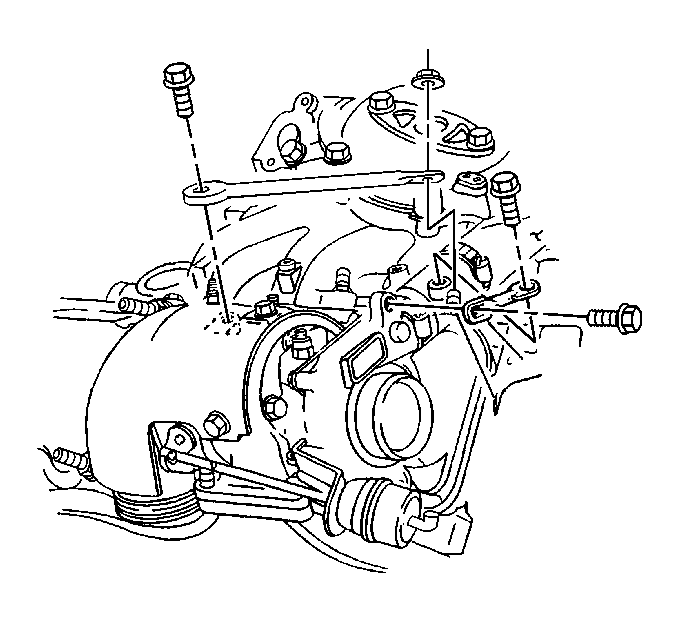
- Remove the upper intake manifold cover from the upper intake manifold.
- Remove the brace (long for the L 65 and short for the L 56) from the turbocharger to the upper intake manifold. Refer to Turbocharger Replacement .
- Remove the boost pressure sensor from the upper intake manifold. Refer to Boost Sensor Replacement in Engine Controls 6.5L.
- Remove the intake air temperature sensor from the upper intake manifold. Refer toIAT Sensor Replacement in Engine Controls 6.5L.
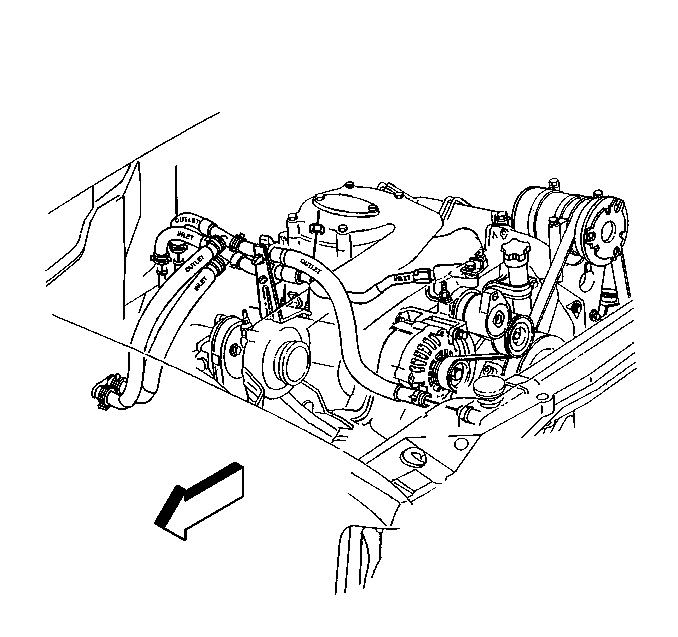
- Loosen the clamps on the hose between the turbocharger and the upper intake manifold.
- Loosen the hose connecting the upper intake manifold and the turbocharger.
- Remove the EGR Valve (L 56 only) from the upper intake manifold. Refer to Exhaust Gas Recirculation Valve Replacement in Engine Controls-6.5L.
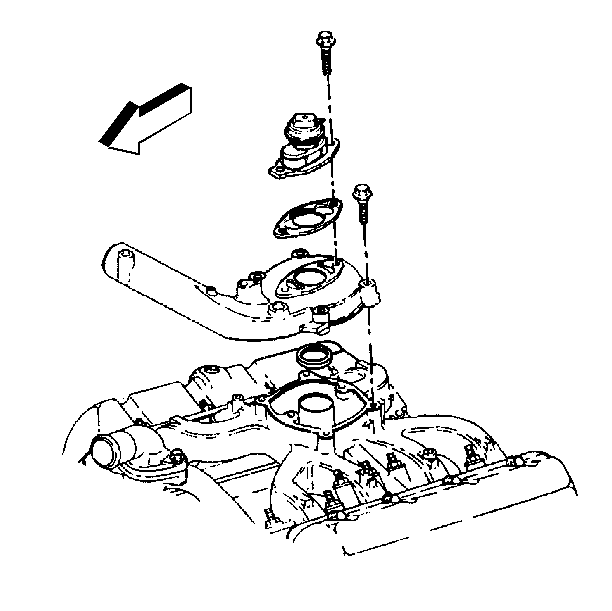
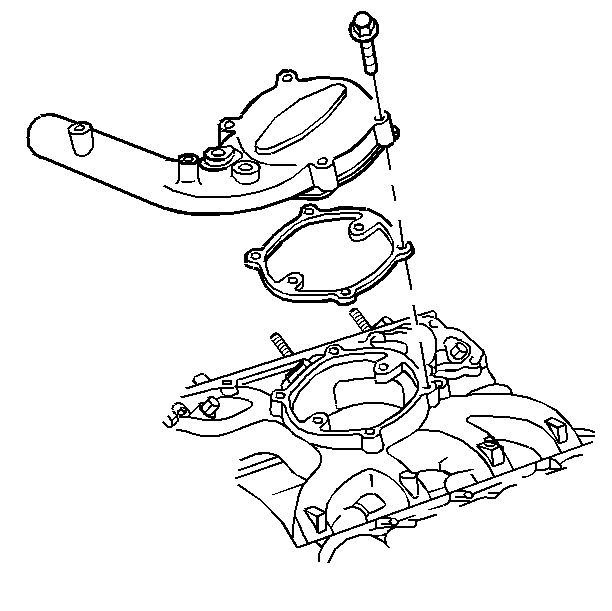
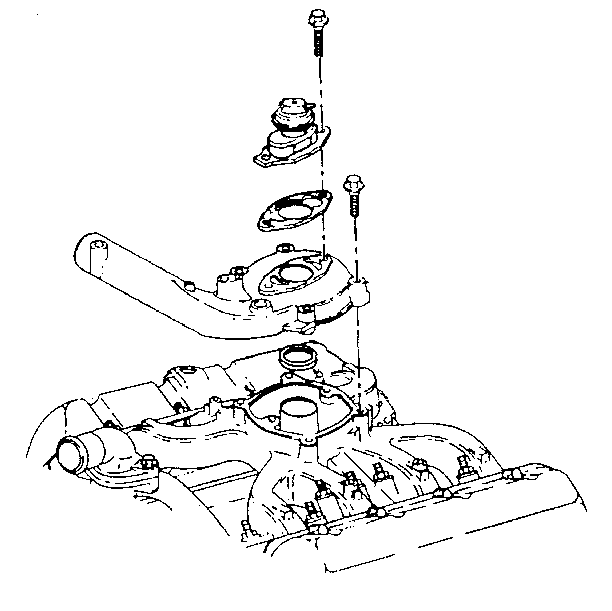
- Remove the upper intake manifold bolts from the lower intake manifold.
- Remove the upper intake manifold and the gasket from the lower intake manifold.
- Remove the upper intake manifold (L 65 shown) gasket from the lower intake manifold gasket.
- Remove the upper intake manifold (L 56) gasket from the lower intake manifold gasket.
- Remove the EGR valve sealing gasket (L 56 only) from the lower intake manifold.
Important: In order to loosen the sealer, run a small screw driver (flat blade) between the hose and the upper intake manifold. Use caution as not to damage the hose.
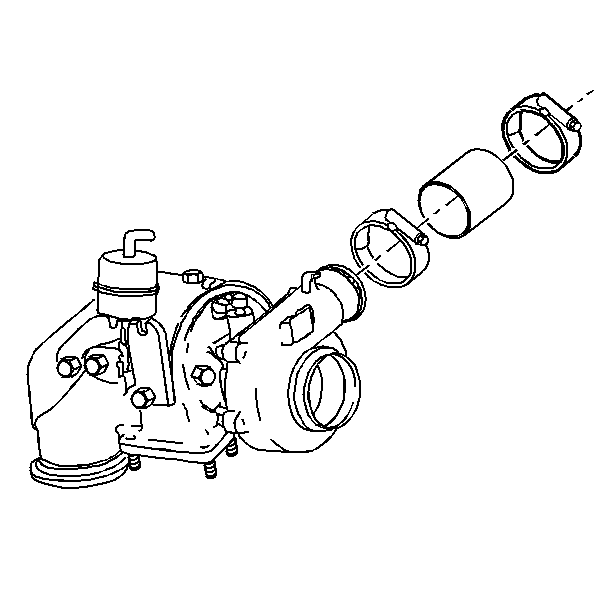
Important: When removing the upper intake manifold, rotate the upper intake manifold in a downward then in a upward motion to help loose the silicone sealant on the air intake hose.
Installation Procedure
Important: When servicing the upper intake manifold, always replace the upper intake gasket fold gasket for the L 56, always replace the sealing gasket between the upper and lower intake manifolds. Failure to replace this sealing gasket will cause a driveability problem.
The L 56 and L 65 upper intake manifold gaskets are not interchangeable.- Apply a small amount of silicone sealer to the turbocharger inlet and the upper intake manifold.
- Install the air hose and clamps on the turbocharger.
- Install the new upper intake (L 56) manifold gasket on the lower intake manifold.
- Install the sealing gasket for the EGR valve on the lower intake manifold.
- Install the upper intake (L 65) manifold gasket on the lower intake manifold.
- Install the mounting bolts in the upper intake manifold.
- Insert upper intake manifold into the air intake hose the air intake hose.
- Install the EGR valve and gasket to the upper intake manifold (L 56 only). Refer to Exhaust Gas Recirculation Valve Replacement in Engine Controls-6.5L.
- Install the boost pressure sensor on the upper intake manifold. Refer to Boost Sensor Replacement in Engine Controls 6.5L.
- Install the intake air temperature sensor to the upper intake manifold. Refer to IAT Sensor Replacement in Engine Controls 6.5L.
- Install the brace (long for the L 65 and short for the L 56) from the turbocharger to the upper intake manifold. Refer to Turbocharger Replacement .
- Install the upper engine cover to the upper intake manifold.
- Connect both the battery negative cables to the batteries. Refer to Battery Cable in Engine Electrical.
Notice: Use the correct fastener in the correct location. Replacement fasteners must be the correct part number for that application. Fasteners requiring replacement or fasteners requiring the use of thread locking compound or sealant are identified in the service procedure. Do not use paints, lubricants, or corrosion inhibitors on fasteners or fastener joint surfaces unless specified. These coatings affect fastener torque and joint clamping force and may damage the fastener. Use the correct tightening sequence and specifications when installing fasteners in order to avoid damage to parts and systems.
Tighten
Tighten the bolts to 23 N·m (17 lb ft).
Tighten
Tighten the clamps to 6 N·m (50 lb in).
Intake Manifold Replacement Lower
Removal Procedure
- Disconnect both the battery negative cables from the batteries. Refer to Battery Cable in Engine Electrical.
- Remove the upper intake manifold from the lower intake manifold. Refer to Intake Manifold Replacement .
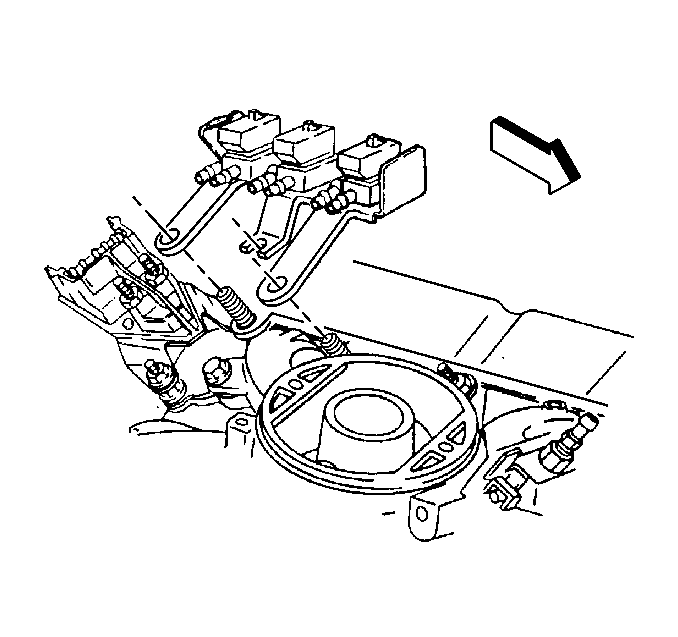
- Remove the fuel filter from the lower intake manifold and position to the side.
- Remove the Glow Plug Relay from the lower intake manifold. Refer to Glow Plug Relay Replacement in Engine Controls 6.5L.
- Remove the EGR/Boost solenoids (L 56 only) with the bracket from the intake manifold studs.
- Remove the heater hose and bracket from the cylinder head. Refer to Heater Hoses Replacement in HVAC.
- Remove the heater hose and bracket from the cylinder head (if vehicle is equipped with rear heat). Refer to Heater Hoses Replacement - Auxiliary in HVAC.
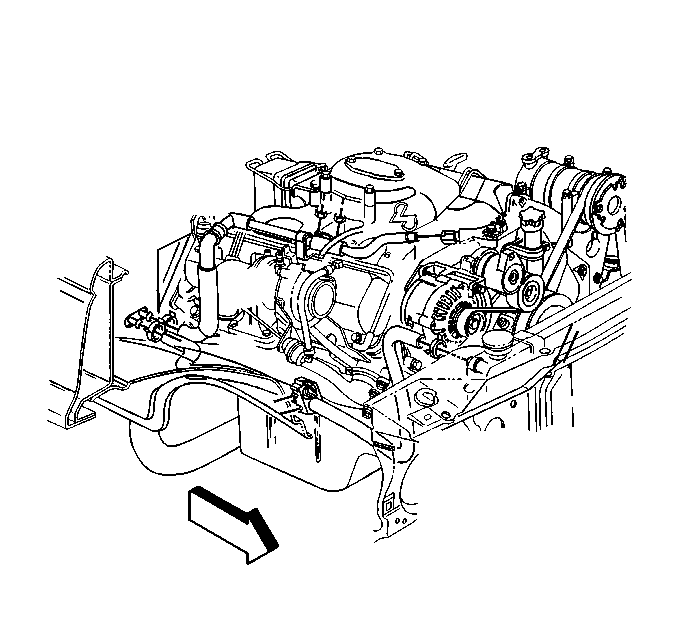
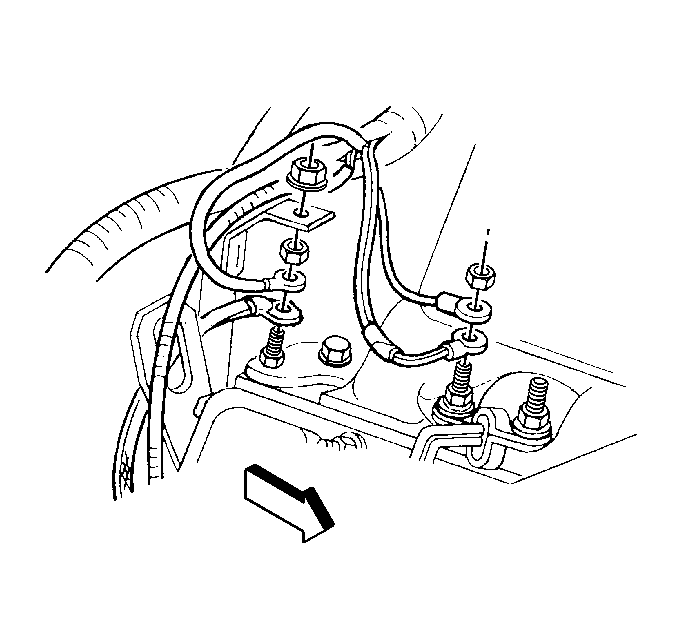
- Remove the ground straps from the right rear corner of the lower intake manifold.
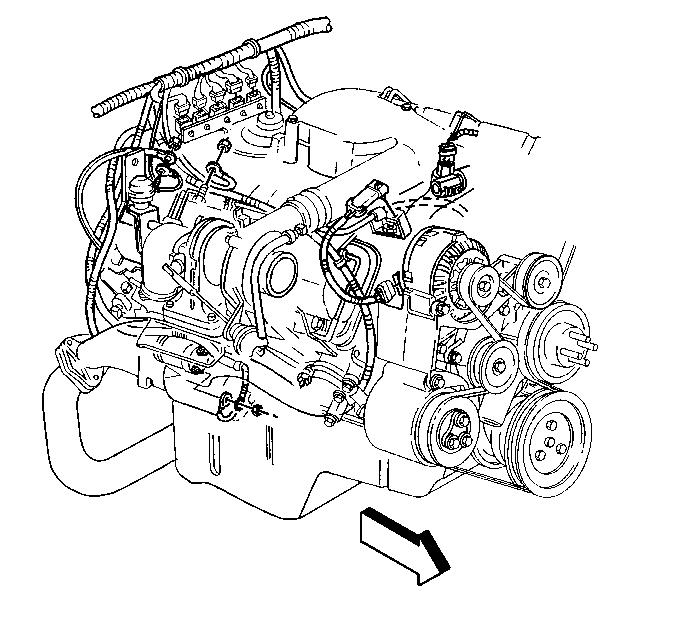
- Disconnect the engine wiring harness (if needed) and secure out of the way.
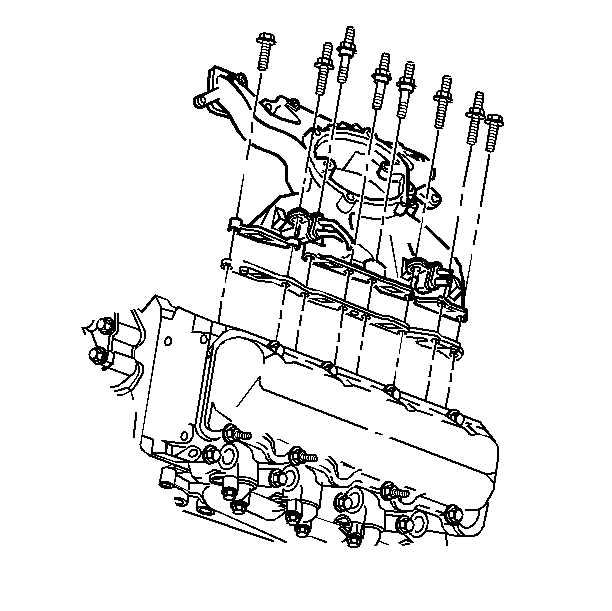
- Remove the lower intake manifold bolts from the cylinder head.
- Remove the lower intake manifold and the gasket from the cylinder heads.
- Clean and check the sealing surfaces of the cylinder head and the engine block.
Installation procedure
Important: Be sure to use the correct gasket. The gasket for the L 56 models have openings for the EGR Valve, the gaskets for the L 65 models do not have openings.
- Install the lower intake manifold gasket to the cylinder head.
- Install the lower intake manifold to the cylinder head.
- Install the lower intake manifold bolts to the cylinder head.
- Install the EGR/Boost solenoids (L 56 only) with the bracket to the intake manifold studs.
- Install the Glow Plug Relay to the lower intake manifold. Refer to Glow Plug Relay Replacement in Engine Controls-6.5L.
- Install the grounds straps to the right rear of the cylinder head.
- Install the engine wiring harness (right side).
- Install the heater hose and bracket to the cylinder head (if the vehicle is equipped with rear heat). Refer to Heater Hoses Replacement - Auxiliary in HVAC.
- Install the fuel filter to the lower intake manifold.
- Install the upper intake manifold (L 56 shown) to the lower intake. Refer to Intake Manifold Replacement .
- Connect both the battery negative cables to the batteries. Refer to Battery Cable in Engine Electrical.
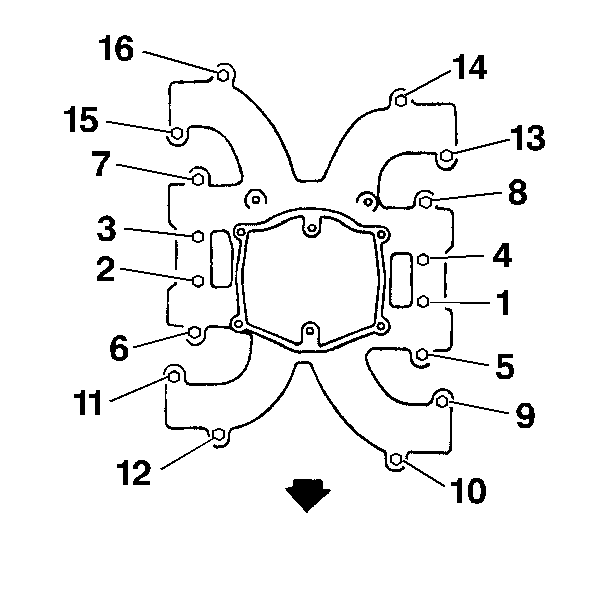
Important: There are four stud/bolts, numbers 9, 11, 13, and 15 exposed to the crankcase, and should be sealed with Teflon sealer. Apply thread locker GM P/N 12345493 to the threads of bolts and studs numbers 1 through 8 and 10, 12, 14, and 16.
Notice: Use the correct fastener in the correct location. Replacement fasteners must be the correct part number for that application. Fasteners requiring replacement or fasteners requiring the use of thread locking compound or sealant are identified in the service procedure. Do not use paints, lubricants, or corrosion inhibitors on fasteners or fastener joint surfaces unless specified. These coatings affect fastener torque and joint clamping force and may damage the fastener. Use the correct tightening sequence and specifications when installing fasteners in order to avoid damage to parts and systems.
Tighten
Tighten the bolts to 42 N·m (31 lb ft).