For 1990-2009 cars only
Removal Procedure
- Disconnect the negative battery cable.
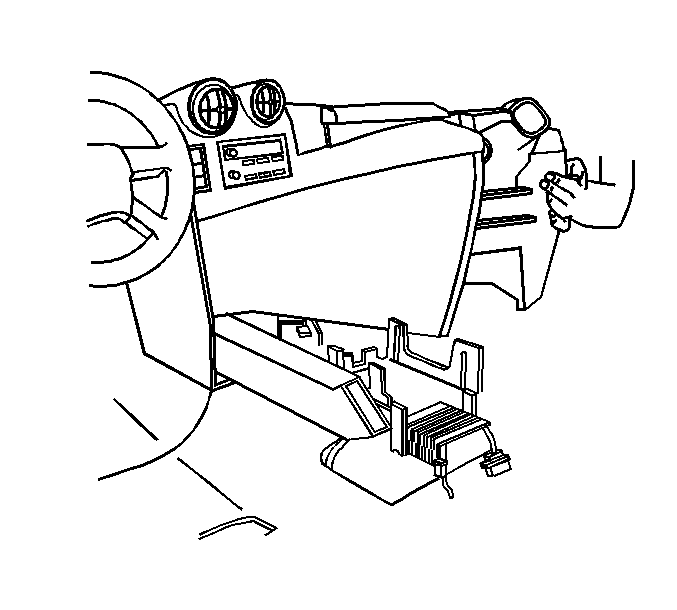
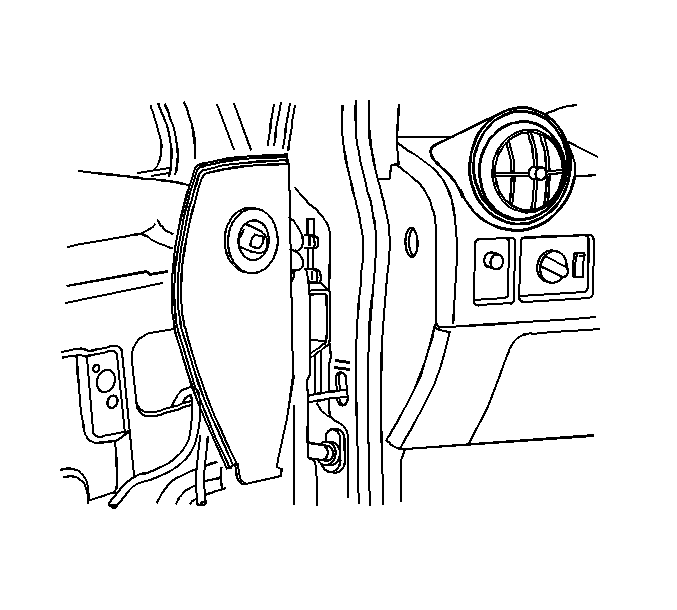
- Remove the passenger insulator. Refer to Instrument Panel Insulator Replacement .
- Disconnect the brake release lever from the instrument panel (I/P).
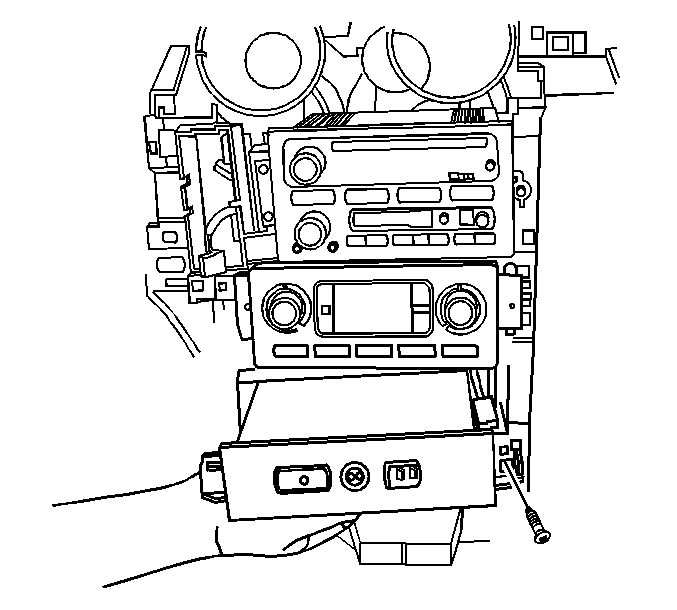
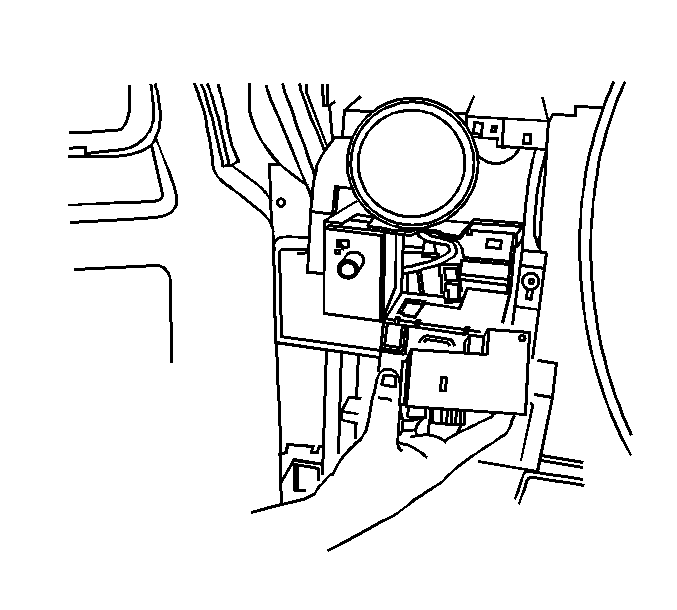
- Remove the screws from the data link connector.
- Remove the data link connector from the I/P.
- Remove the I/P center console. Refer to Console Replacement .
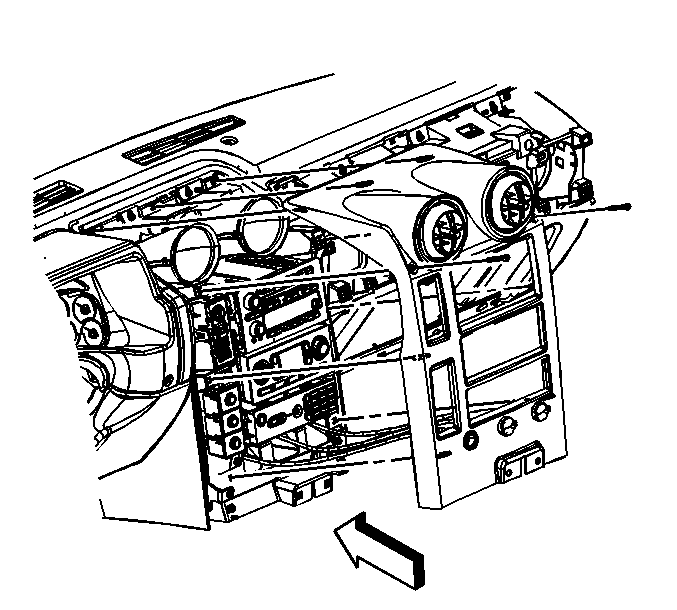
- Remove the I/P center trim panel. Refer to Instrument Panel Center Trim Panel Replacement .
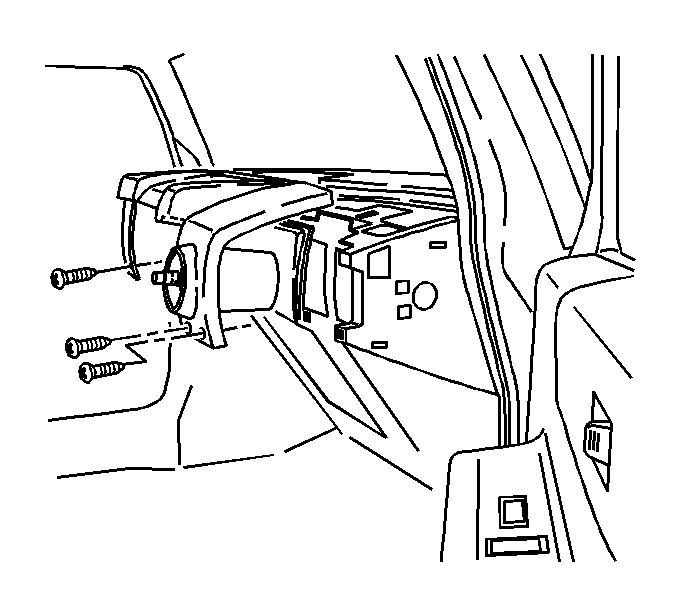
- Remove the left and right I/P side trim.
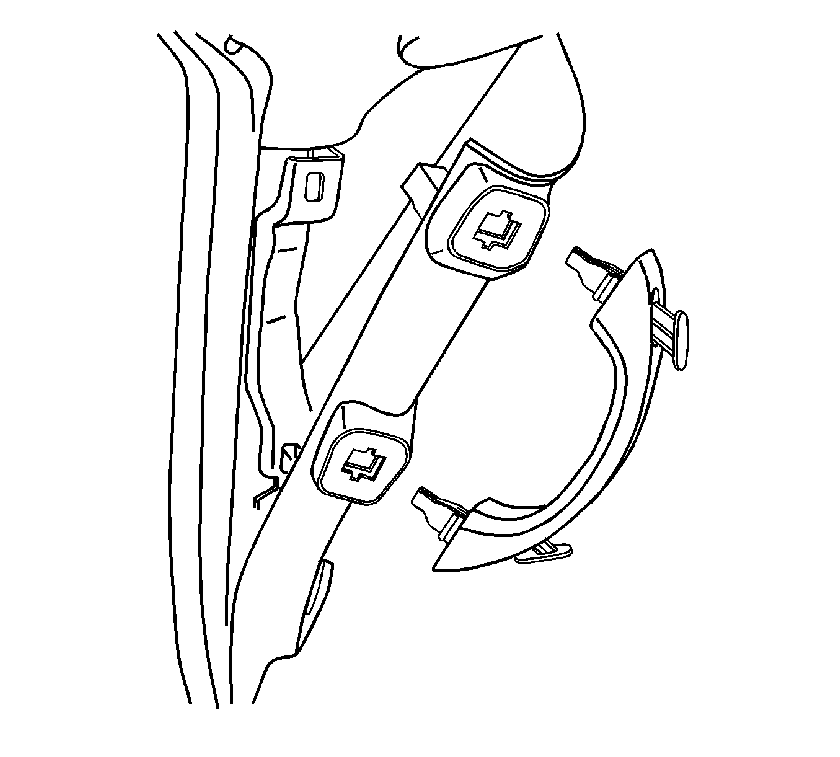
- Remove the assist handle. Refer to Instrument Panel Assist Handle Replacement .
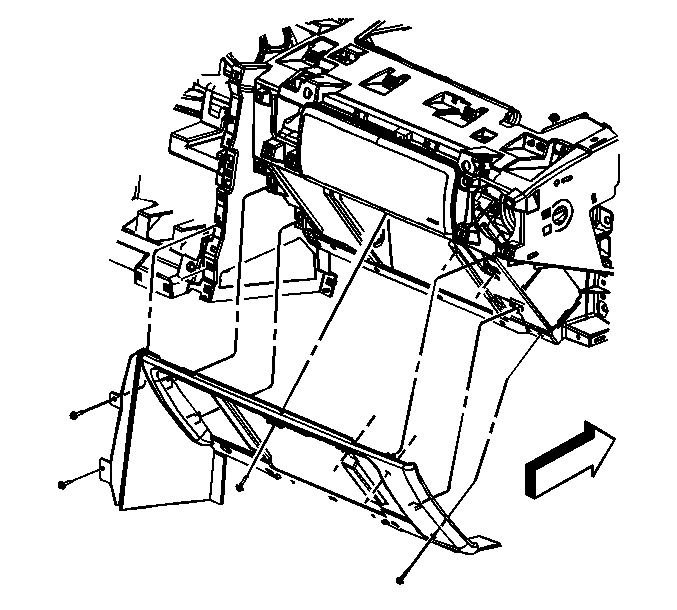
- Remove the I/P compartment. Refer to Instrument Panel Compartment Replacement .
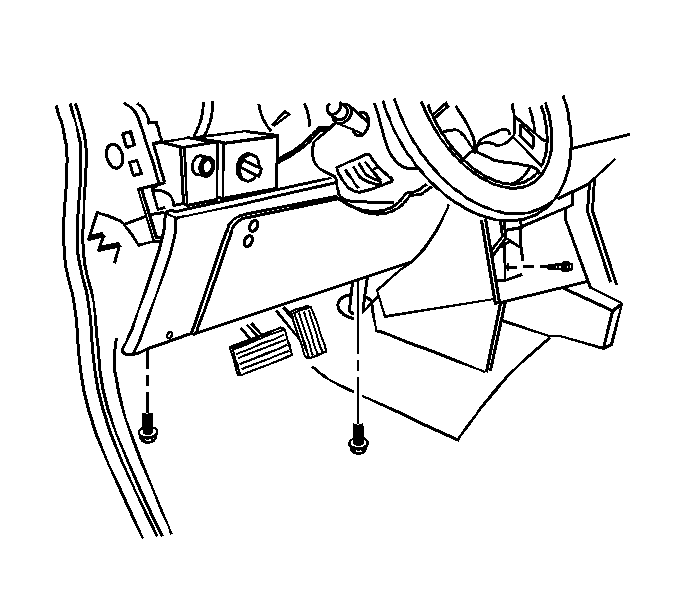
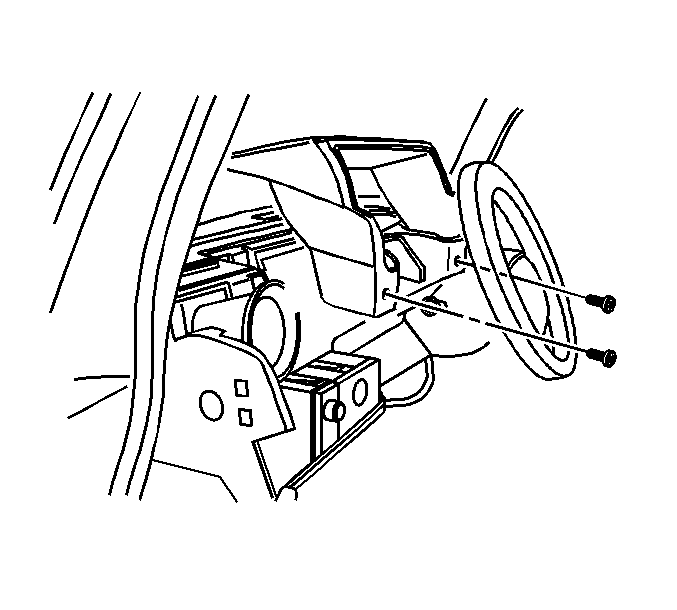
- Remove the drivers knee bolster. Refer to Driver Knee Bolster Panel Replacement .
- Remove the left accessory trim plate. Refer to Instrument Panel Accessory Trim Plate Replacement - Left Side .
- Remove the right accessory trim panel. Refer to Instrument Panel Accessory Trim Plate Replacement - Right Side .
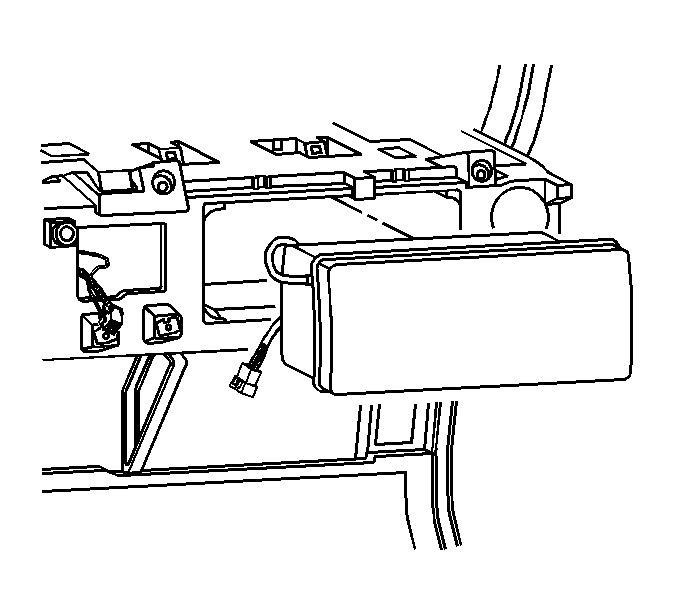
- Remove the I/P air bag module. Refer to Inflatable Restraint Instrument Panel Module Replacement .
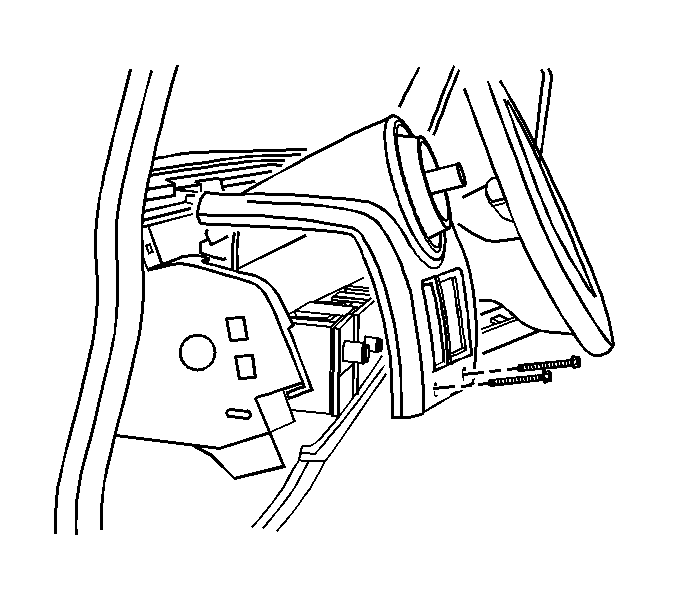
- Remove the steering column. Refer to Steering Column Replacement .
- Remove the I/P cluster. Refer to Instrument Cluster Replacement .
- Remove the I/P upper trim pad. Refer to Instrument Panel Upper Trim Pad Replacement .
- Remove both windshield garnish moldings. Refer to Windshield Pillar Garnish Molding Replacement .
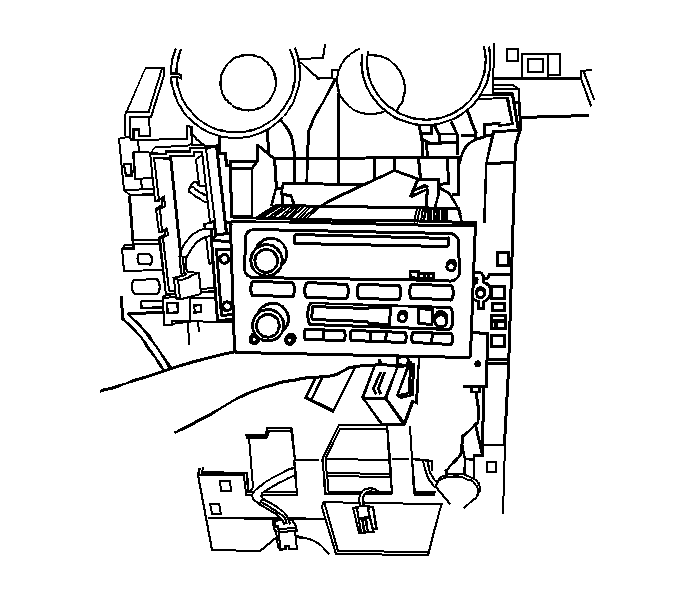
- Remove the radio from center stack. Refer to Radio Replacement .
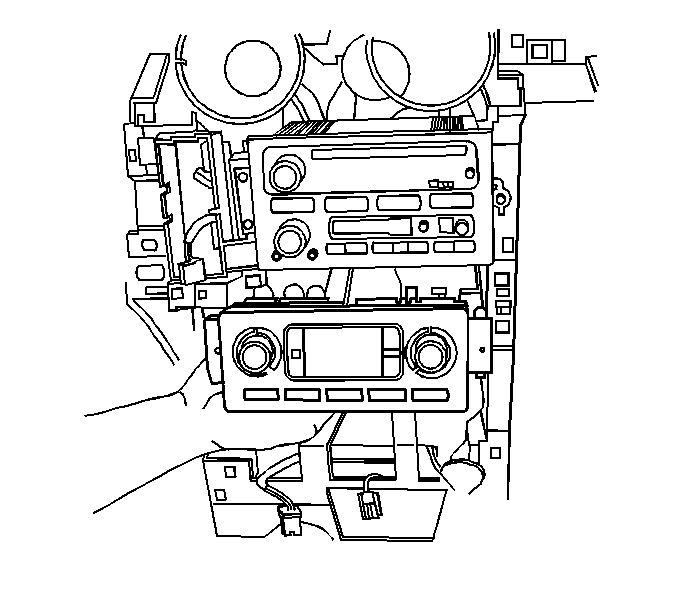
- Remove the HVAC control. Refer to HVAC Control Module Replacement for the automatic system.
- Remove the OnStar® module from center stack. Refer to OnStar Button Assembly Replacement .
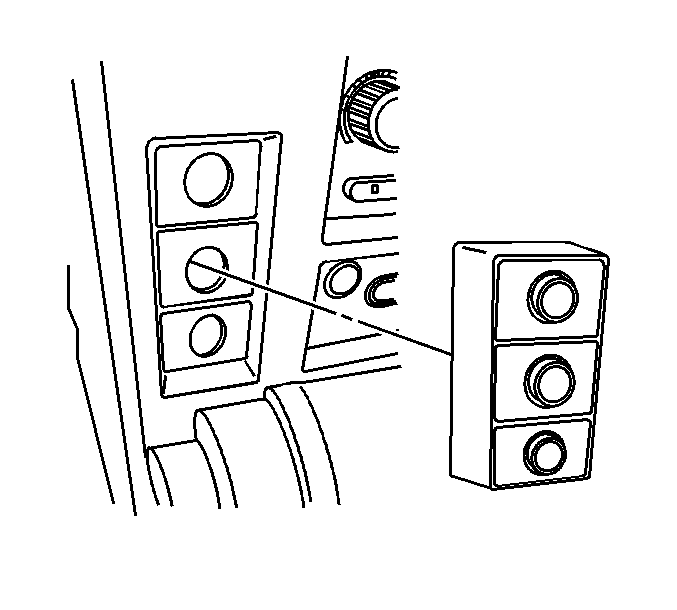
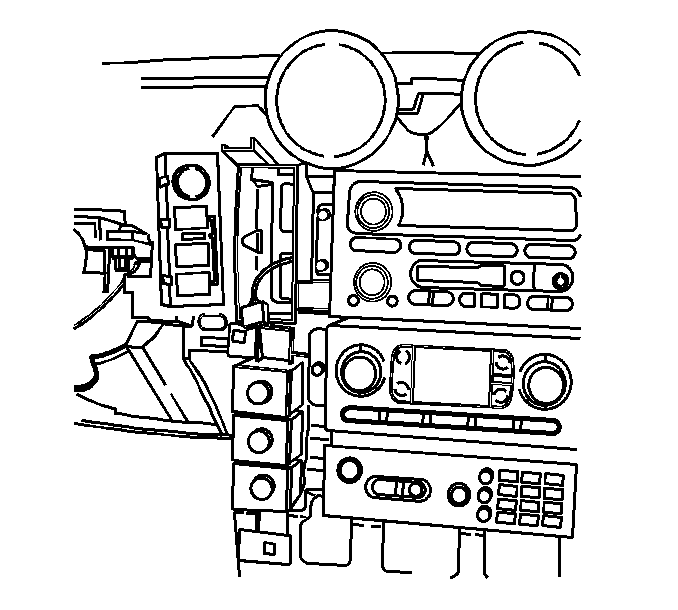
- Remove the traction control, air ride switch module assembly.
- Remove the transfer case control switch module. Refer to Transfer Case Shift Control Module Replacement for the BW 4484 transfer case.
- Remove the rear wiper switch. Refer to Rear Window Wiper and Washer Switch Replacement .
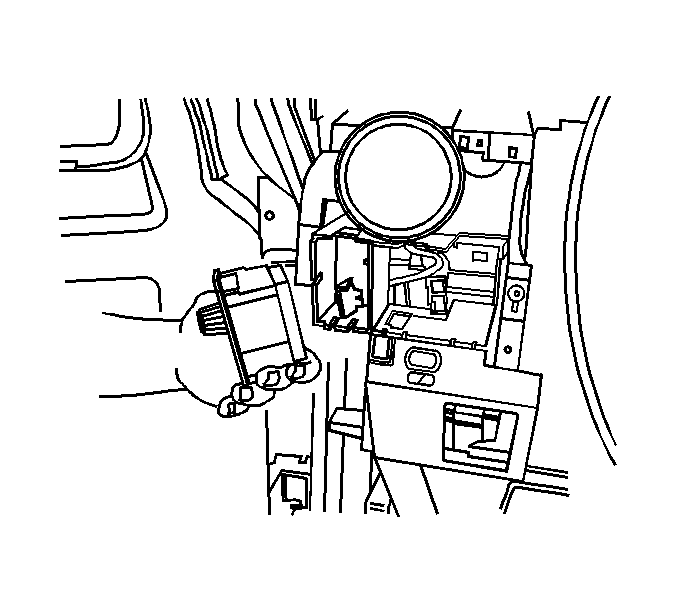
- Remove headlamp switch. Refer to Headlamp Switch Replacement .
- Remove the upper HVAC air temperature sensors from the HVAC ducts. Refer to Duct Air Temperature Sensor Replacement - Upper Right Side and Duct Air Temperature Sensor Replacement - Upper Left Side for the automatic system.
- Remove the lower HVAC air temperature sensors from the HVAC ducts. Refer to Duct Air Temperature Sensor Replacement - Lower Left Side and Duct Air Temperature Sensor Replacement - Lower Right Side for the automatic system.
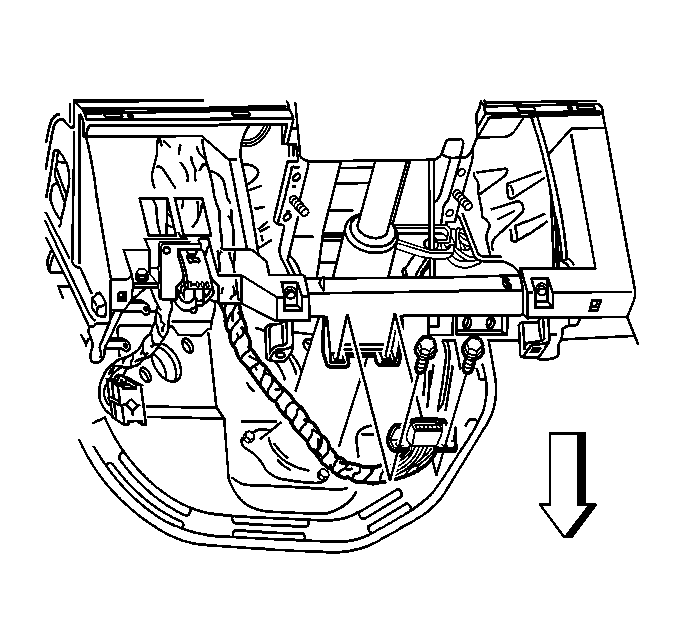
- Remove the nut from the I/P carrier center support.
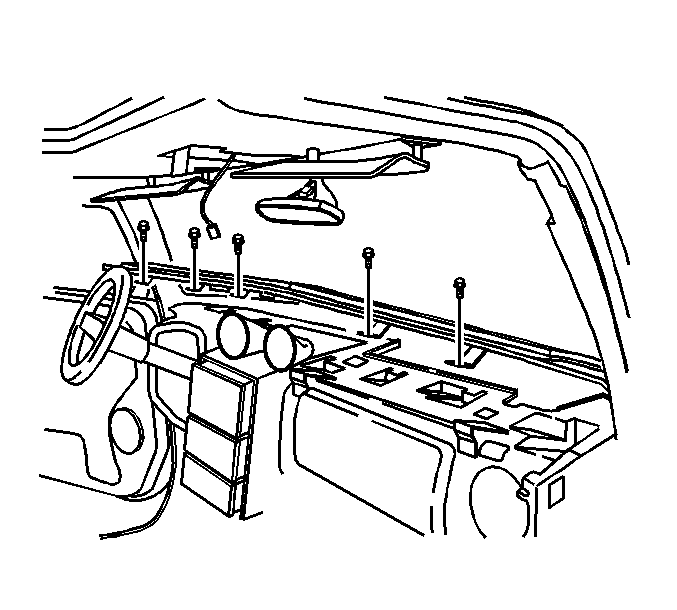
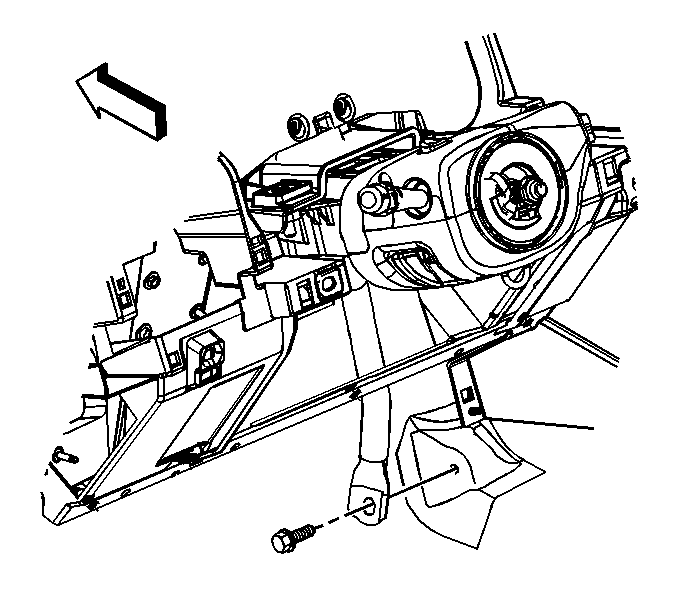
- Remove the upper I/P carrier bolts.
- Remove the drivers and passenger side I/P carrier bolts.
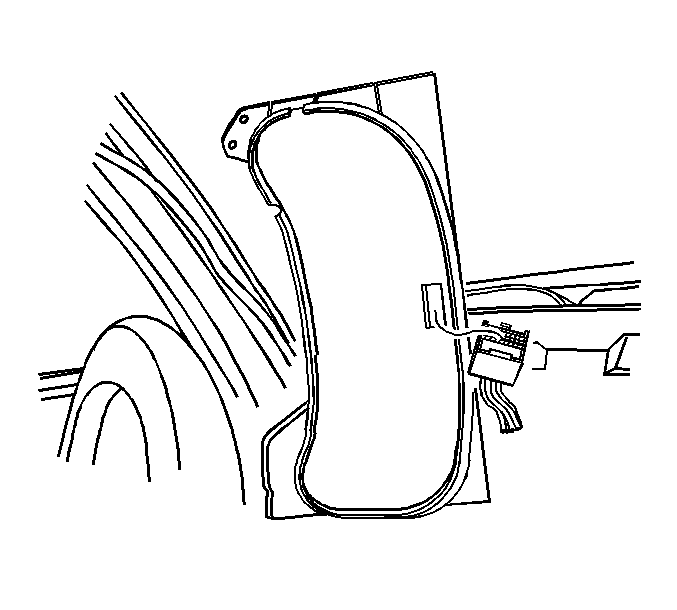
- Disconnect the electrical connections from the body control module (BCM) to the body harness.
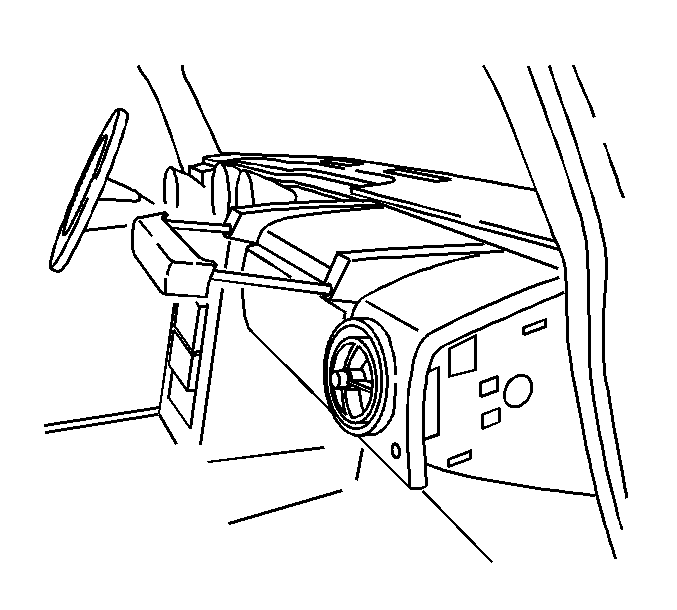
- Remove the wiring harnesses through the openings in the I/P retainer.
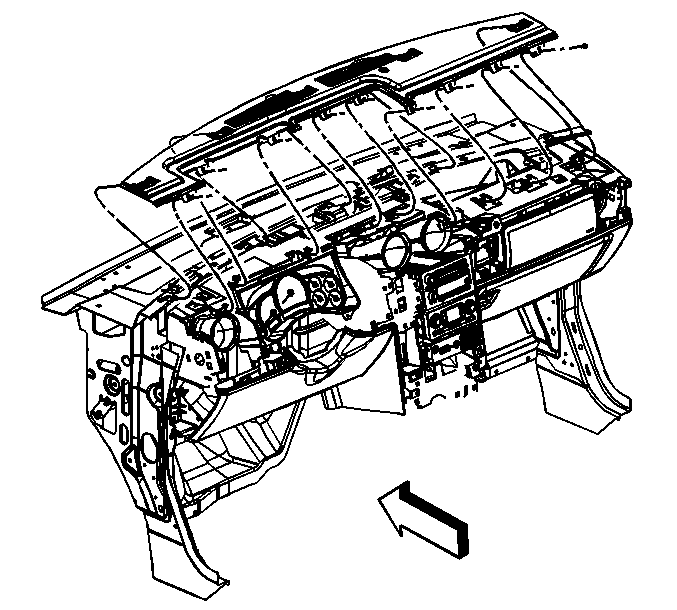
- Remove the I/P assembly from the vehicle.
Caution: Refer to Battery Disconnect Caution in the Preface section.
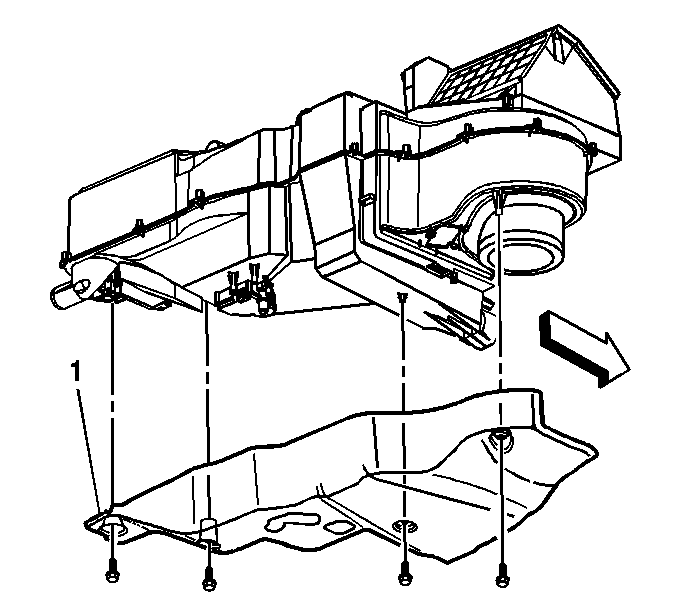
Installation Procedure
- Align the I/P in the vehicle and route all electrical harnesses through the I/P retainer.
- Install the upper and side I/P carrier bolts.
- Install the I/P carrier center support nut.
- Install the windshield garnish moldings. Refer to Windshield Pillar Garnish Molding Replacement .
- Install the upper HVAC air temperature sensors from the HVAC ducts. Refer to Duct Air Temperature Sensor Replacement - Upper Right Side and Duct Air Temperature Sensor Replacement - Upper Left Side for the automatic system.
- Install the lower HVAC air temperature sensors from the HVAC ducts. Refer to Duct Air Temperature Sensor Replacement - Lower Left Side and Duct Air Temperature Sensor Replacement - Lower Right Side for the automatic system.
- Install the steering column. Refer to Steering Column Replacement .
- Install the drivers knee bolster. Refer to Driver Knee Bolster Panel Replacement .
- Install the I/P air bag module. Refer to Inflatable Restraint Instrument Panel Module Replacement .
- Install the I/P storage compartment. Refer to Instrument Panel Compartment Replacement .
- Install the headlamp switch. Refer to Headlamp Switch Replacement .
- Install the rear wiper switch. Refer to Rear Window Wiper and Washer Switch Replacement .
- Install the transfer case control switch module. Refer to Transfer Case Shift Control Module Replacement for the BW 4484 transfer case.
- Install the traction control, air ride module to center stack and make electrical connections.
- Install the radio. Refer to Radio Replacement .
- Install the OnStar® module from center stack. Refer to OnStar Button Assembly Replacement .
- Install the HVAC control. Refer to HVAC Control Module Replacement for the automatic system.
- Install the I/P upper trim pad. Refer to Instrument Panel Upper Trim Pad Replacement .
- Install the IPC cluster and trim panel. Refer to Instrument Cluster Replacement .
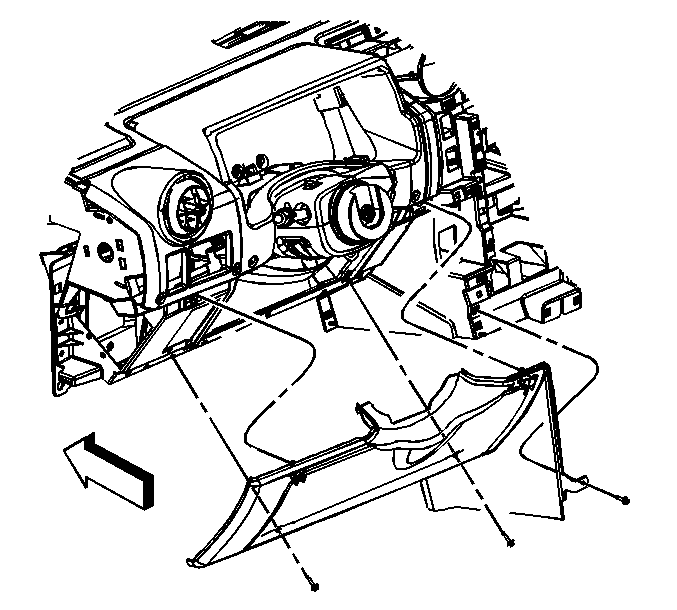
- Install the diagnostic connector to the I/P.
- Tighten the data link connector screws.
- Connect brake release lever to I/P.
- Install the left accessory trim panel. Refer to Instrument Panel Accessory Trim Plate Replacement - Left Side .
- Install the right accessory trim panel. Refer to Instrument Panel Accessory Trim Plate Replacement - Right Side .
- Install the assist handle. Refer to Instrument Panel Assist Handle Replacement .
- Install the I/P center trim panel. Refer to Instrument Panel Center Trim Panel Replacement .
- Align the drivers and passenger side I/P side trim panel and snap into place.
- Install the I/P center console. Refer to Console Replacement .
- Install the passengers insulator. Refer to Instrument Panel Insulator Replacement .
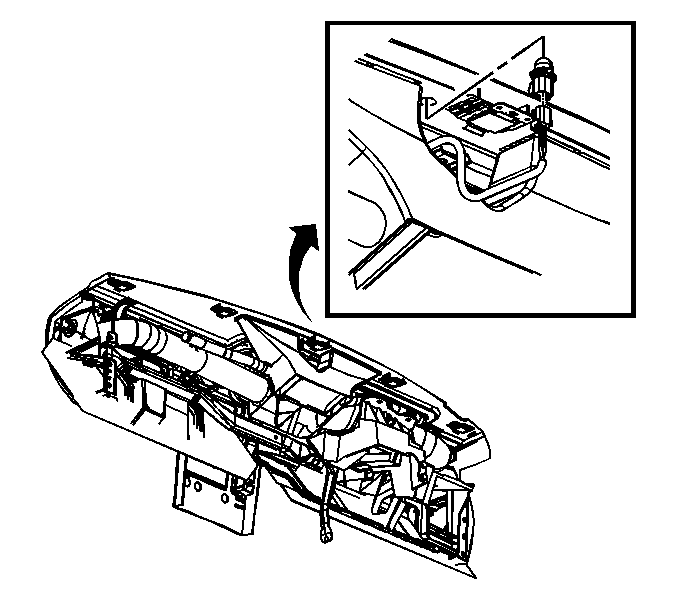
Important: Make sure the ambient light sensor is routed to the top of the I/P.
Notice: Refer to Fastener Notice in the Preface section.
Tighten
Tighten the bolts to 50 N·m (37 lb ft).

Tighten
Tighten the nut to 9 N·m (80 lb in).




Tighten
Tighten the screws to 2 N·m (18 lb in).



Tighten
Tighten the screws to 2 N·m (18 lb in).
Tighten
Tighten the screws to 2 N·m (18 lb in).


