Removal Procedure
Notice: If the engine is damaged internally and a new engine assembly is installed in the vehicle, ensure that all foreign material is flushed out of the cooling system. You must also flush out the oil cooler system. Failure to rid the oil cooler system of debris can result in engine damage.
Notice: On some vehicles it may be necessary to support the transmission as the engine is removed to prevent the transmission from falling, causing damage to the unit.
The procedure required to replace an engine varies according to the optional equipment and available shop facilities. The following procedure is intended only as a guide for performing the work. The technician must determine what additional work is needed.
- Tilt the cab. Refer to Cab Tilting .
- Disconnect the negative battery cables. Refer to Battery Negative Cable Disconnection and Connection .
- Drain the cooling system. Refer to Cooling System Draining and Filling .
- Remove the air conditioning compressor. Refer to Air Conditioning Compressor Replacement .
- Remove the charge air inlet pipes.
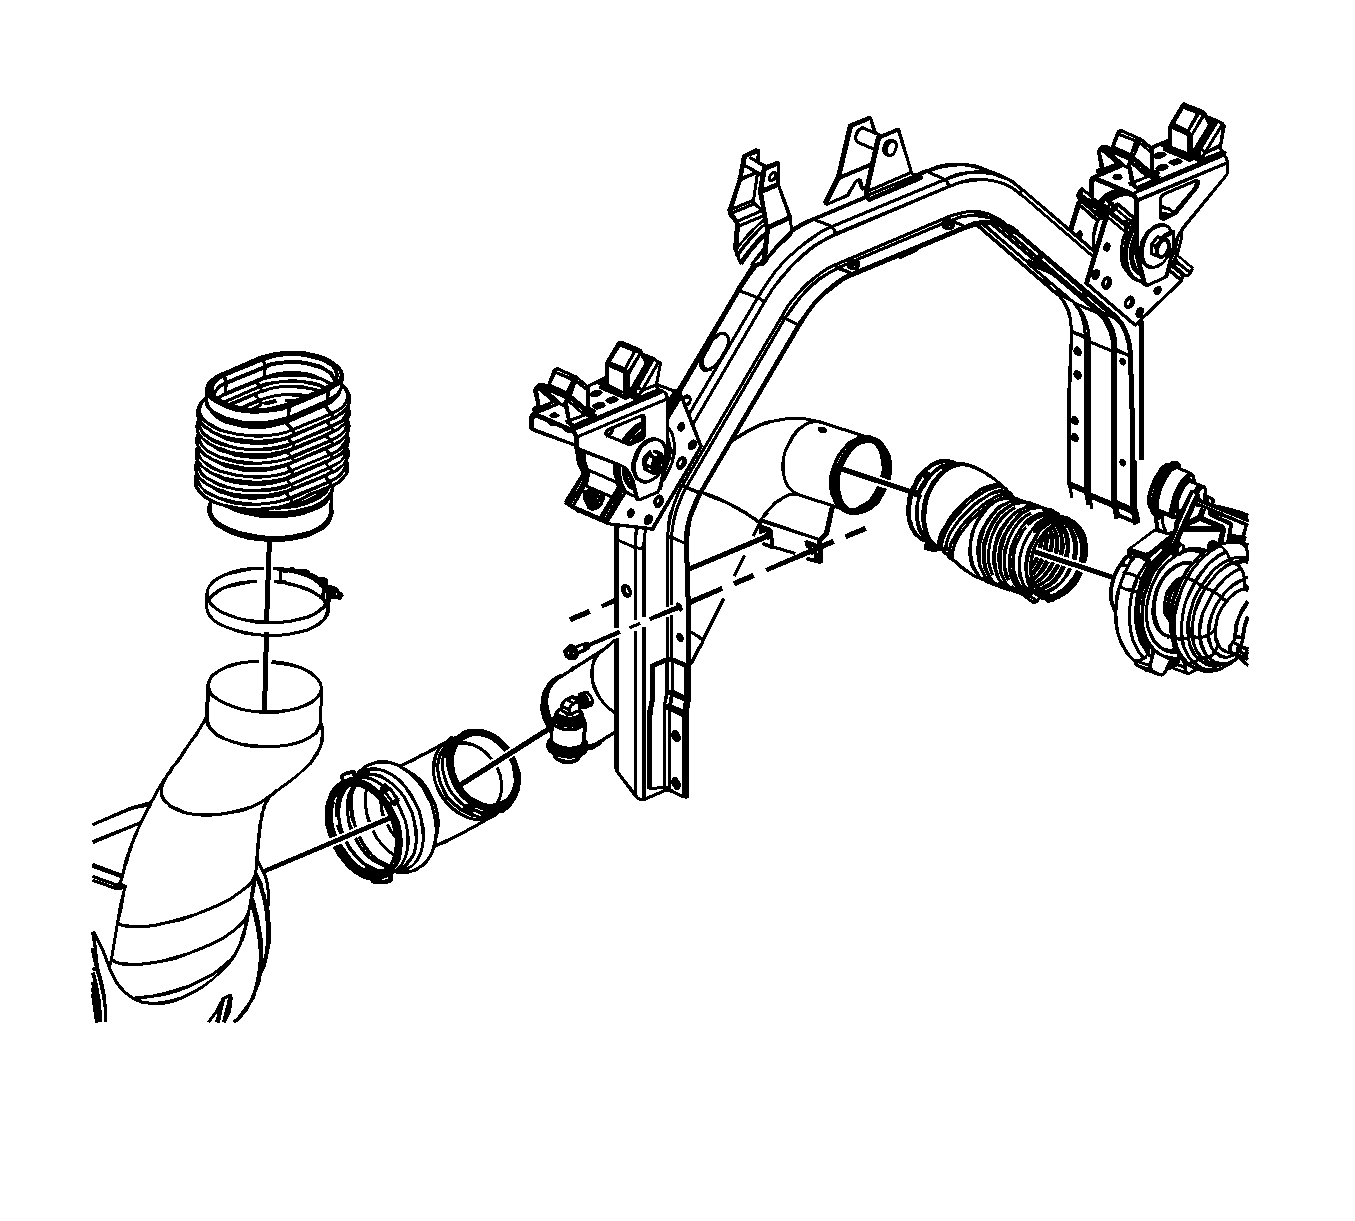
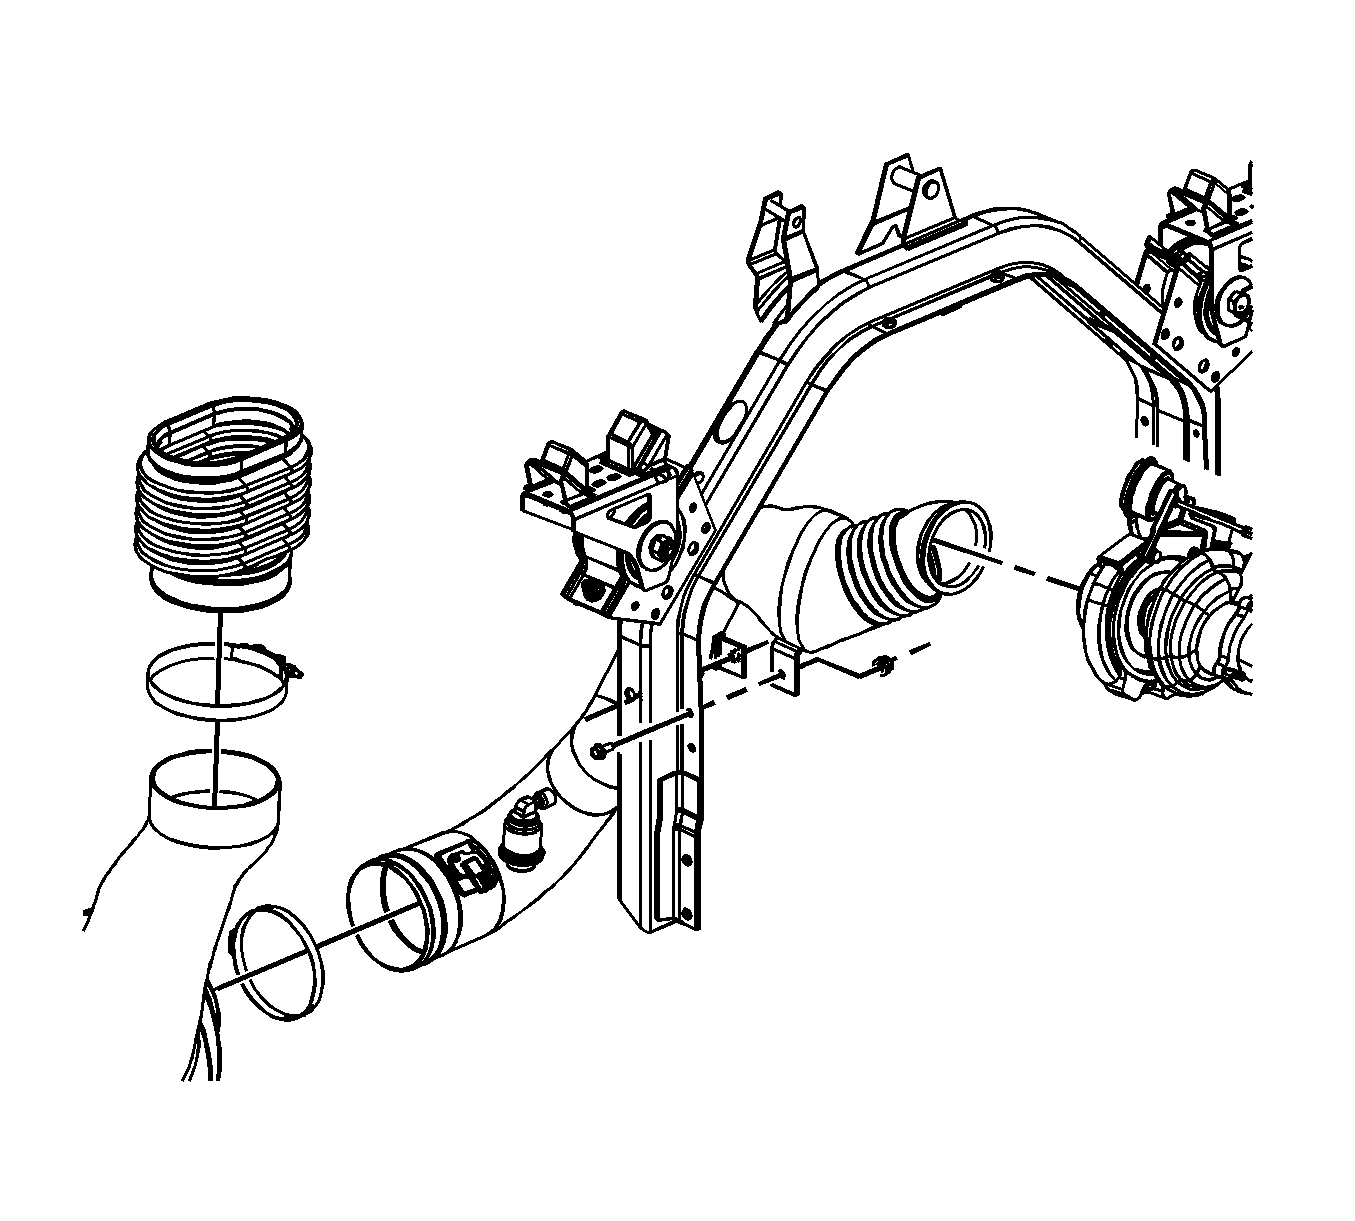
- Loosen the air inlet duct clamp at the turbocharger.
- Loosen the air intake duct clamp at the air cleaner tube.
- Remove the air intake tube bolts and the air intake tube from the cab support.
- Disconnect the radiator surge hose from the radiator.
- Remove the radiator surge hose and brackets from the engine.
- Remove the surge tank hose from the engine.
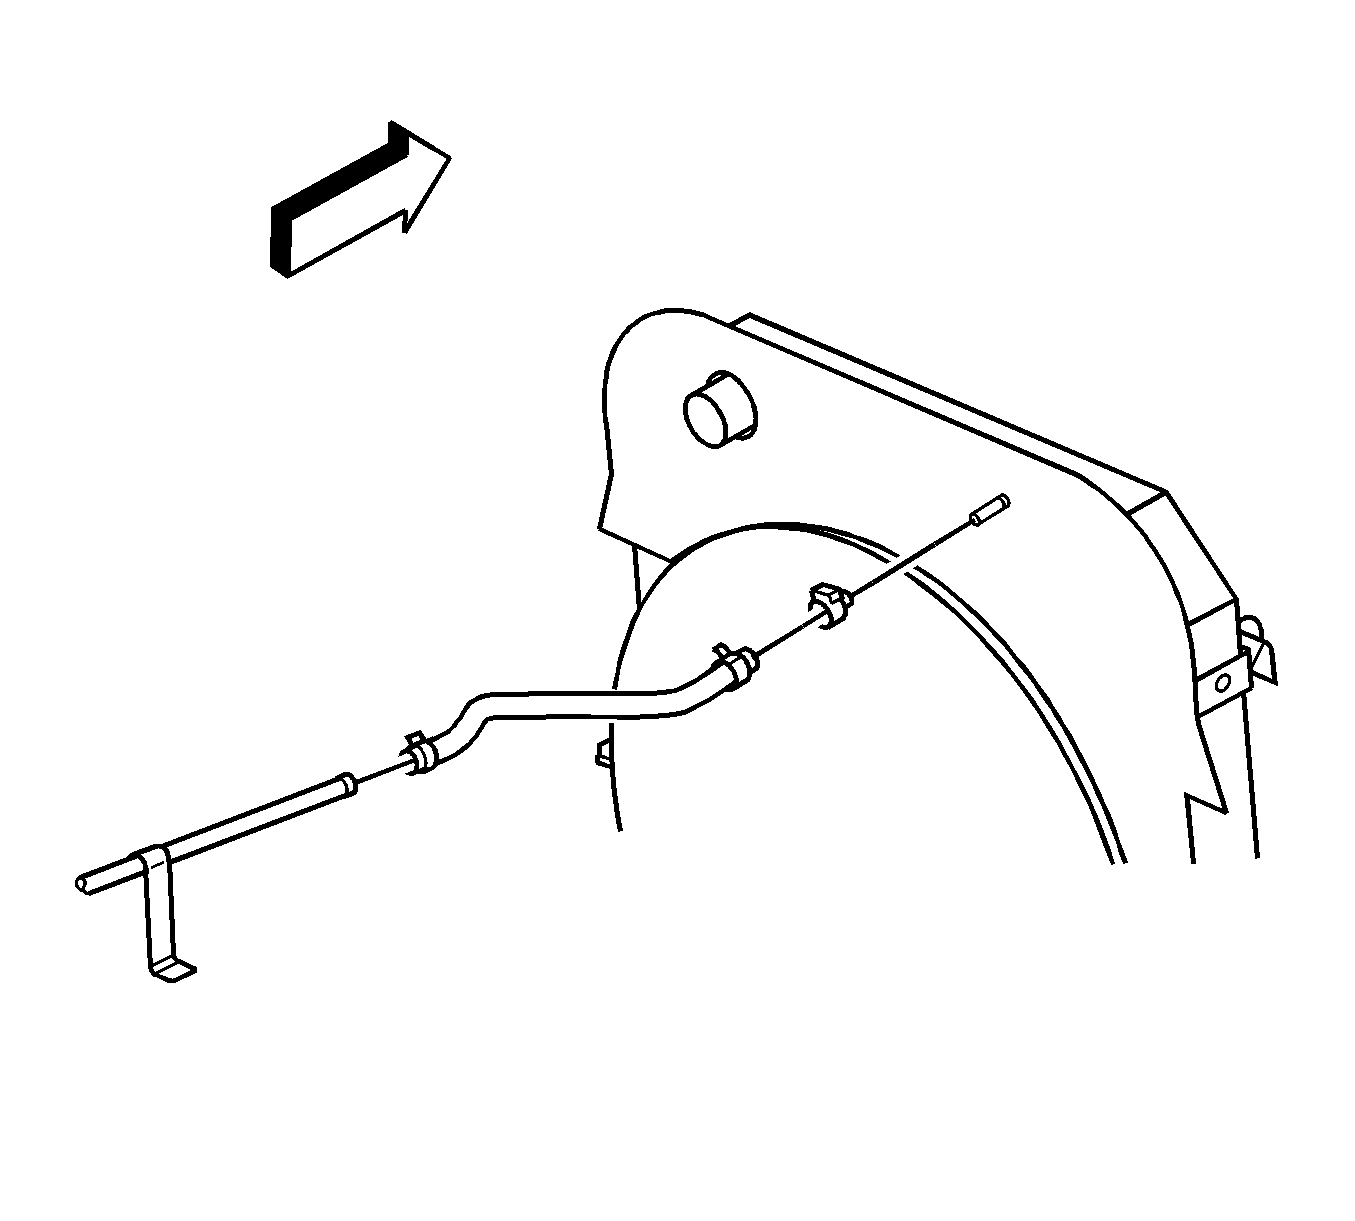
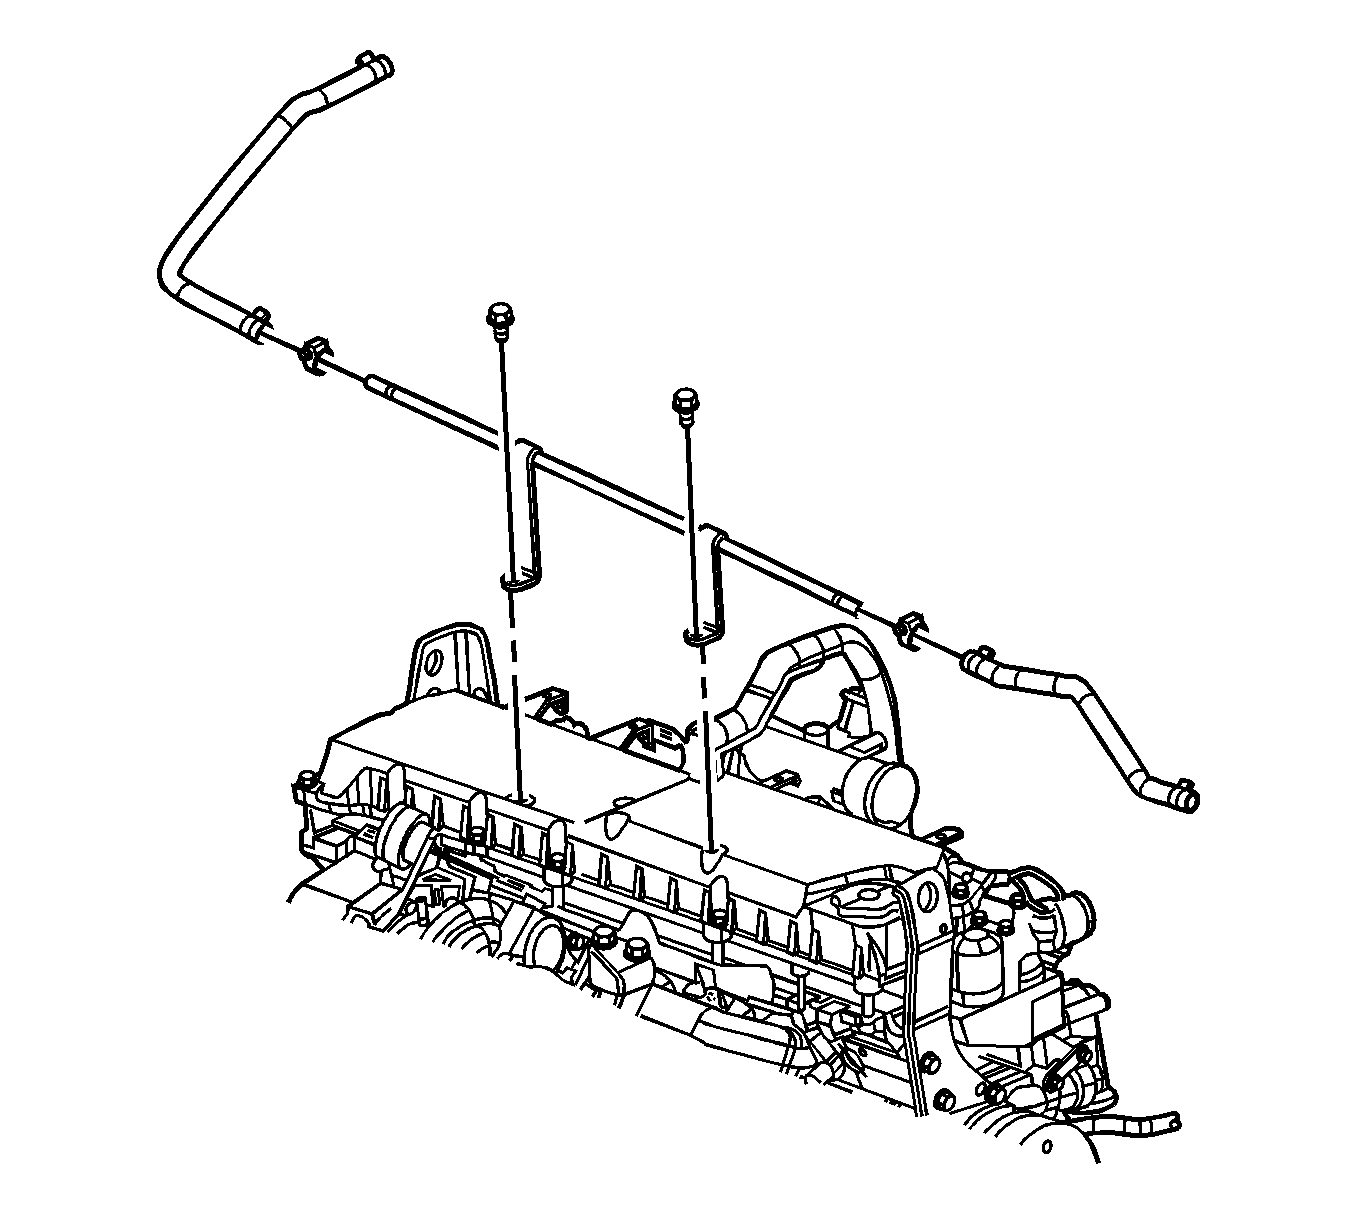
- Remove the engine oil fill tube hose clamp.
- Remove the engine oil fill tube fasteners and the engine oil fill tube and hose from the support bridge and engine.
- Remove the cab support bridge. Refer to Rear Body Mount Bracket Replacement .
- Loosen the oil level indicator tube hose clamp and remove the hose from the tube.
- Remove the oil level indicator tube bolts and tube from the support.
- Remove the power steering pump from the engine. Refer to Power Steering Pump Replacement .
- Remove the power steering hose fasteners from the back of the engine.
- If equipped, remove the air compressor and lines. Refer to Air Compressor Replacement .
- Remove the radiator and charge air cooler assemblies. Refer to Charge Air Cooler Replacement .
- Remove the radiator and heater hoses. Refer to Radiator Replacement .
- If equipped, disconnect the block heater.
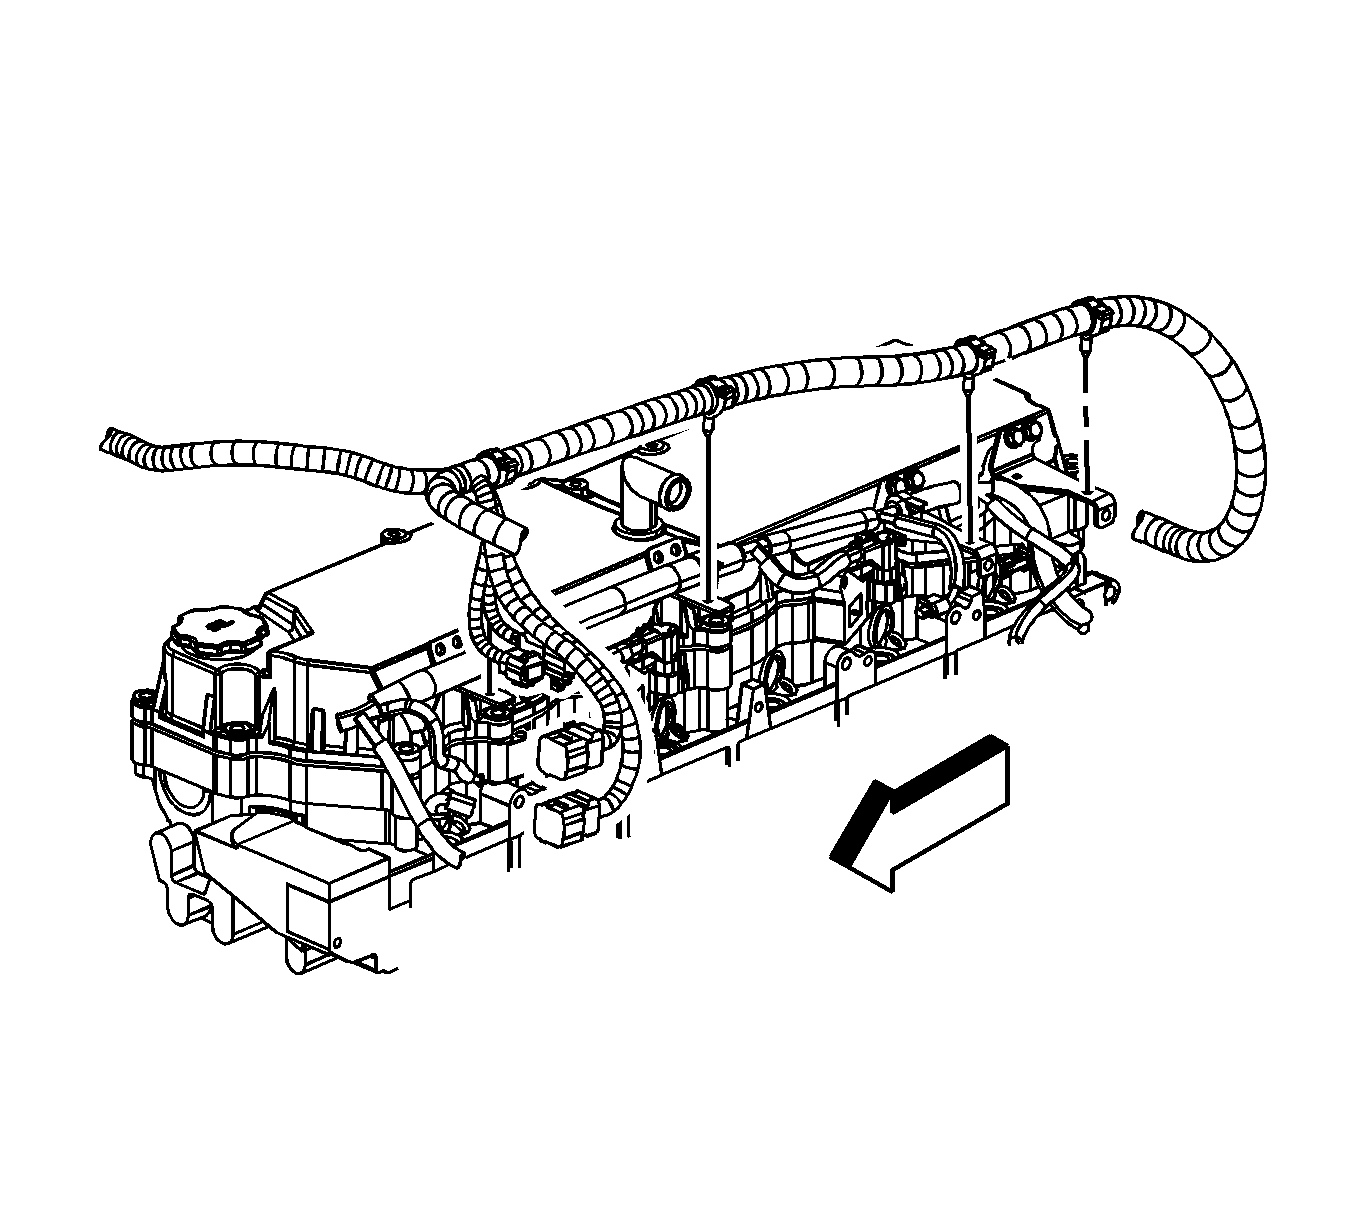
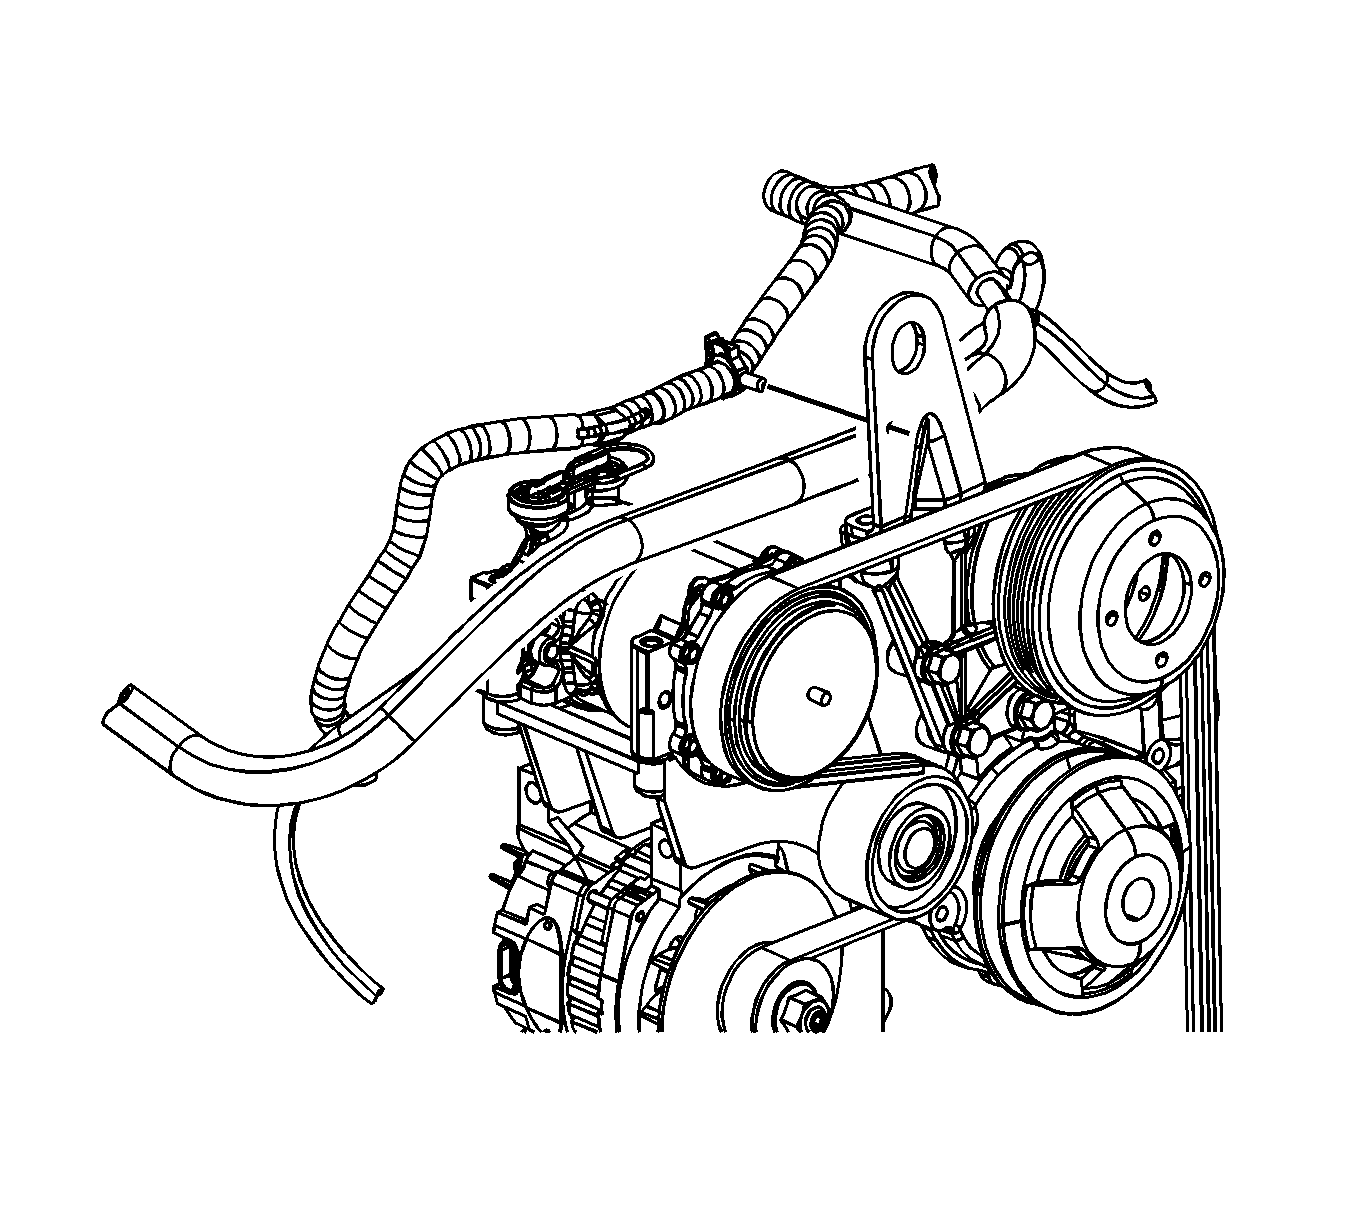
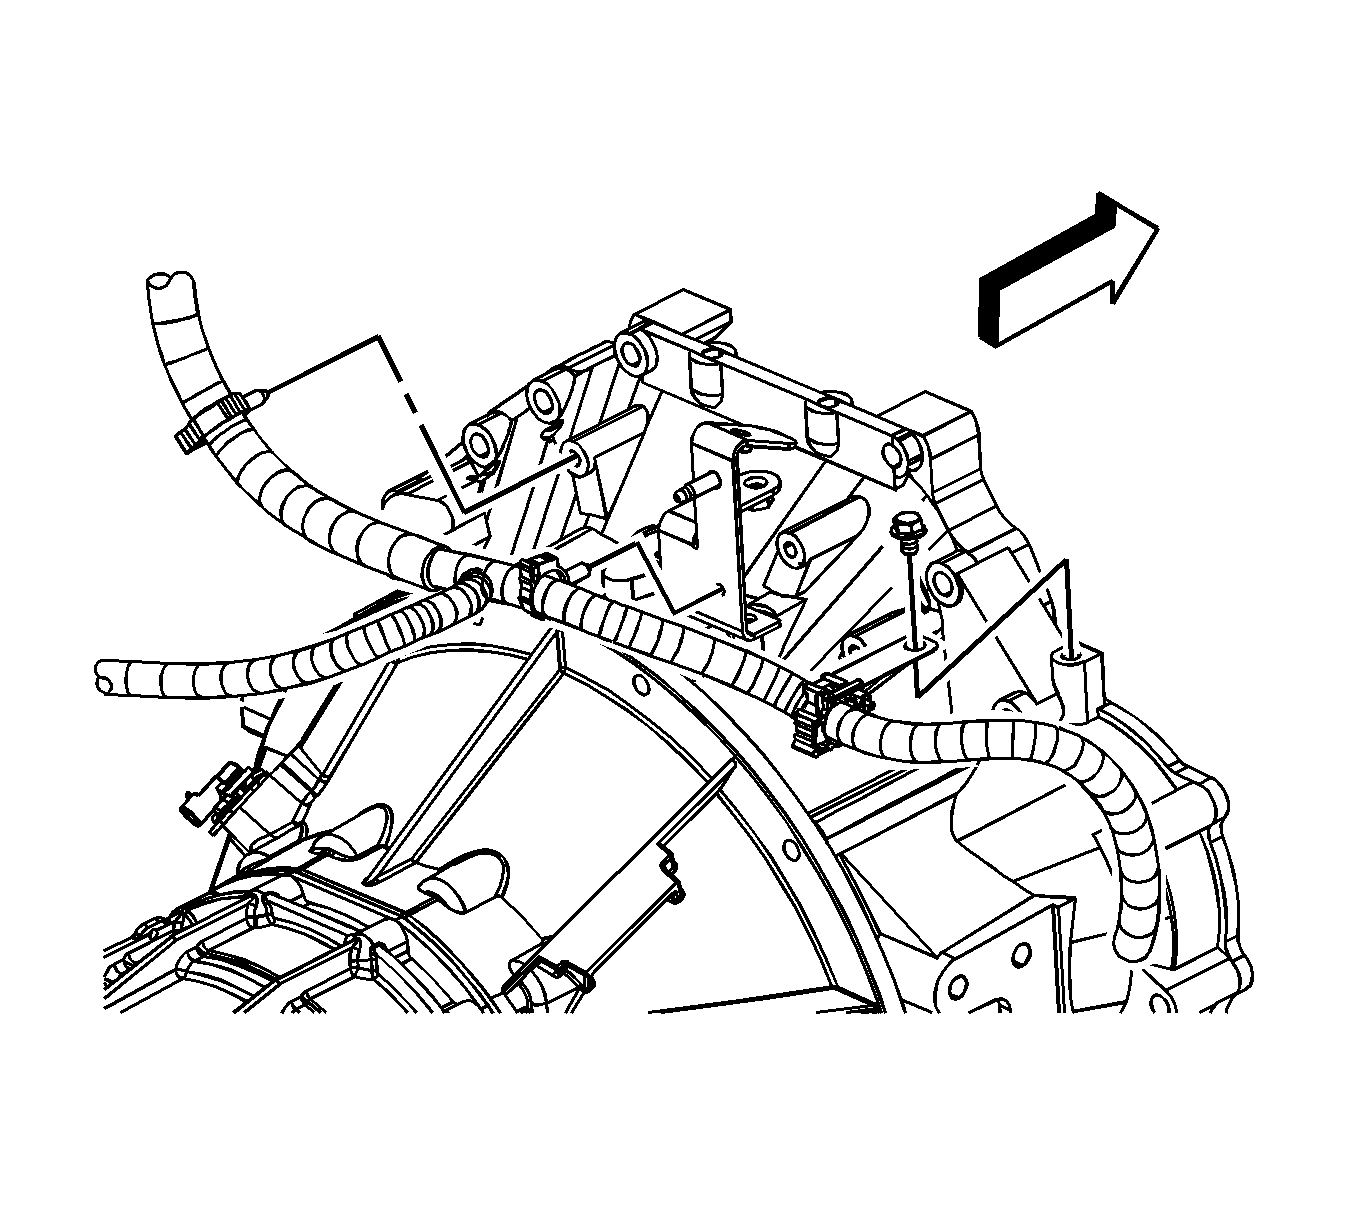
- Remove the engine electrical harness from all the electrical connectors.
- Remove the front electrical harnesses from all retainers and position out of the way.
- Remove the rear harness from the rear of the engine.
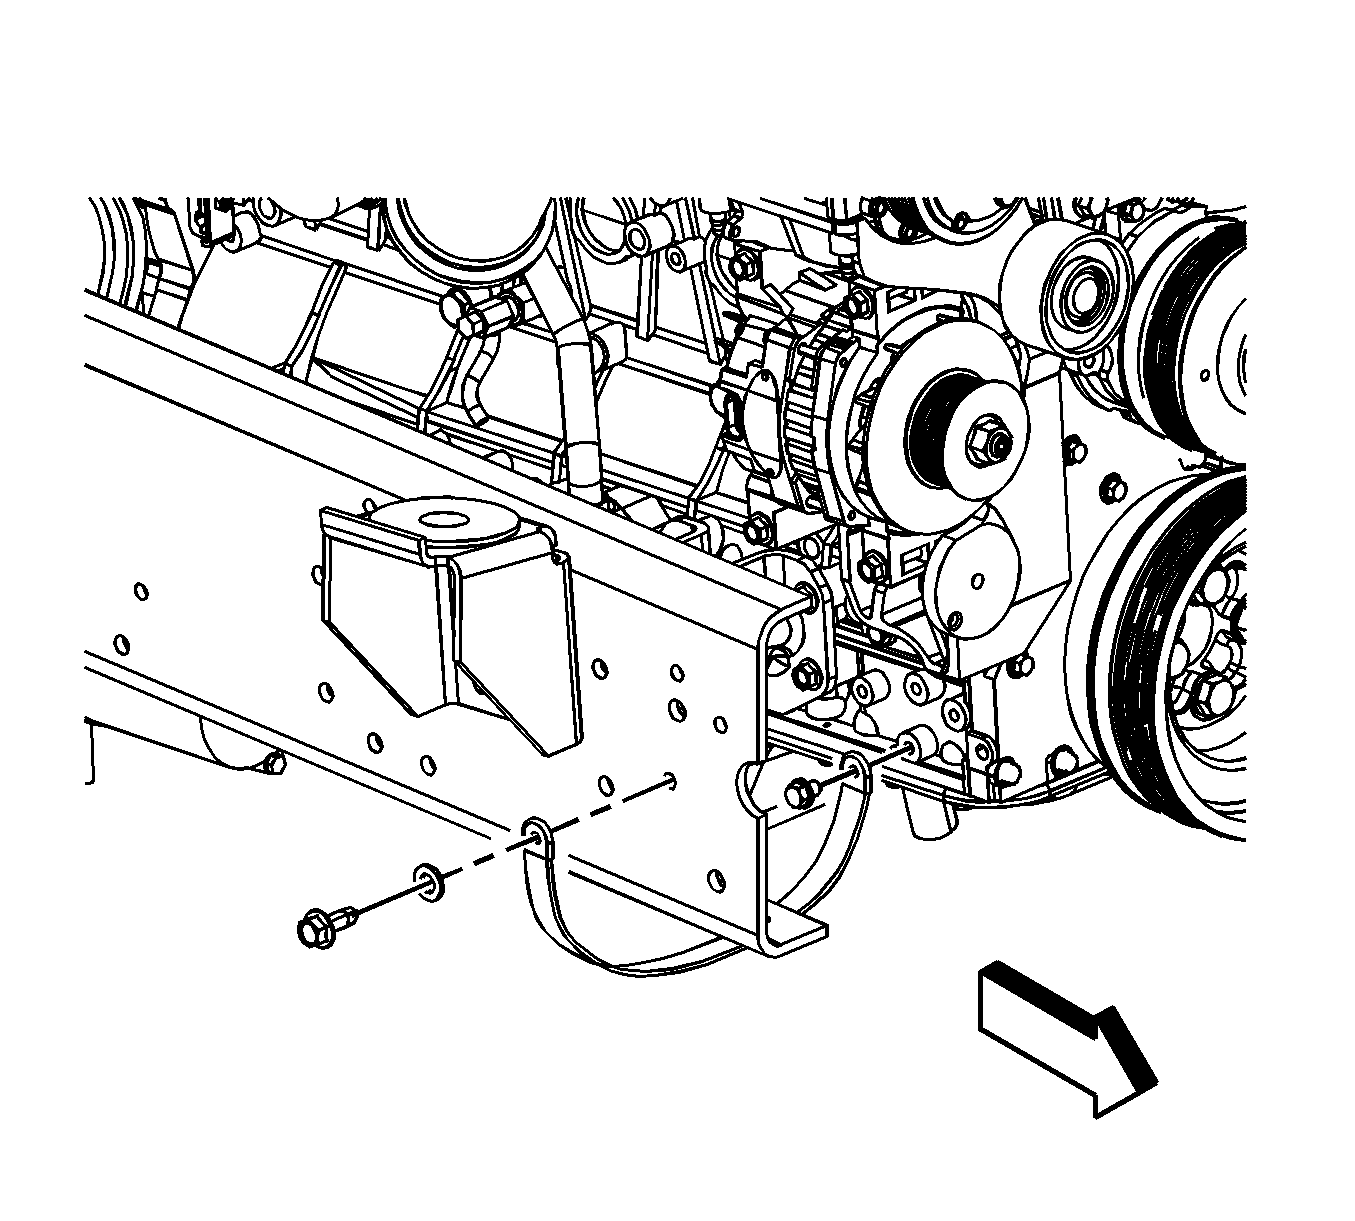
- Remove all ground straps from the engine to the frame.
- Remove the fuel lines from the fuel supply pump pipes at the rear of the engine. Refer to Fuel Hose/Pipes Replacement - Filter to Engine .
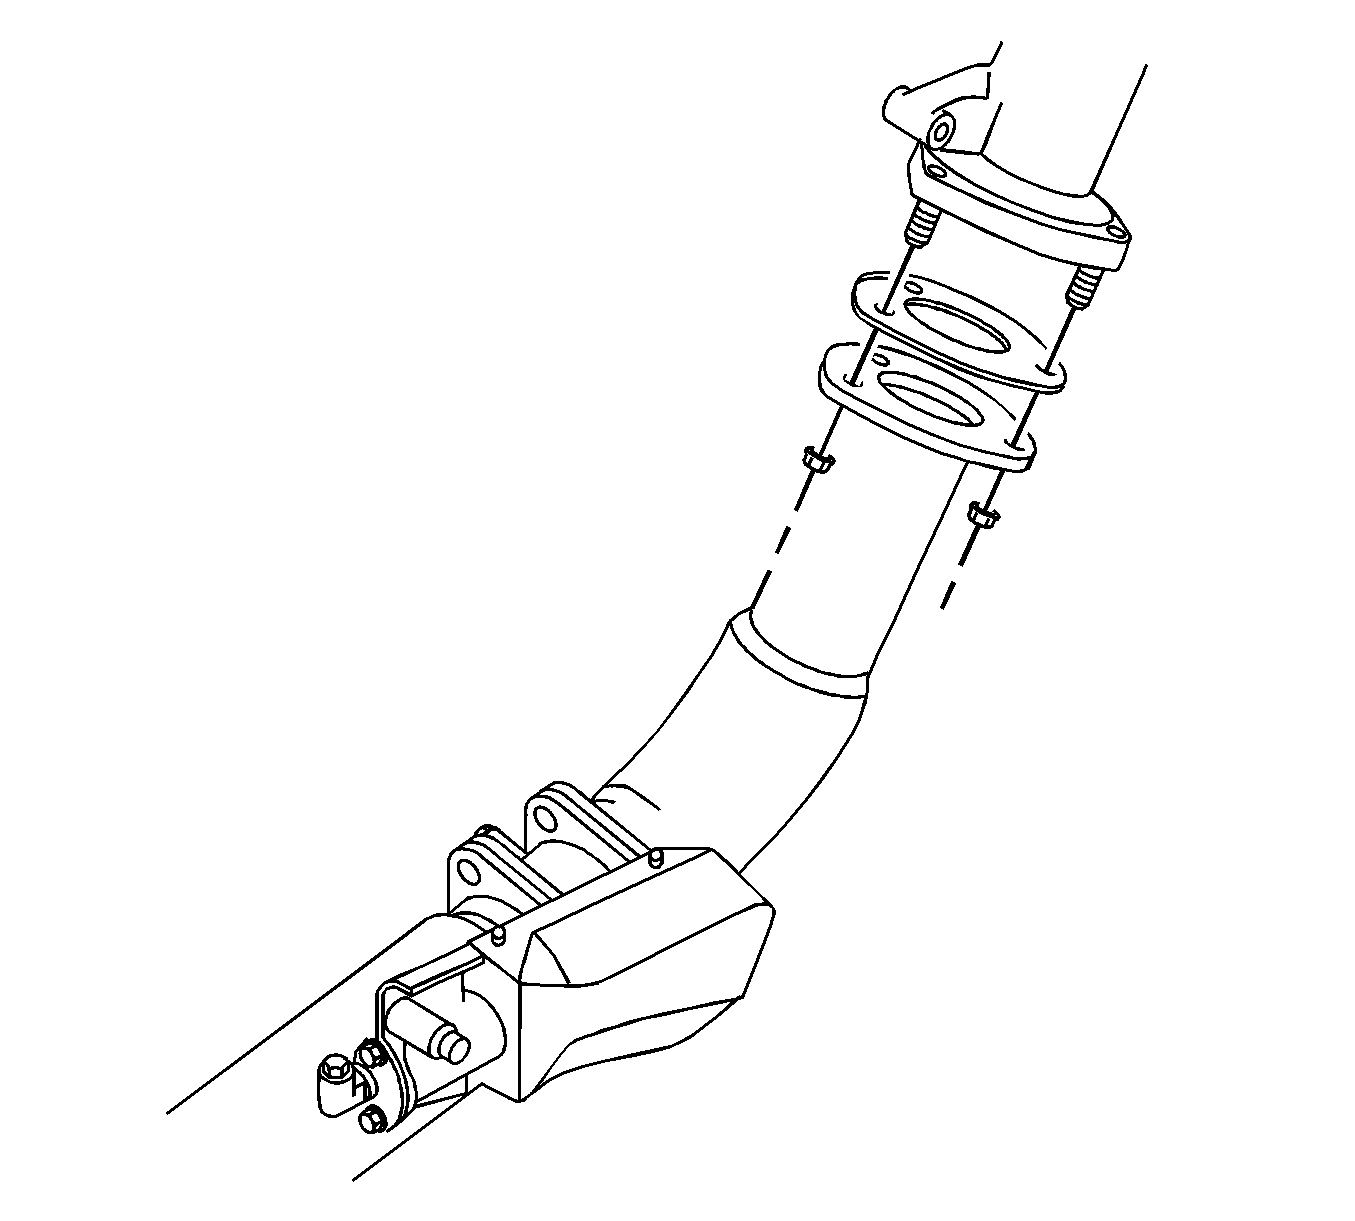
- Remove the exhaust pipe from the turbocharger.
- If equipped, disconnect the exhaust brake quick connect brake hose.
- If equipped, disconnect the auxiliary oil lines from the engine.
- Remove the exhaust pipe from the exhaust pipe adapter.
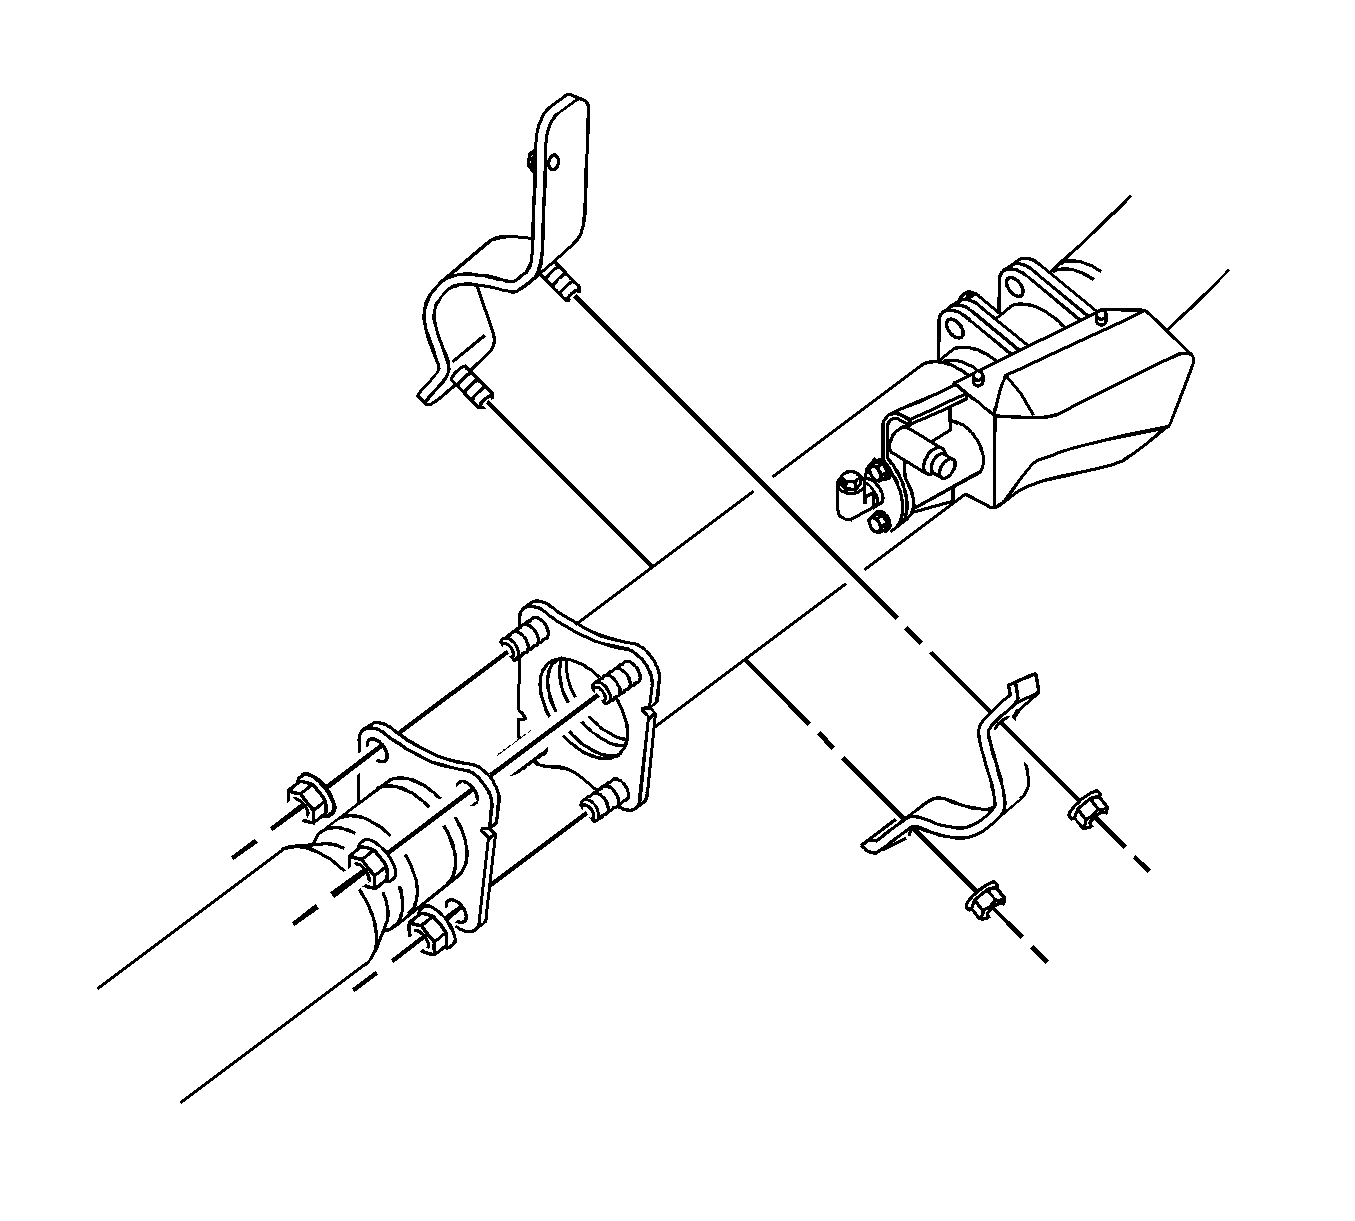
- Loosen the exhaust pipe clamp and remove the exhaust pipe from the intermediate pipe.
- Remove the starter assembly. Refer to Starter Motor Replacement .
- If equipped, remove the torque convertor bolts from the torque convertor.
- Using a suitable support, support the transmission.
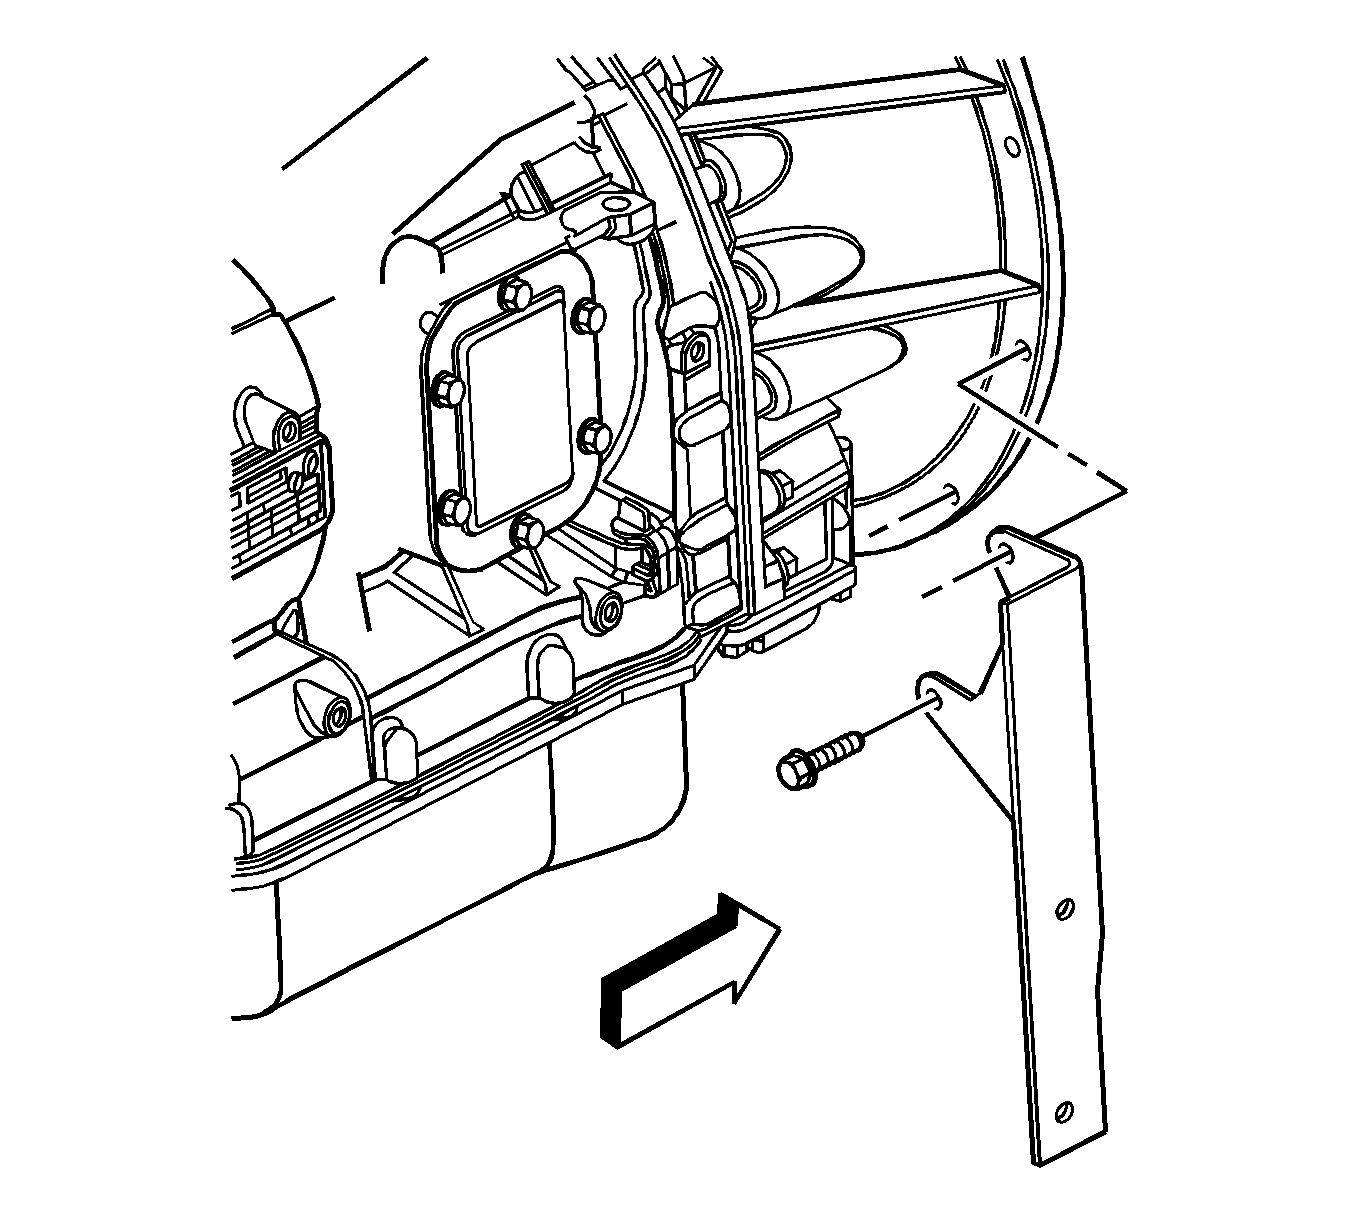
- Remove the bolts from the transmission to the engine and the exhaust hanger.
- Attach a suitable overhead hoist to the engine.
- Remove the rear engine mounting bolts. Refer to Engine Rear Mount Bracket Replacement .
- Remove the front engine mounting bolts. Refer to Engine Front Mount Bracket Replacement .
- Remove the engine from the transmission assembly.
- Remove the engine from the vehicle.
Caution: If the vehicle is equipped with air conditioning, removal of the refrigerant line must be done by trained personnel. Injuries may result from improper procedures.
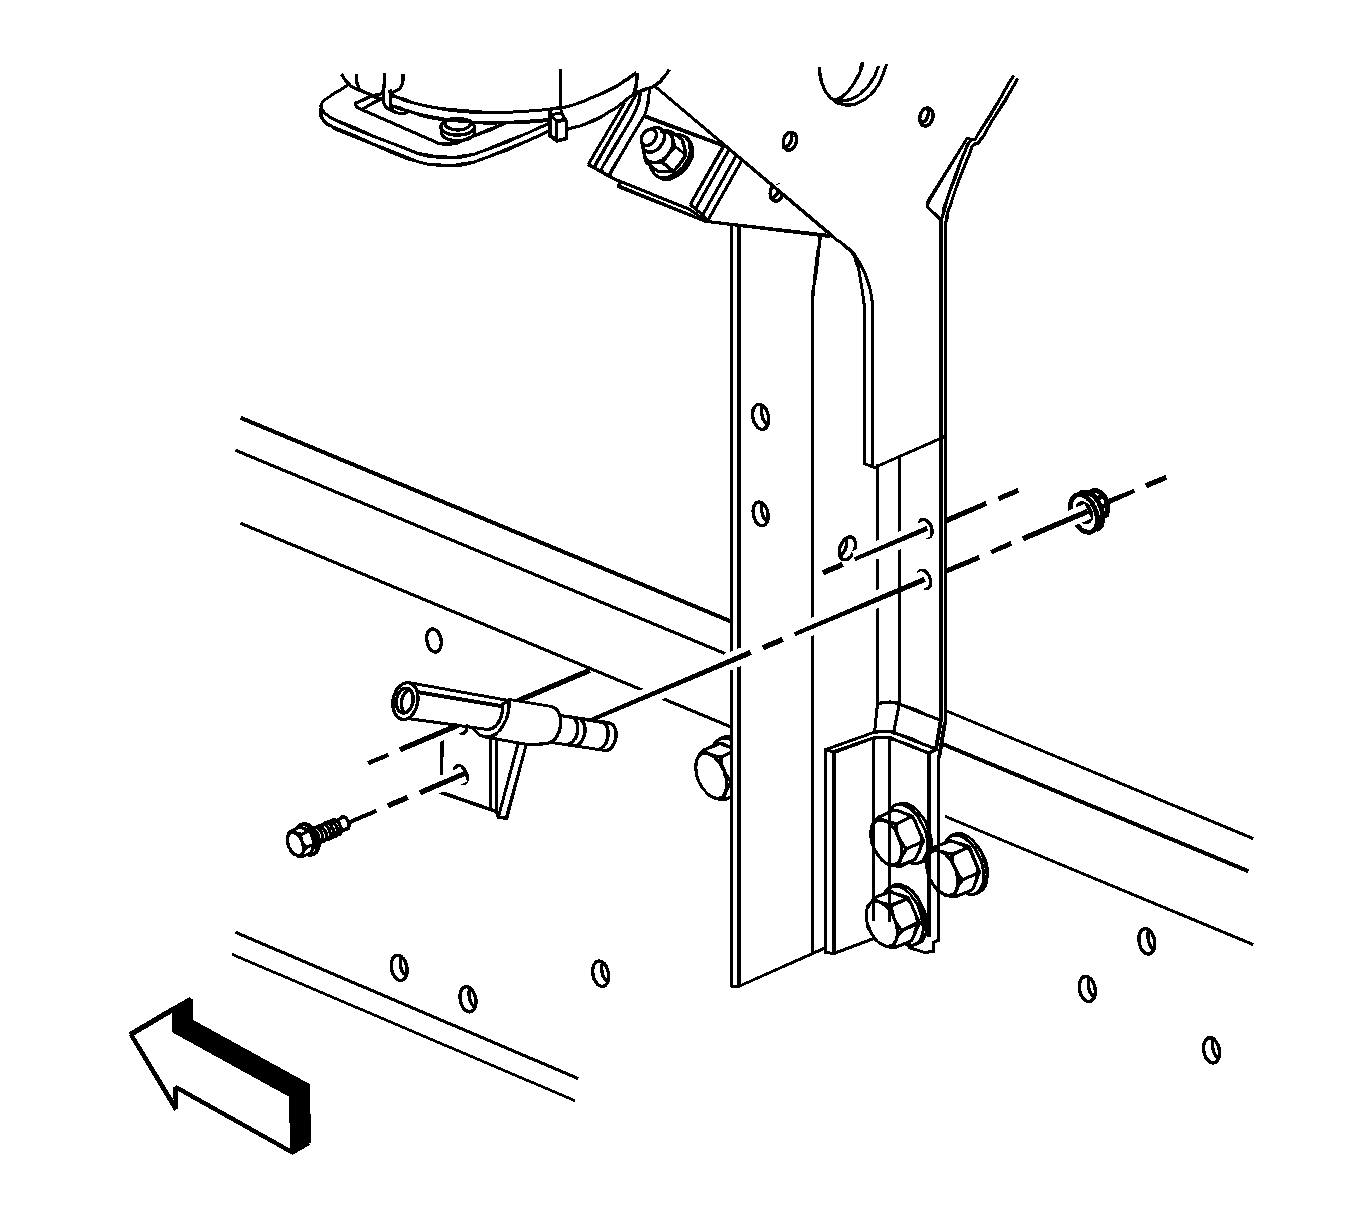
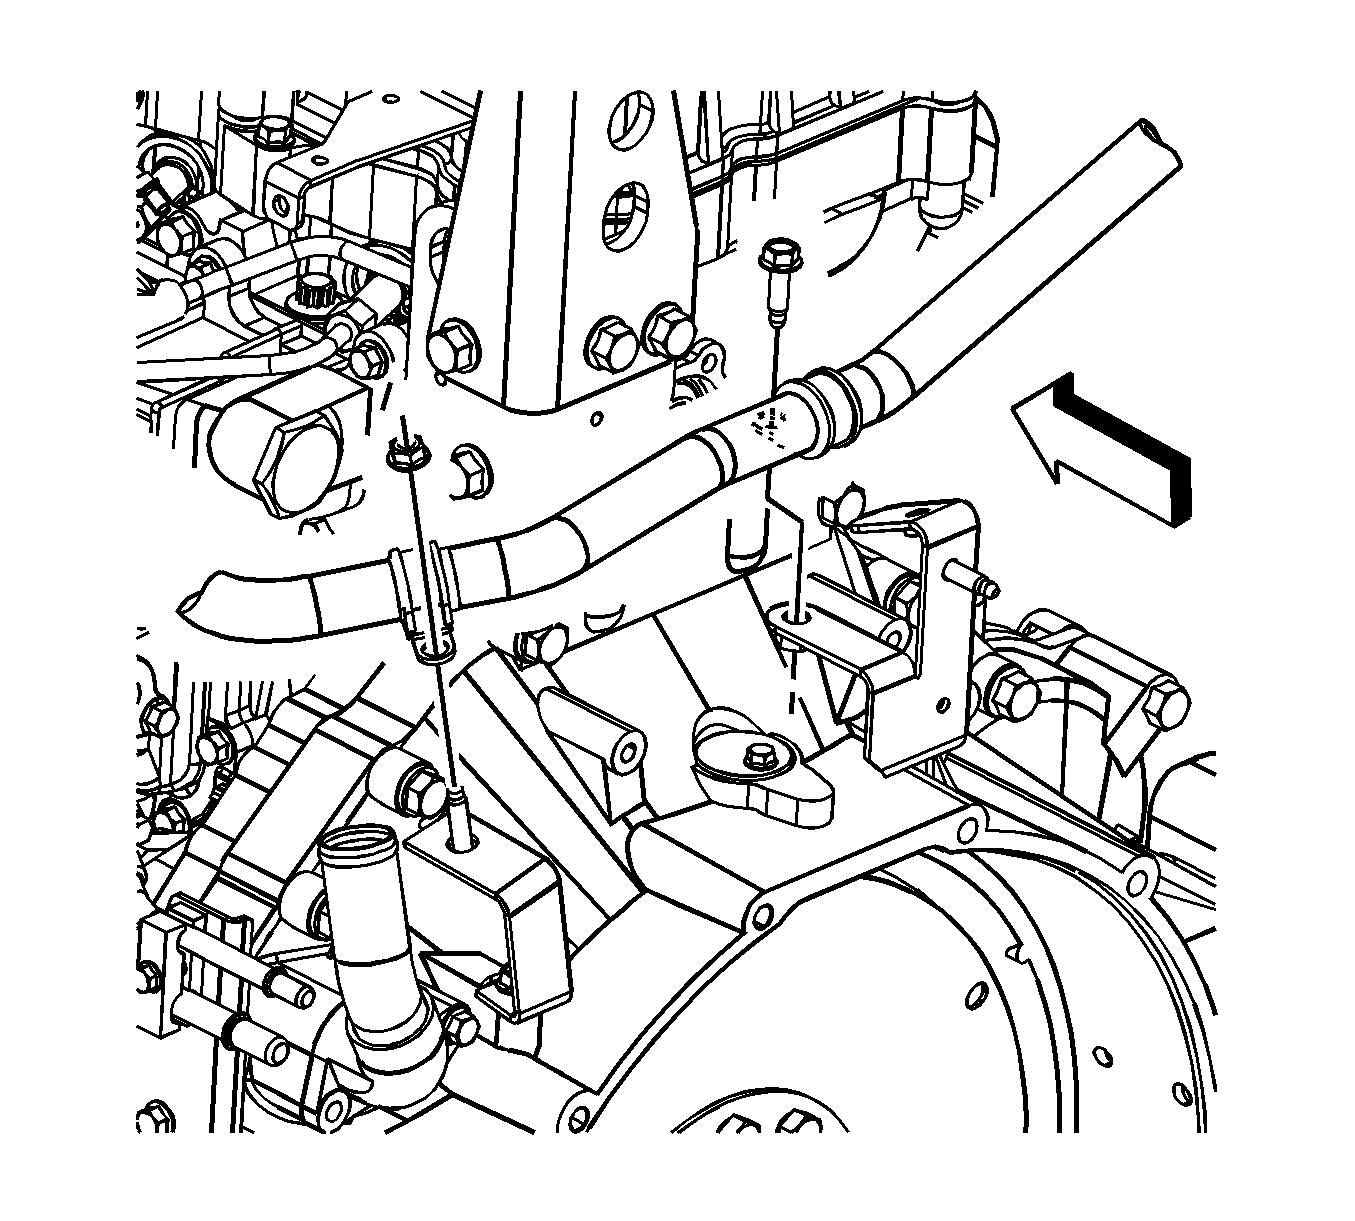
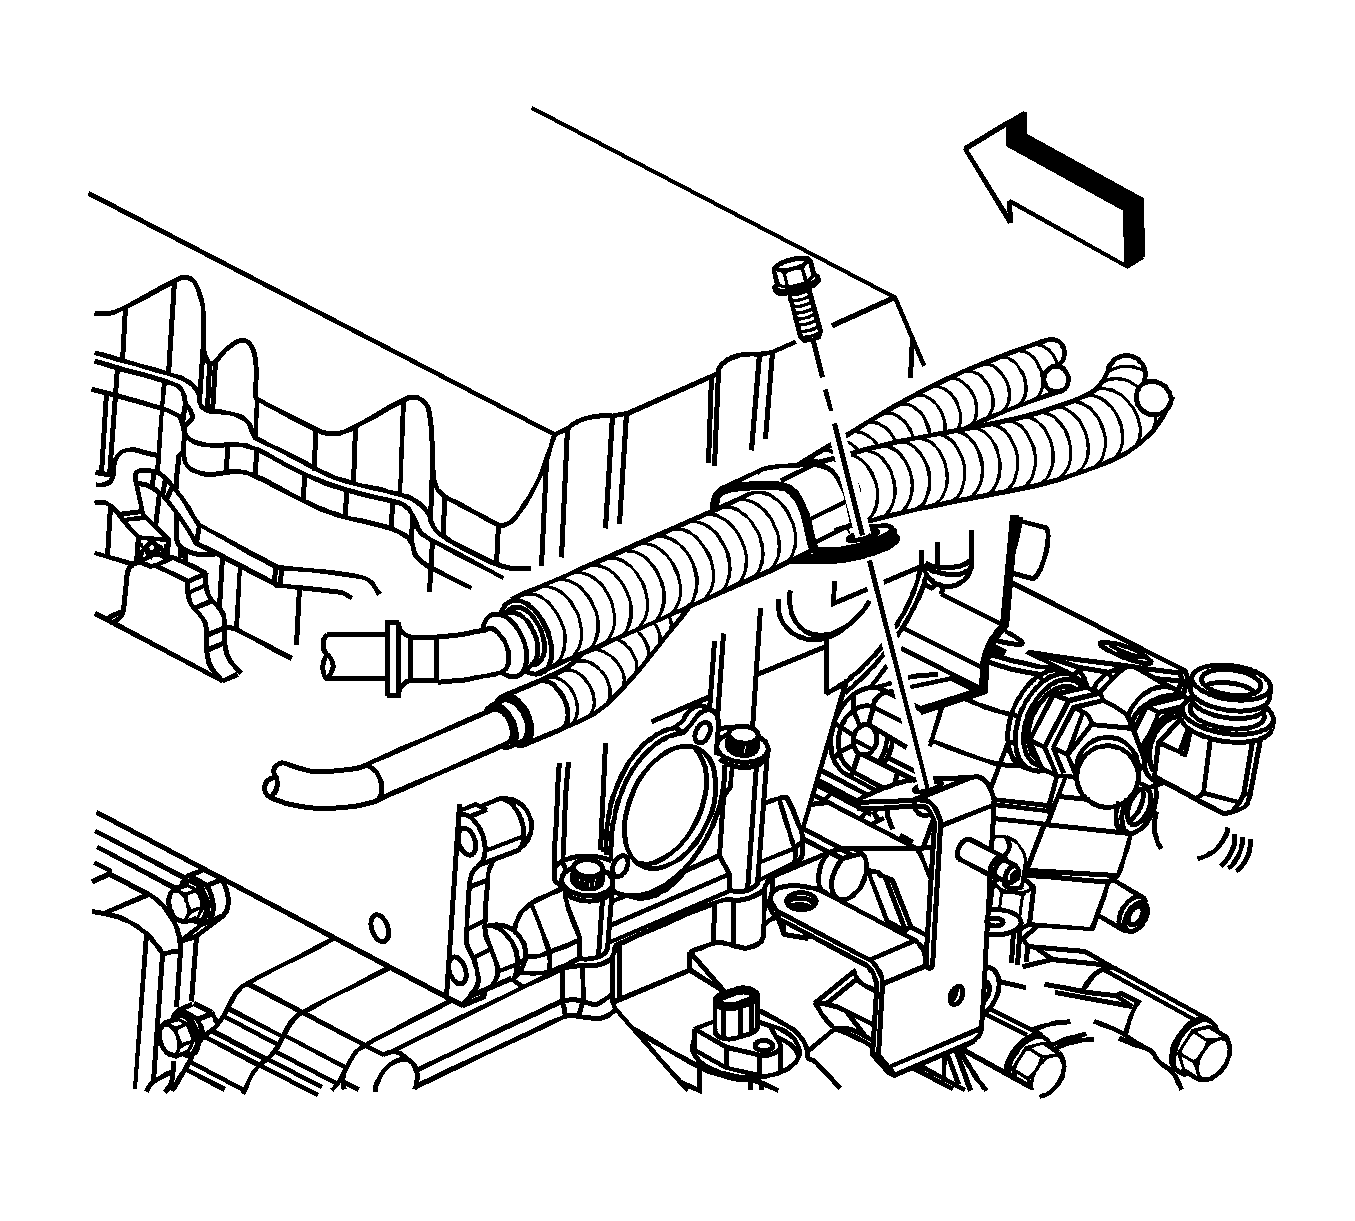
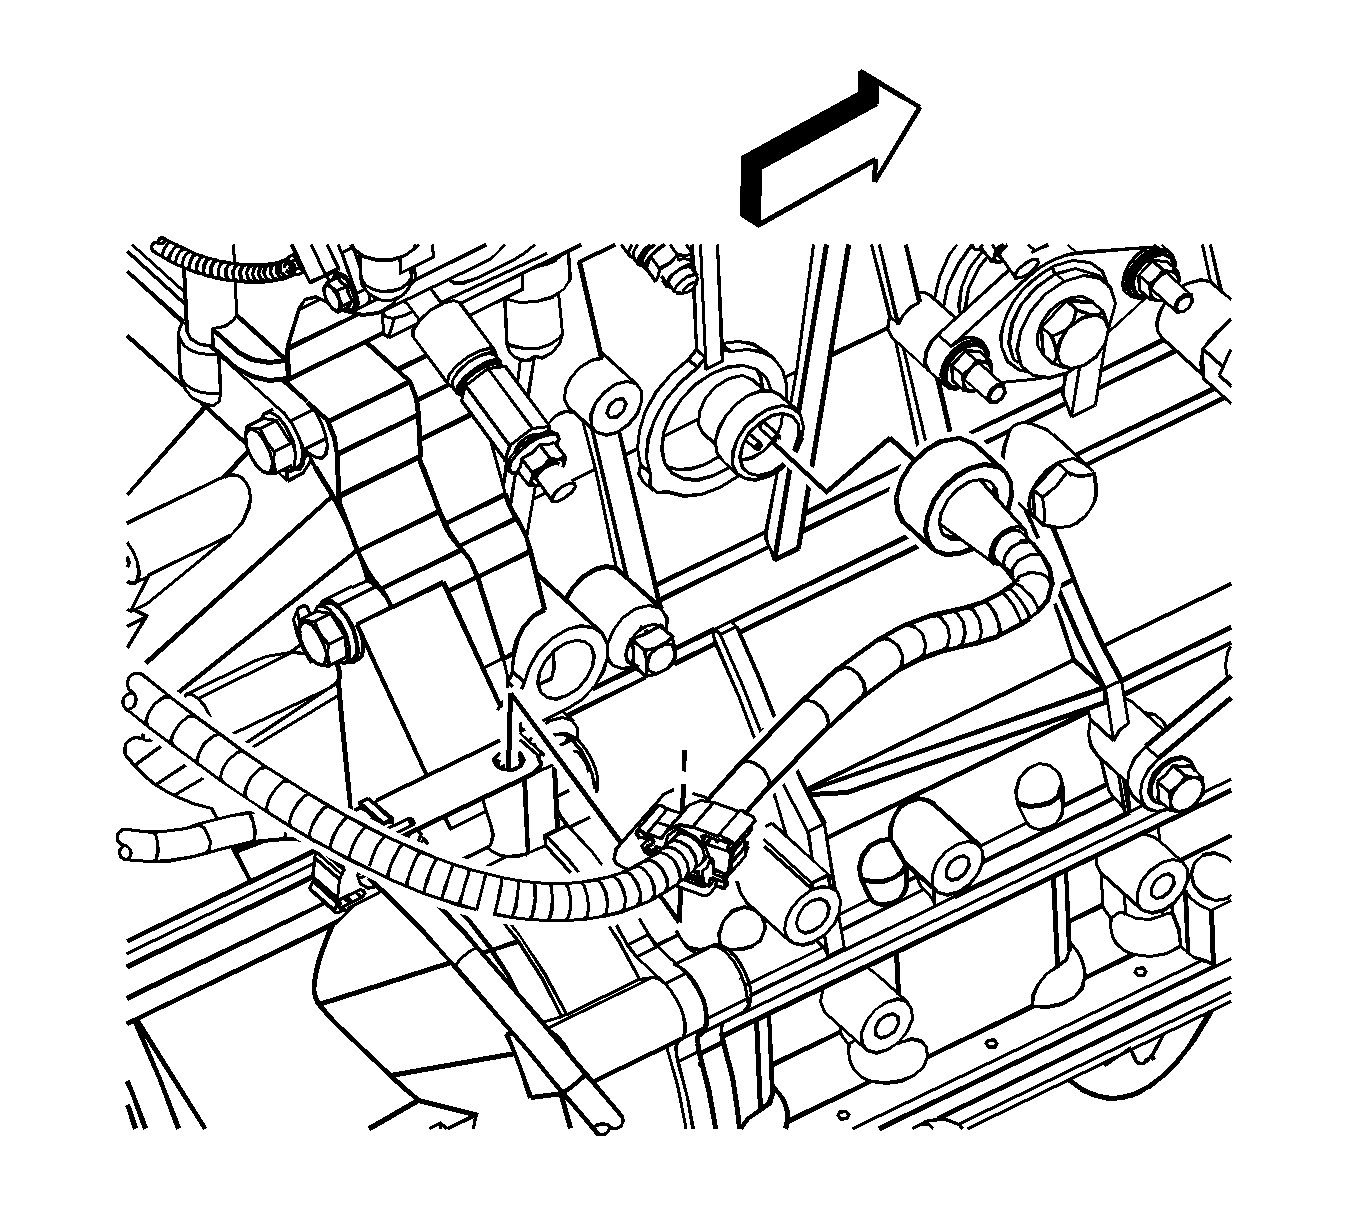
Important: Cap the fuel line and the fittings to prevent the fuel from leaking and dirt from entering the fuel system.
Installation Procedure
- Install the engine to the transmission.
- Install the front engine mount bolts. Refer to Engine Front Mount Bracket Replacement .
- Install the rear engine mount bolts. Refer to Engine Rear Mount Bracket Replacement .
- Install the engine to transmission bolts and exhaust hanger.
- Remove the overhead hoist.
- If equipped with an automatic transmission, install the torque convertor bolts to the torque convertor.
- Install the starter assembly. Refer to Starter Motor Replacement .
- Install the exhaust pipe to the intermediate pipe.
- Install the exhaust pipe to the exhaust pipe adapter.
- If equipped, connect the exhaust brake hose to the exhaust bracket actuator.
- If equipped, connect the auxiliary oil lines to the engine.
- Connect the fuel lines to the fuel supply pump pipes at the rear of the engine. Refer to Fuel Hose/Pipes Replacement - Filter to Engine .
- Install the ground straps to the frame and engine.
- Install the engine electrical harness to all the connectors.
- Install the rear engine electrical harness to the rear of the engine.
- Install the power steering hoses to the brackets.
- Install the front engine electrical harness to the retainers and the brackets.
- Install the radiator. Refer to Radiator Replacement .
- Install the charge air cooler and hoses. Refer to Charge Air Cooler Replacement .
- Install the air conditioning condenser assembly. Refer to Condenser Replacement .
- Install the radiator and heater hoses to the engine. Refer to Radiator Inlet Hose Replacement and Radiator Outlet Hose Replacement .
- Install the charge air inlet pipes.
- If equipped, install the air compressor and the lines. Refer to Air Compressor Replacement .
- Install the power steering pump. Refer to Power Steering Pump Replacement .
- Install the air conditioning compressor to the mounting bracket. Refer to Air Conditioning Compressor Replacement .
- Install the cab bridge. Refer to Rear Body Mount Bracket Replacement .
- Install the radiator surge hose and brackets to the engine. Refer to Radiator Surge Tank Replacement .
- Connect the radiator surge hose.
- Install the engine oil fill tube to the cab bridge with the engine oil fill tube fastener.
- Install the air intake duct to the turbocharger and the air intake pipe with clamps.
- Install the air intake pipe to the support bridge with the fasteners.
- Connect the negative battery cables. Refer to Battery Negative Cable Disconnection and Connection .
- Lower the cab.
- Fill the engine cooling system with the proper type and quantity of coolant.
- Fill the engine crankcase with the proper grade and quantity of engine oil.
- Charge the A/C system.
Notice: Refer to Fastener Notice in the Preface section.
Tighten
Tighten the front engine mount bolts to 55 N·m (41 lb ft).
Tighten
Tighten the torque converter bolts to 67 N·m (49 lb ft).


Important: Inspect all fluid levels before starting the engine.
