Tools Required
| • | J 41816 Crankshaft Balancer Remover |
| • | J 41816-2 Crankshaft End Protector |
| • | J 42386-A Flywheel Holding Tool |
| • | J 41665 Crankshaft Balancer and Sprocket Installer |
Removal Procedure
- Remove the air conditioning (A/C) drive belt. Refer to Air Conditioning Compressor Belt Replacement ..
- Remove the power steering gear. Refer to Steering Gear Replacement in Power Steering System.
- Remove the starter motor. Refer to Starter Motor Replacement in Engine Electrical.
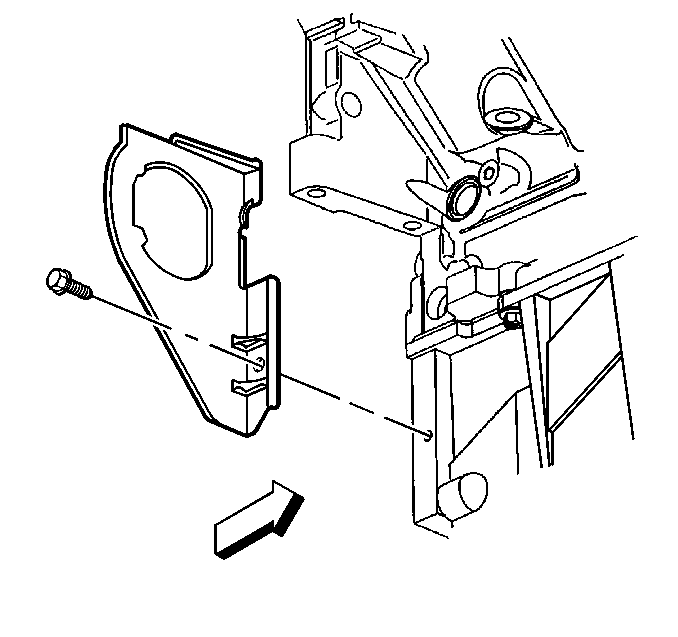
- Remove the right transmission cover and bolt.
- Install the J 42386-A and bolts.
- Remove the crankshaft balancer bolt (139).
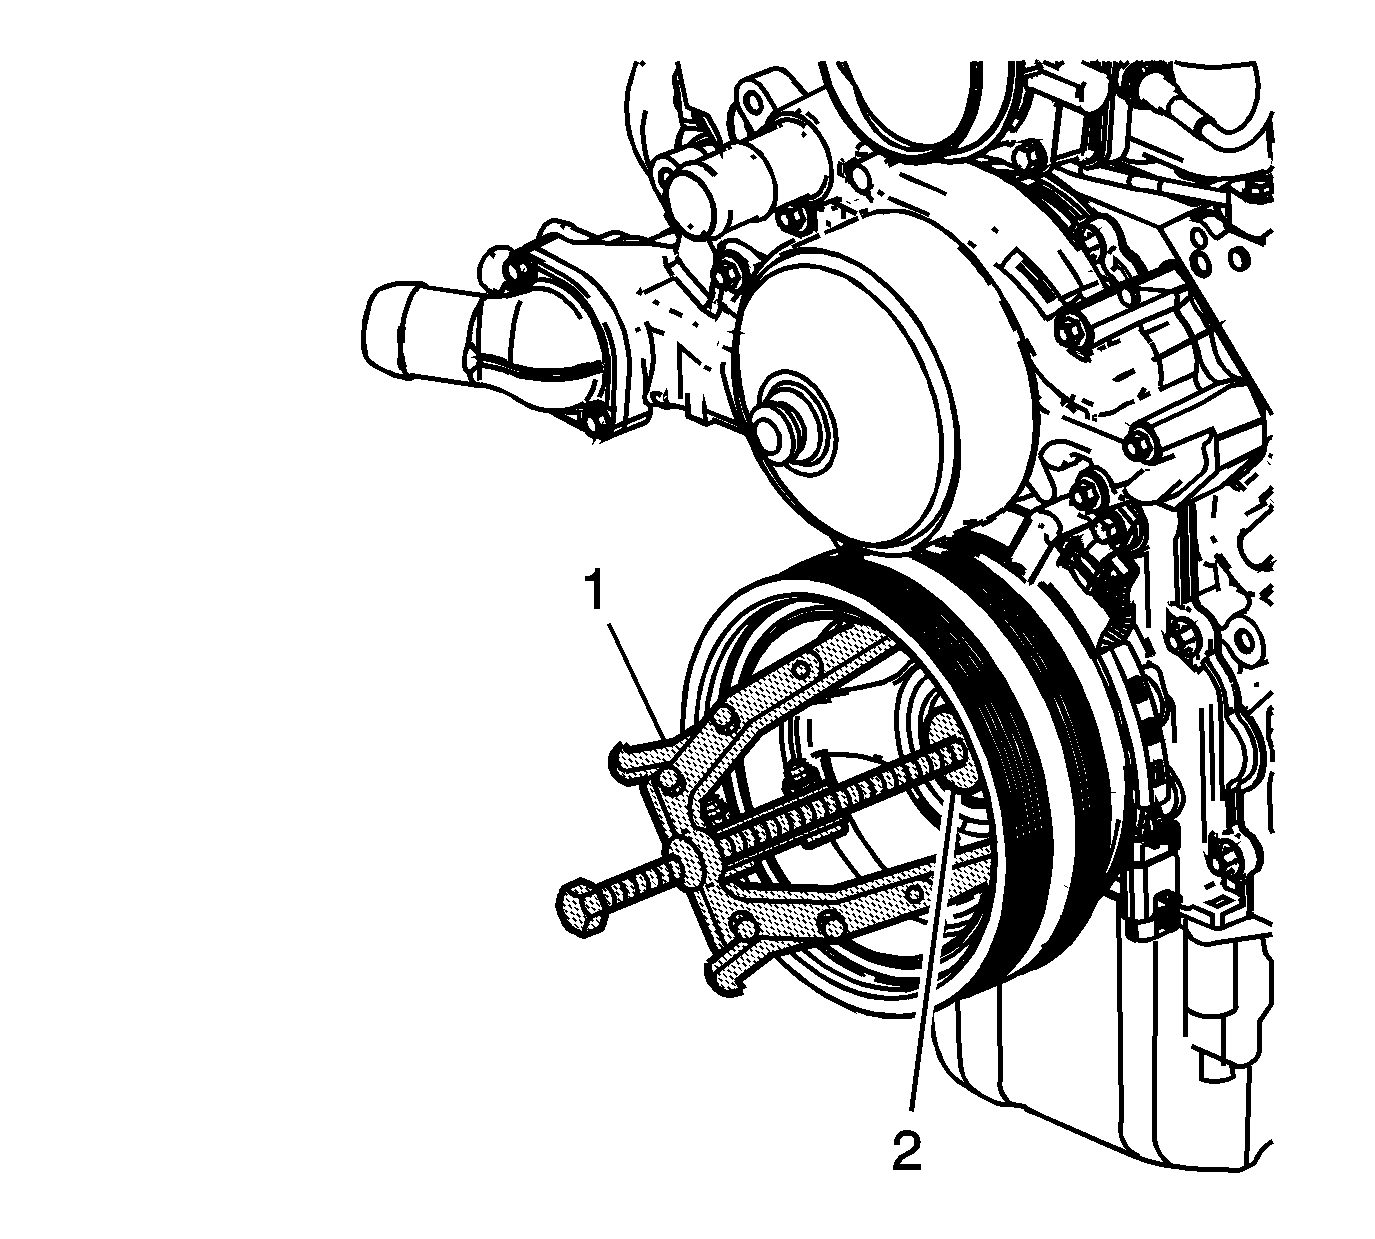
- Use the J 41816 (1) and the J 41816-2 (2) in order to remove the crankshaft balancer.
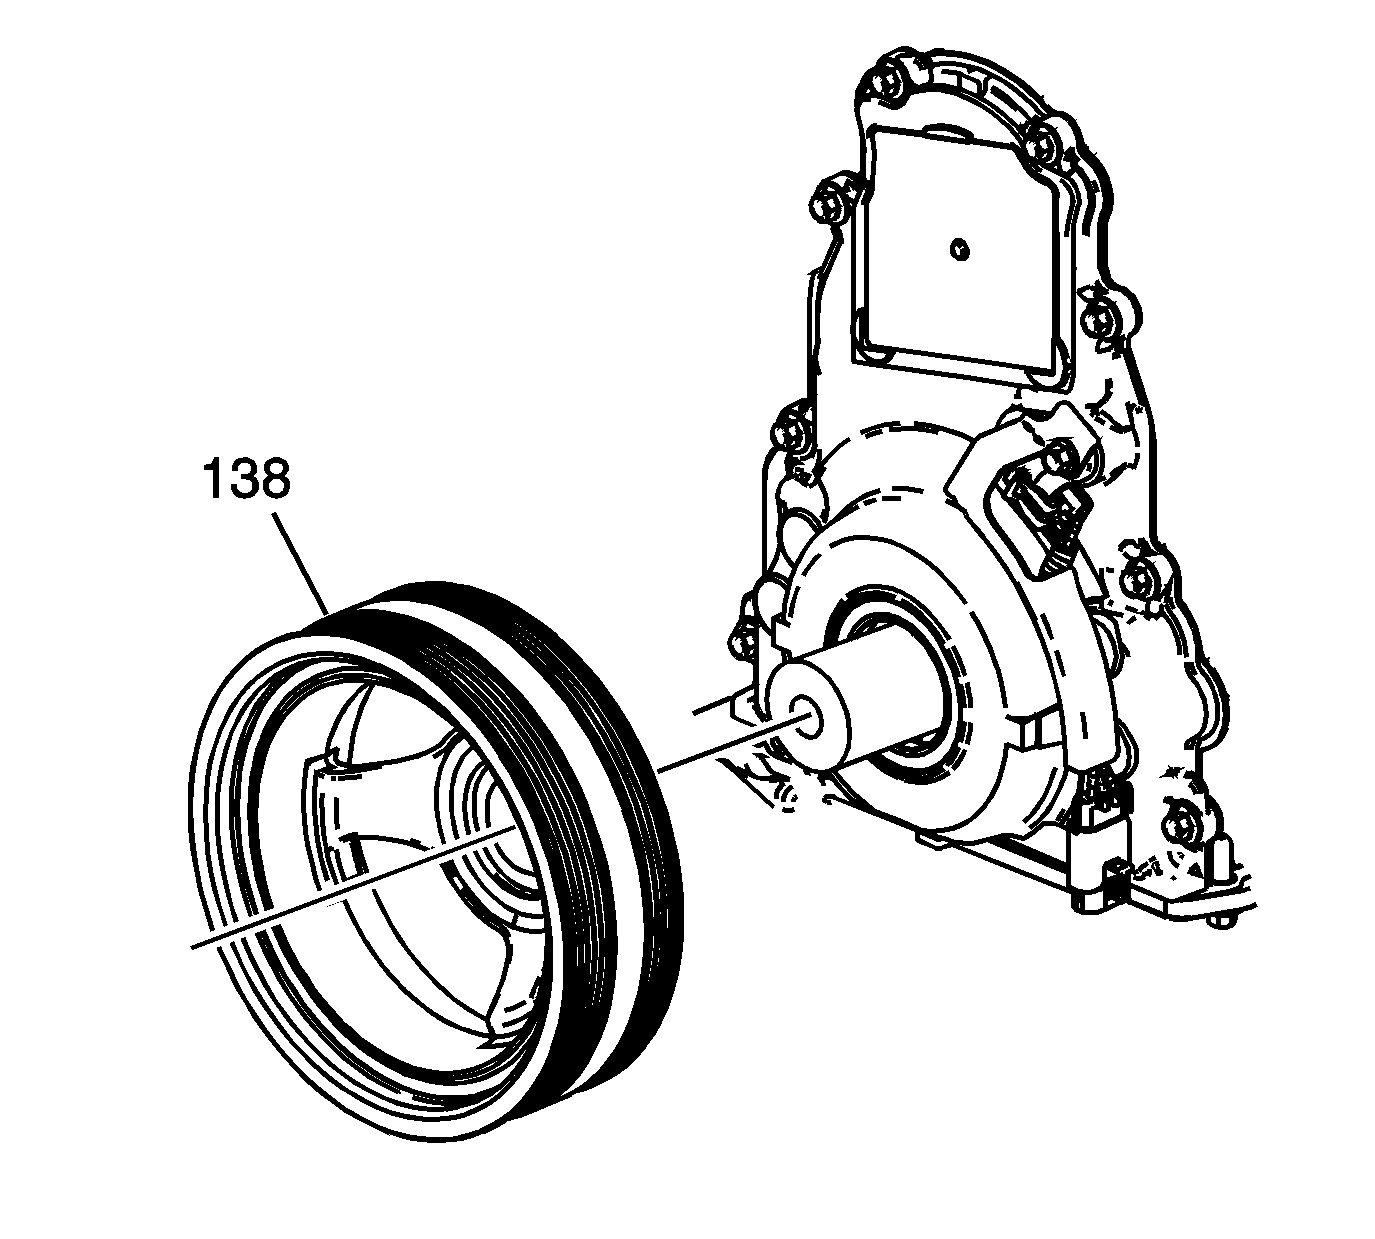
- Remove the crankshaft balancer (138).
Notice: Refer to Fastener Notice in the Preface section.
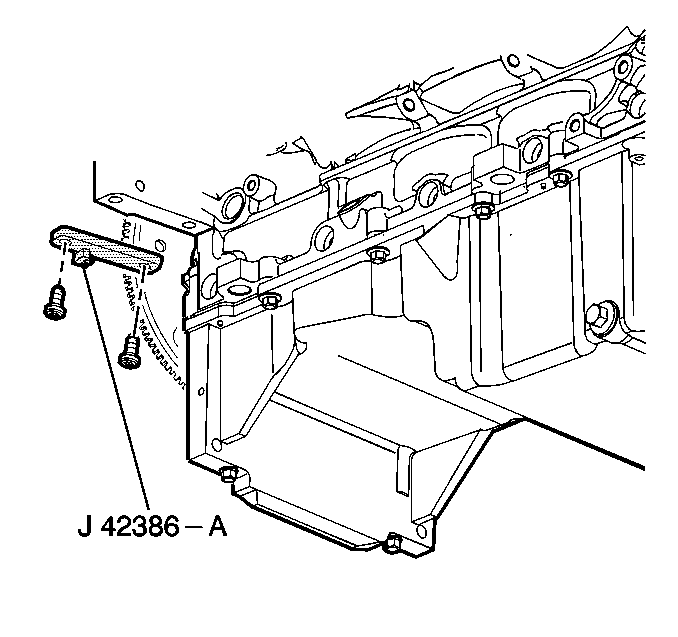
Use one M10 - 1.5 x 120 mm and one M10 - 1.5 x 45 mm bolt for proper tool operation.
Tighten
Tighten the
J 42386-A
bolts to 50 N·m (37 lb ft).
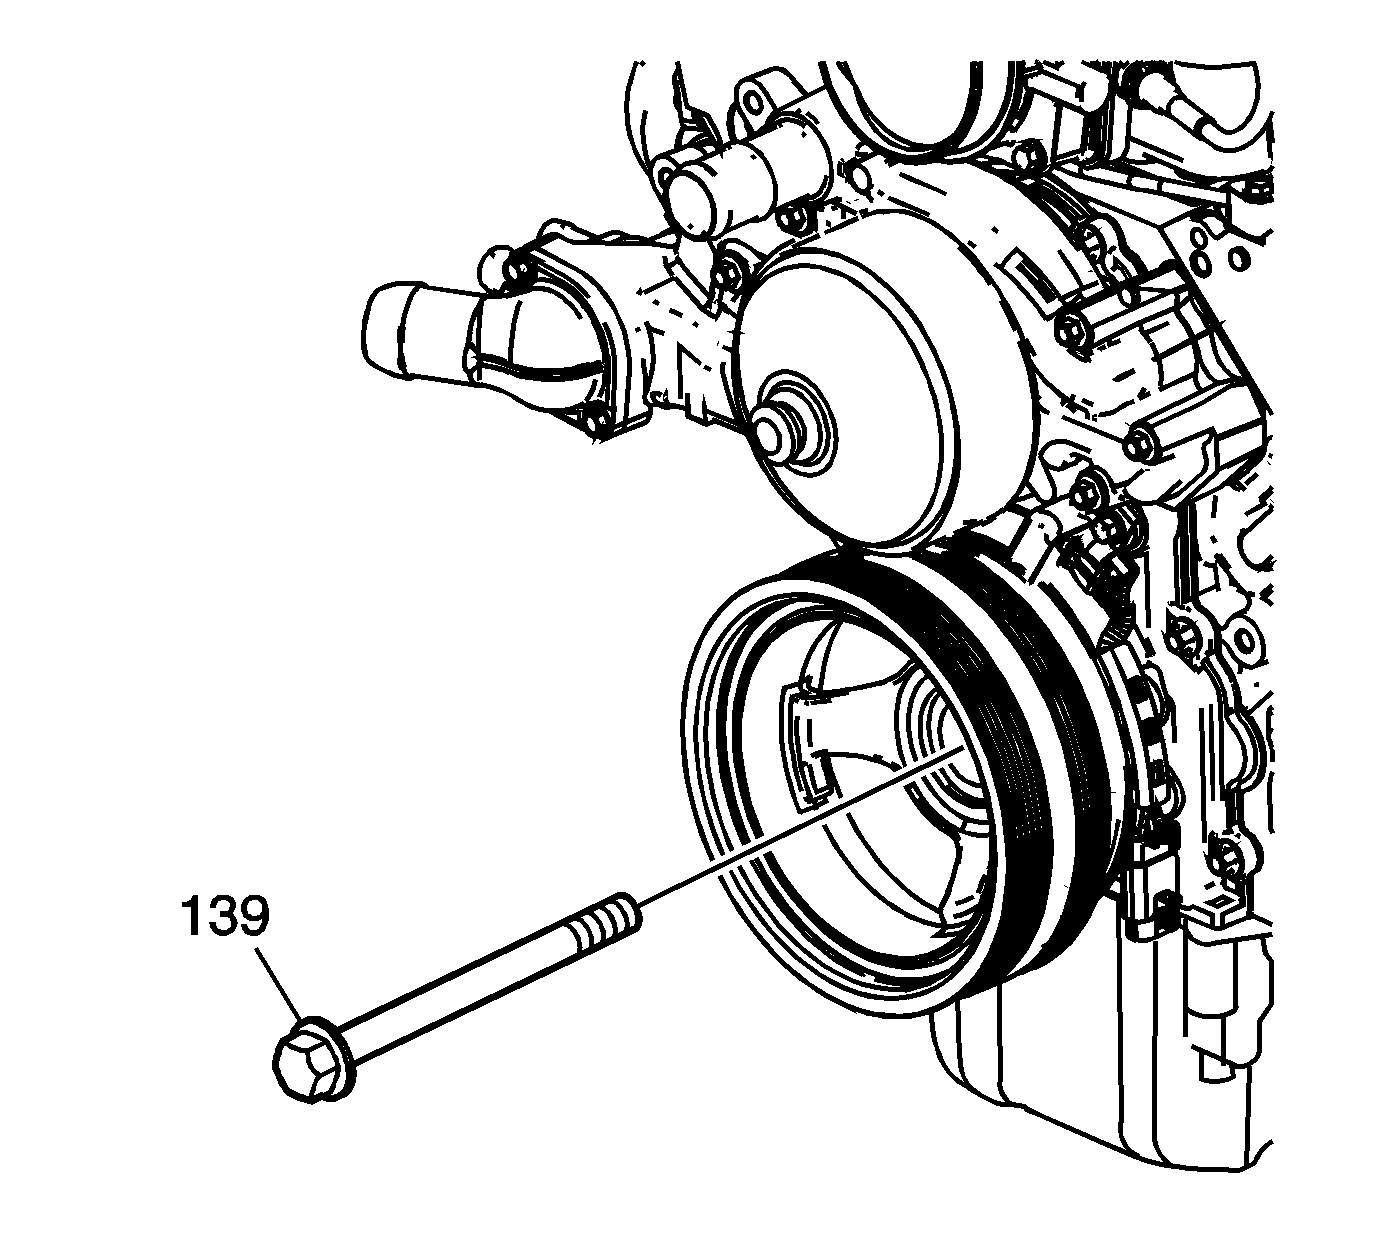
Important: Do not discard the crankshaft balancer bolt. The balancer bolt will be used during the first pass only of the balancer installation procedure. Install a NEW crankshaft balancer bolt at second pass, during final assembly.
Installation Procedure
- Install the J 42386-A and bolts.
- Position the balancer (138) onto the end of the crankshaft.
- Use the J 41665 in order to install the balancer.
- Install the used crankshaft balancer bolt (139).
- Remove the used crankshaft balancer bolt.
- Measure for a correctly installed balancer.
- Install the NEW crankshaft balancer bolt (139).
- Tighten the crankshaft balancer bolt a first pass to 50 N·m (37 lb ft).
- Tighten the crankshaft balancer bolt a second pass to 140 degrees using the J 45059 .
- Remove the J 42386-A .
- Install the starter motor. Refer to Starter Motor Replacement in Engine Electrical.
- Install the power steering gear. Refer to Steering Gear Replacement in Power Steering System.
- Install the A/C drive belt. Refer to Air Conditioning Compressor Belt Replacement .
- Perform the crankshaft position (CKP) system variation learn procedure. Refer to Crankshaft Position System Variation Learn in Engine Controls - 6.0L.
Notice: Refer to Fastener Notice in the Preface section.

Important:
• The crankshaft balancer installation and bolt tightening involves a 4 stage tightening process. The first pass ensures that the balancer is installed completely onto the crankshaft. The second, third and fourth passes tighten the NEW bolt
to the proper torque. • The used crankshaft balancer bolt is used only during the first pass of the balancer installation procedure. Install a NEW crankshaft balancer bolt and tighten as described in the second, third and fourth passes of the balancer bolt tightening procedure.
Use one M10 - 1.5 x 120 mm and one M10 - 1.5 x 45 mm bolt for proper tool operation.
Tighten
Tighten the
J 42386-A
bolts to 50 N·m (37 lb ft).
Important: The balancer should be positioned onto the end of the crankshaft as straight as possible prior to tool installation.
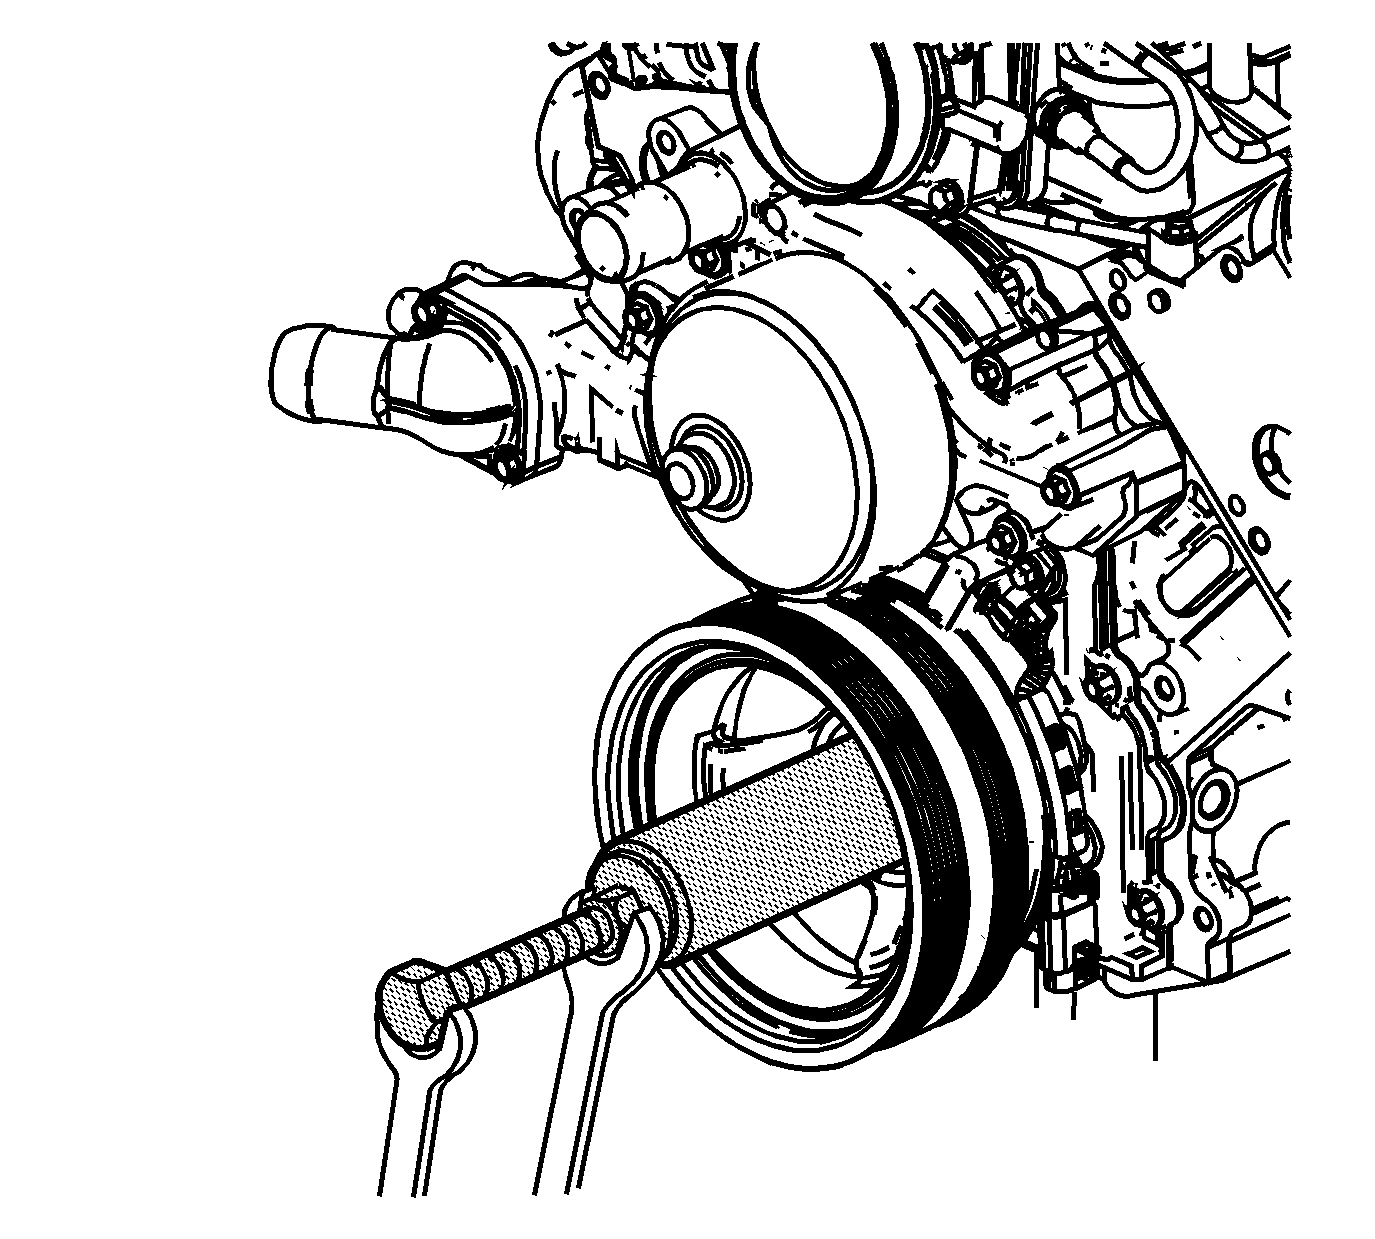
| 3.1. | Assemble the threaded rod, nut, washer and installer. |
Insert the smaller end of the installer into the front of the balancer.
| 3.2. | Use a wrench and hold the hex end of the threaded rod. |
| 3.3. | Use a second wrench and rotate the installation tool nut clockwise, until the balancer is started onto the crankshaft. |
| 3.4. | Remove the tool and reverse the installation tool. |
Position the larger end of the installer against the front of the balancer.
| 3.5. | Use a wrench and hold the hex end of the threaded rod. |
| 3.6. | Use a second wrench and rotate the installation tool nut clockwise, until the balancer is installed onto the crankshaft. |
| 3.7. | Remove the balancer installation tool. |

Tighten
Tighten the crankshaft balancer bolt to 330 N·m (240 lb ft).
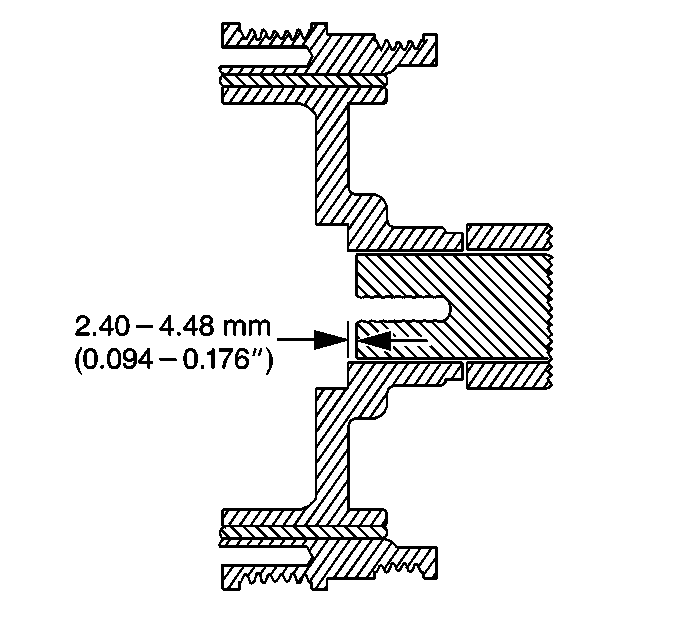
Important: The nose of the crankshaft should be recessed 2.4-4.48 mm (0.094-0.176 in) into the balancer bore.
If the balancer is not installed to the proper dimensions, install the J 41665 and repeat the installation procedure.

Tighten
