For 1990-2009 cars only
Removal Procedure
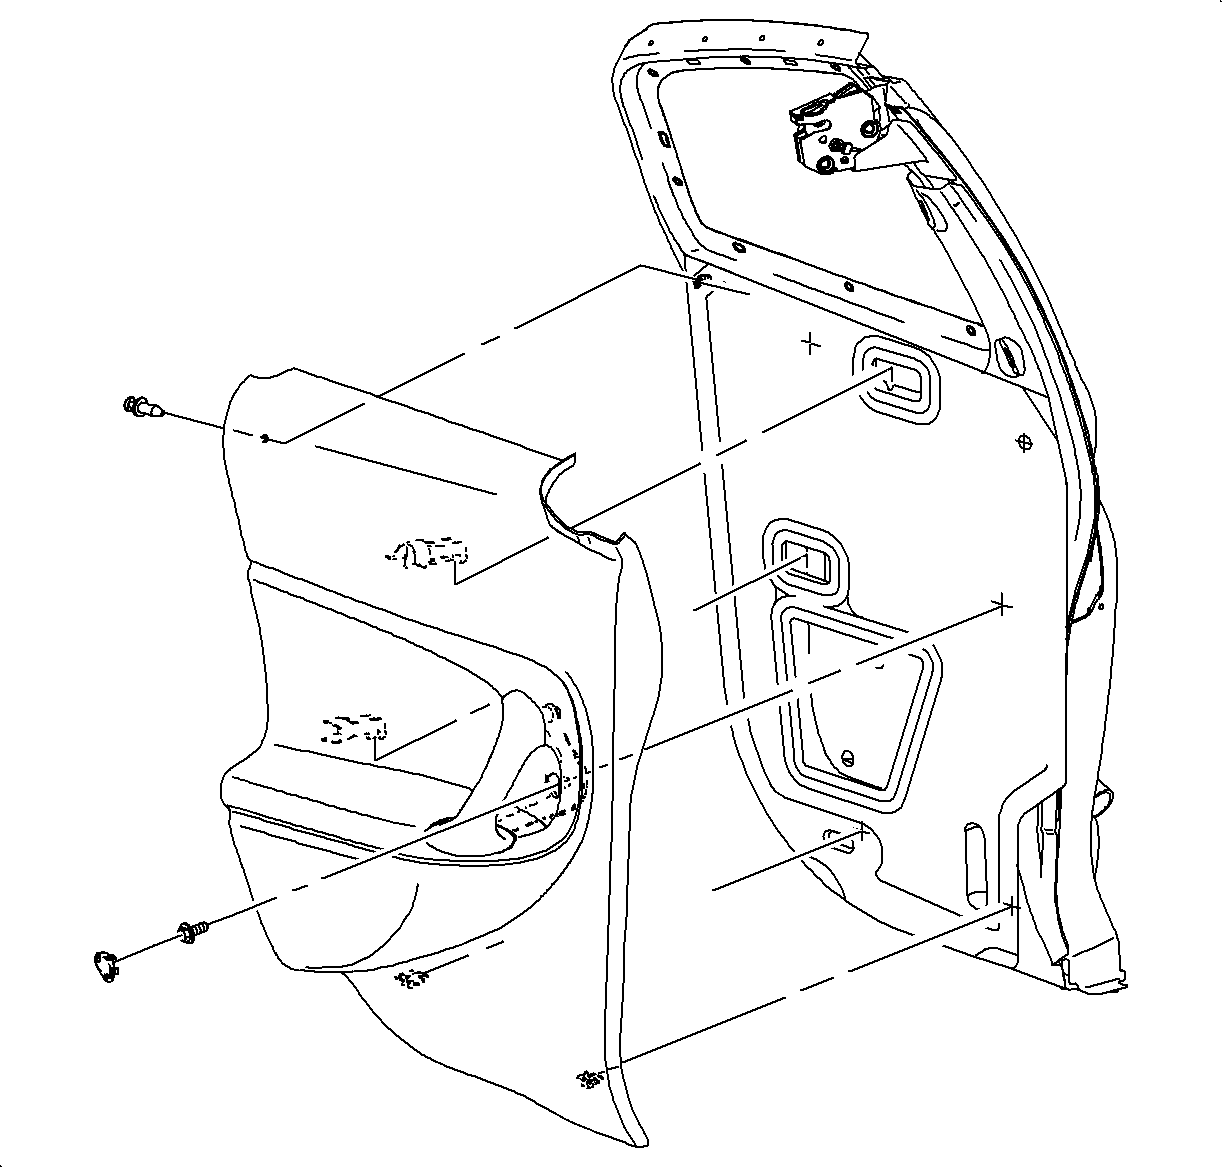
- Remove the lower trim panel. Refer to Rear Side Door Trim Panel Replacement .
- Partially remove the water deflector.
- Remove the lower latch sound barrier. Refer to Lower Latch Sound Barrier - Rear Door .
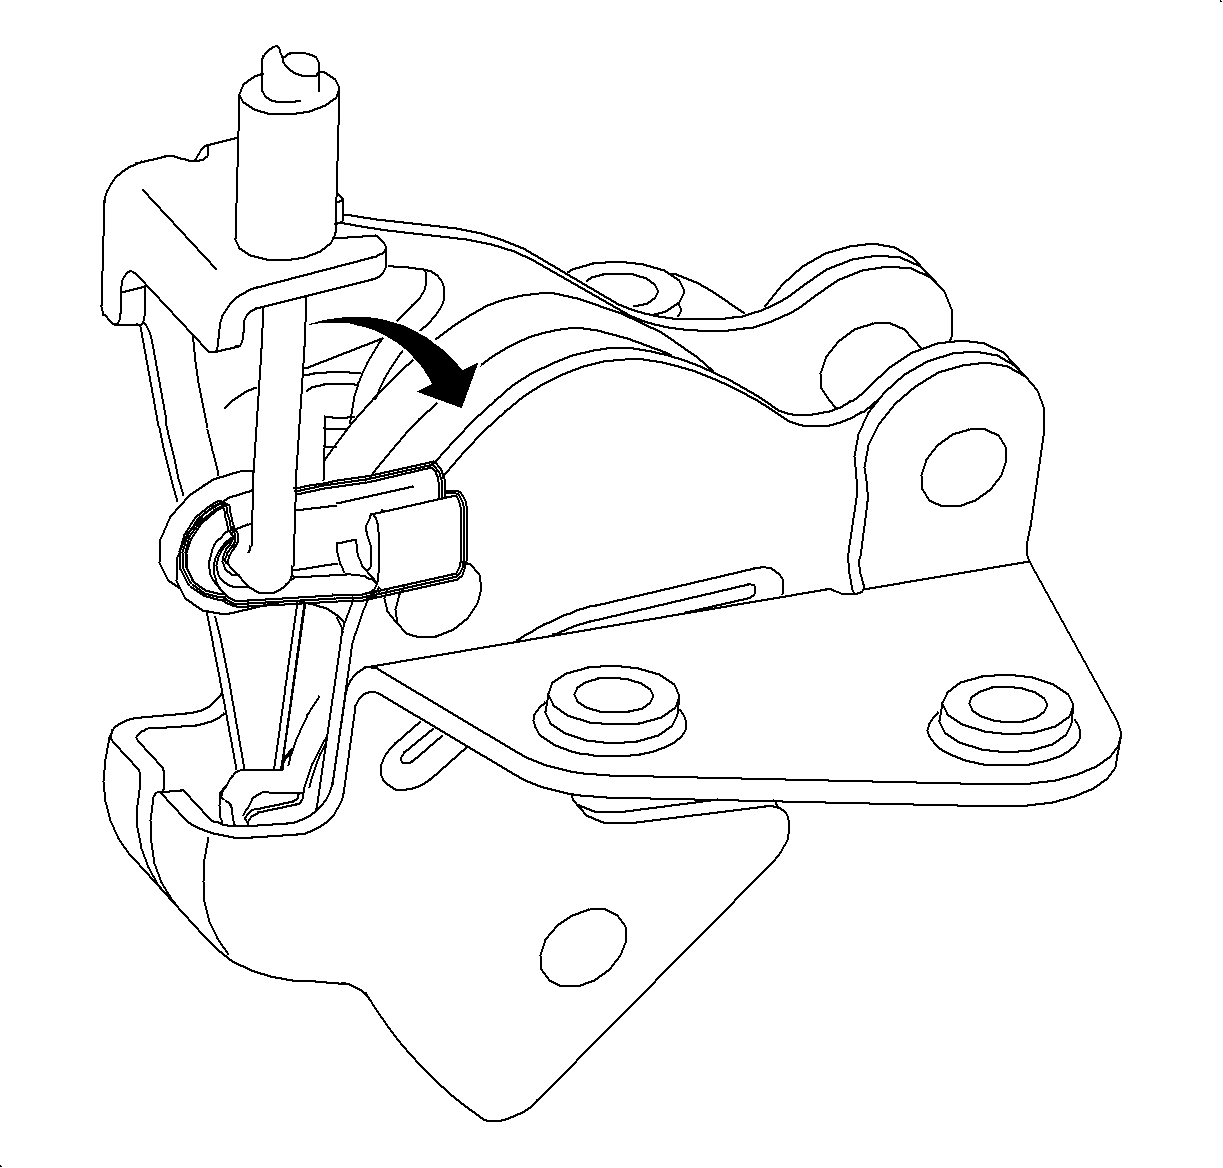
- Remove the cable from the lower latch. Rotate the plastic clip off of the cable and remove the cable from the bracket on the latch.
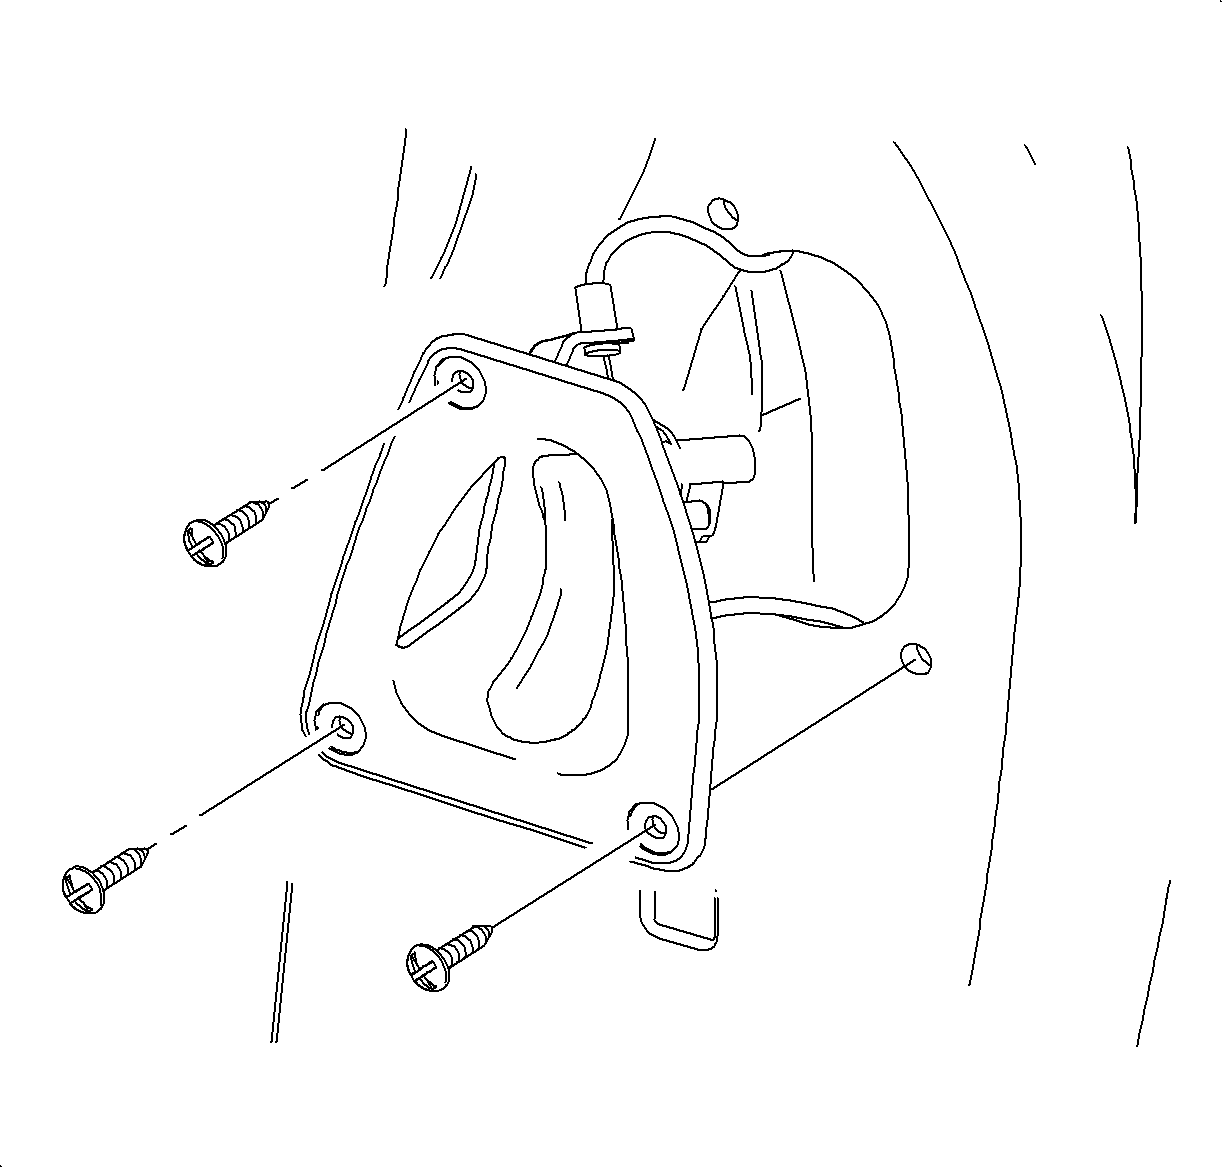
- Remove the rear side door handle and disengage the lower latch cable. Refer to Release Handle - Rear Door .
- Remove the cable from the door.
Installation Procedure
- Route the cable into the door from the door handle location.
- Install the cable to the rear side door handle.
- Install the cable to the latch by engaging the plastic clip and then pressing the cable into the bracket on the latch.
- Install the rear side door handle. Refer to Release Handle - Rear Door .
- Check the operation. Both the upper and lower latches must release prior to the handle reaching the end of its travel.
- Install the lower latch sound barrier. Refer to Lower Latch Sound Barrier - Rear Door .
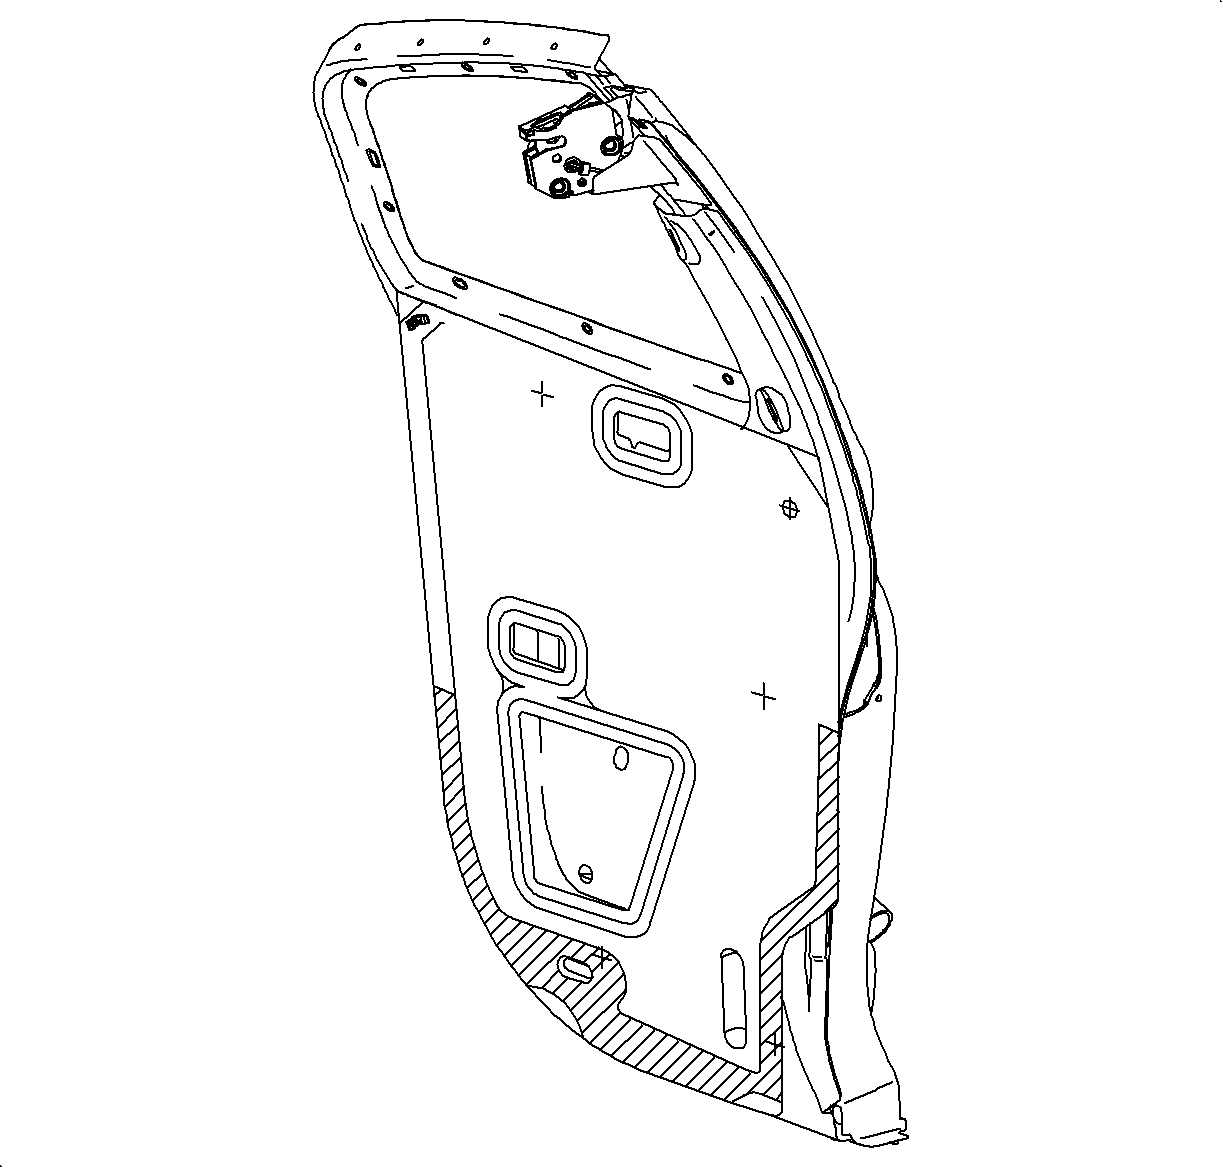
- Install the water deflector. Refer to Rear Side Door Water Deflector Replacement . Be sure that there are no wrinkles in the area indicated on the illustration.
- Install the lower trim panel. Refer to Rear Side Door Trim Panel Replacement .
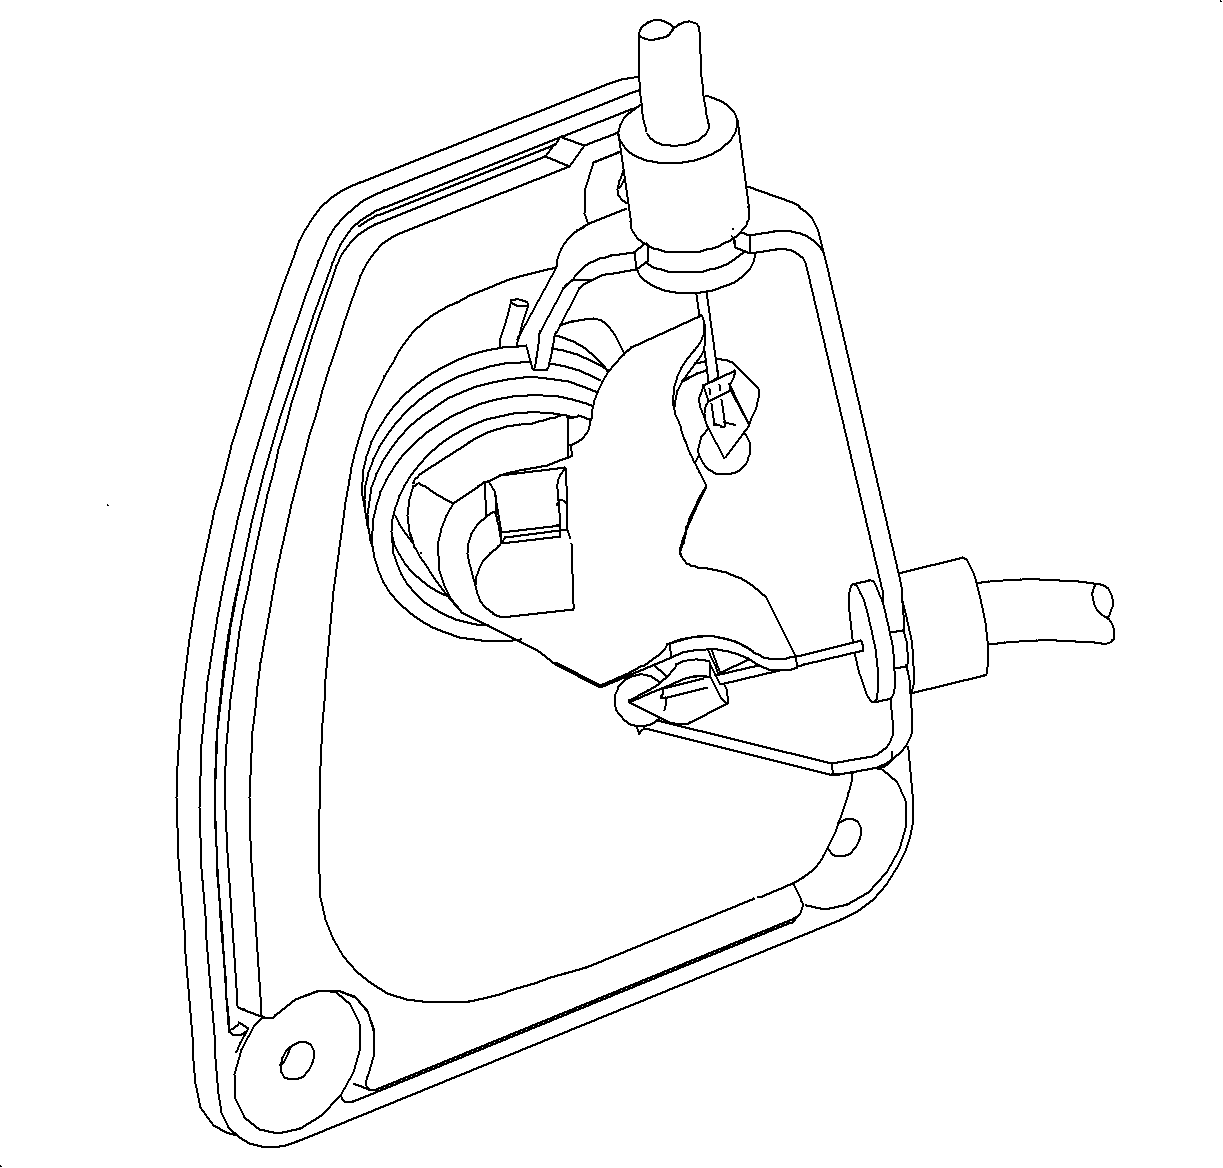
Important: Be sure to route the cable under the cable guide feature of the handle.
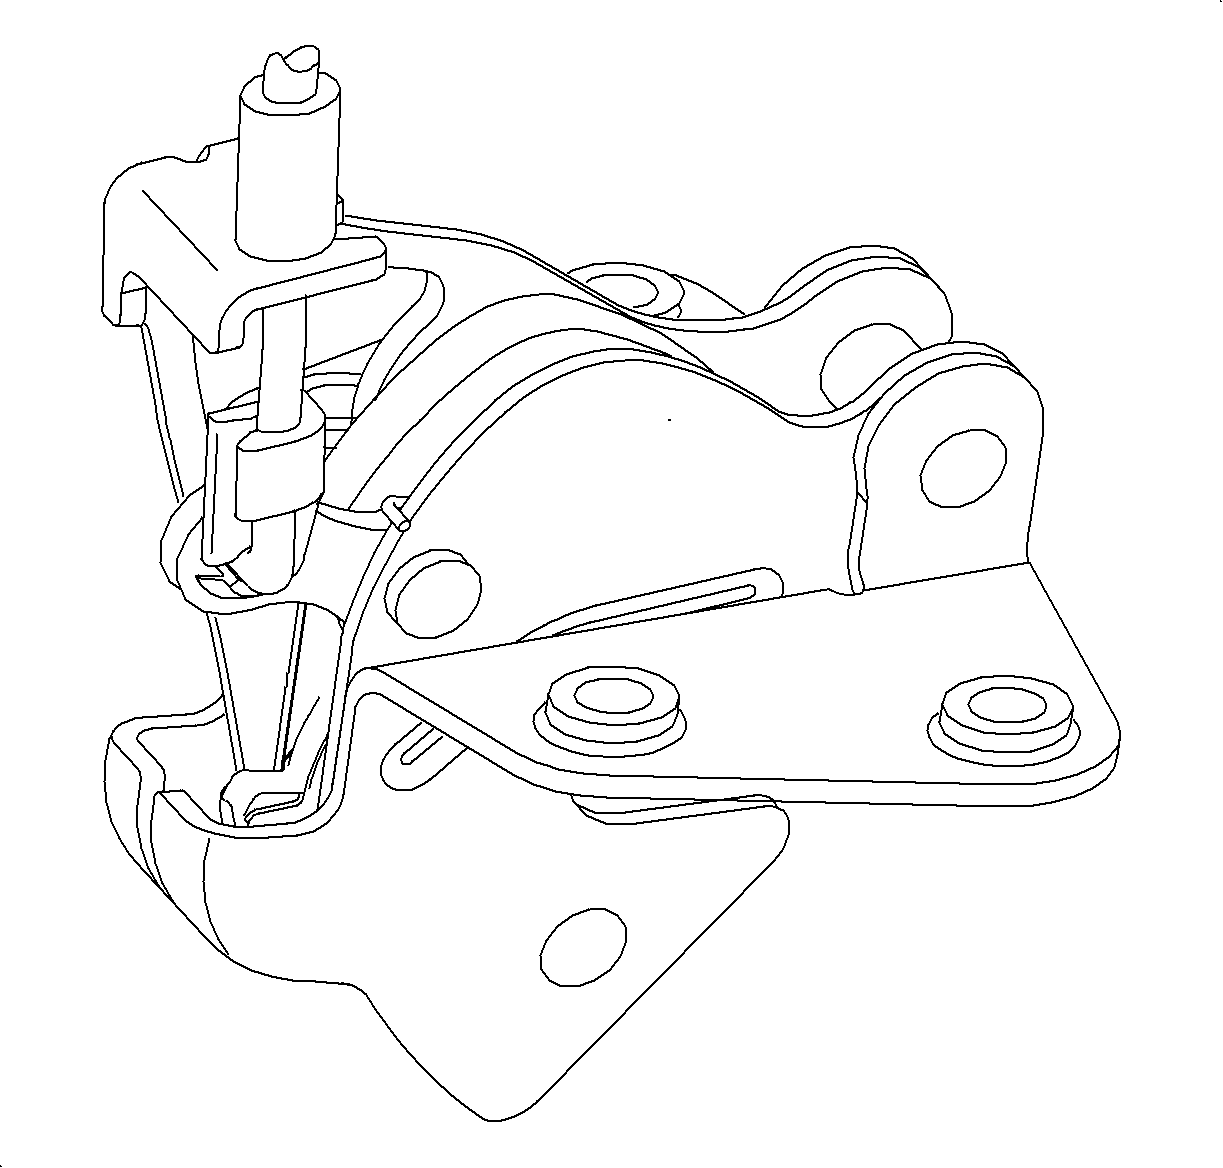
Notice: Refer to Fastener Notice in the Preface section.

Tighten
Tighten the rear side door release handle fasteners (Coupe) to 2.5 N·m
(23 lb in).
