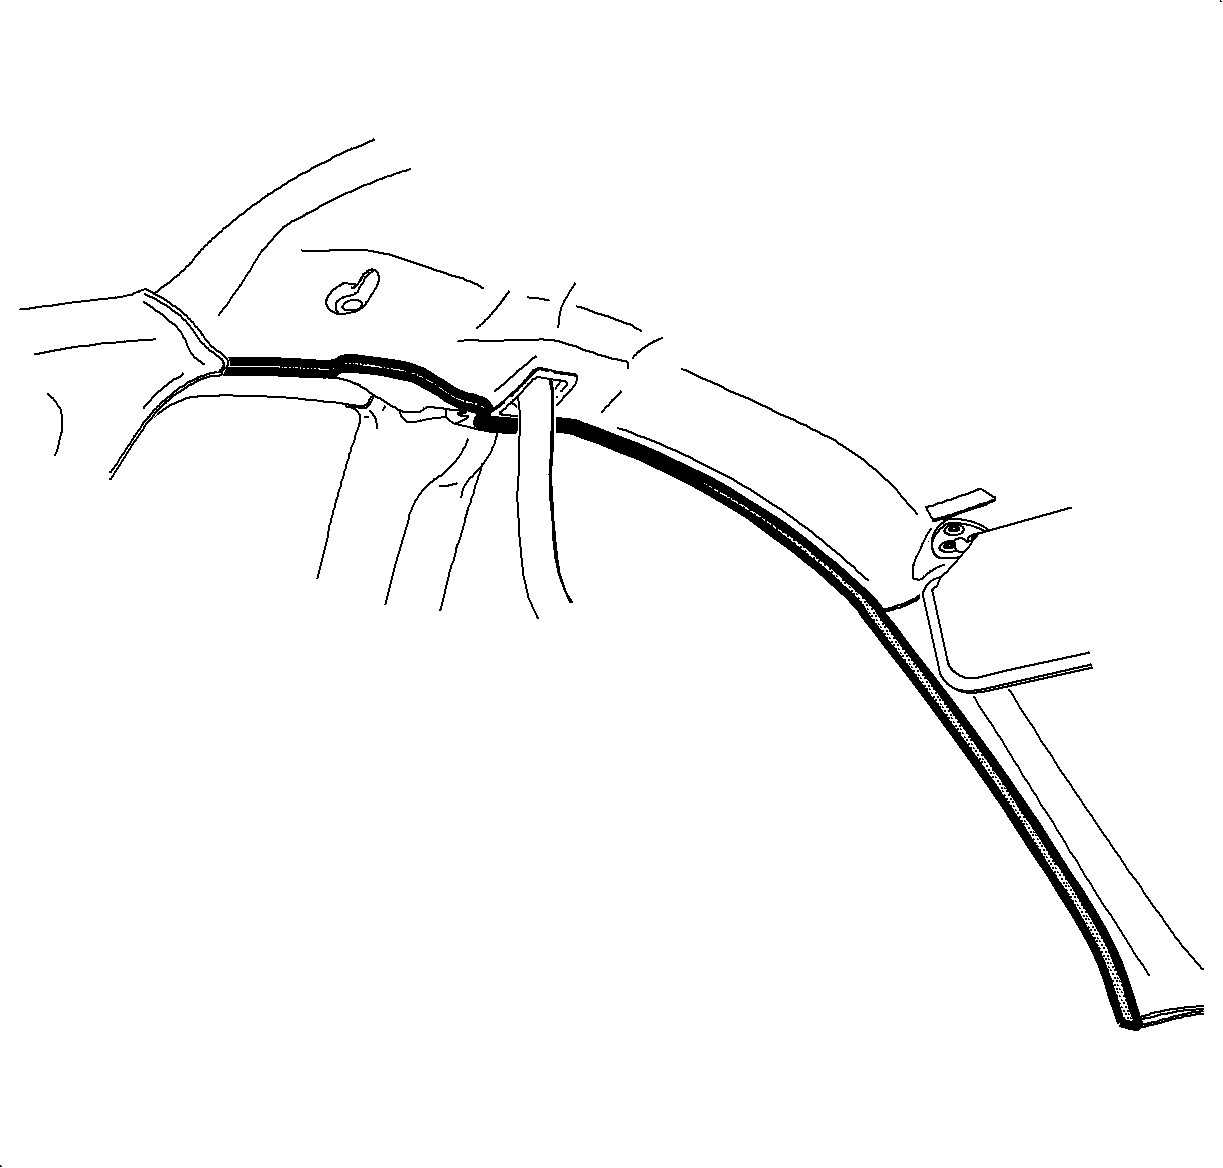
Trim Channel Replacement - Head Curtain 2nd Design
Removal Procedure
Some 2nd design vehicles may be equipped with an optional head curtain inflator module. Please read the following cautions before removing or installing vehicle components located near these supplementary restraint devices
Notice: Use care when working around the head curtain inflator module. Sharp tools may puncture the curtain airbag. If the head curtain inflator module is damaged in any way, it must be replaced.
Notice: If a vehicle is equipped with a head curtain inflator module ensure that the inflator module and tether are undamaged. If tether or curtain airbag are damaged in any way, they must be replaced.
Caution: The head curtain inflator module tethers must be routed correctly. Improper routing may result in personal injury or improper curtain airbag deployment.
Important: Before removing, note the position of the door weatherstrip over the edge of the headliner.
- Disable the head curtain inflator module, if equipped. Refer to Disabling the SIR System
- Remove the striker cover. Refer to Striker Cover Replacement
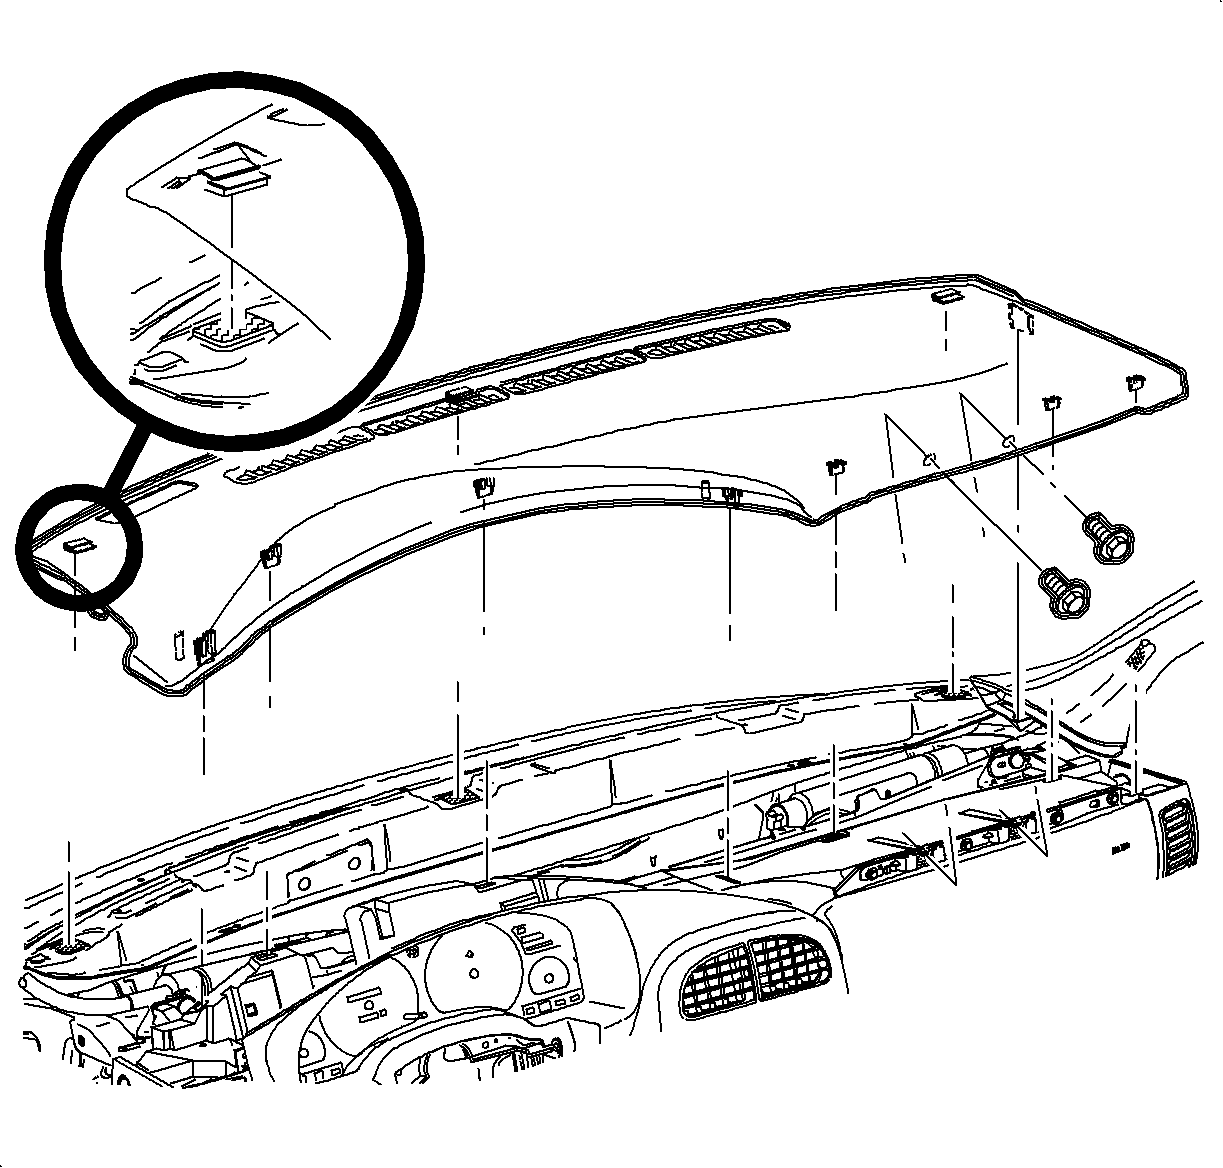
- Remove the headliner. Refer to Headlining Trim Panel Replacement
- Remove the head curtain inflator module bolt attached to the seat belt bracket, if equipped with the head curtain inflator module.
- Remove the left front seat belt. Refer to Seat Belt Retractor Replacement - Right Front
- If the vehicle is equipped with a head curtain inflator module: Disengage the curtain airbag channel ties that keep the airbag in position.
- To remove the channel, do the following:
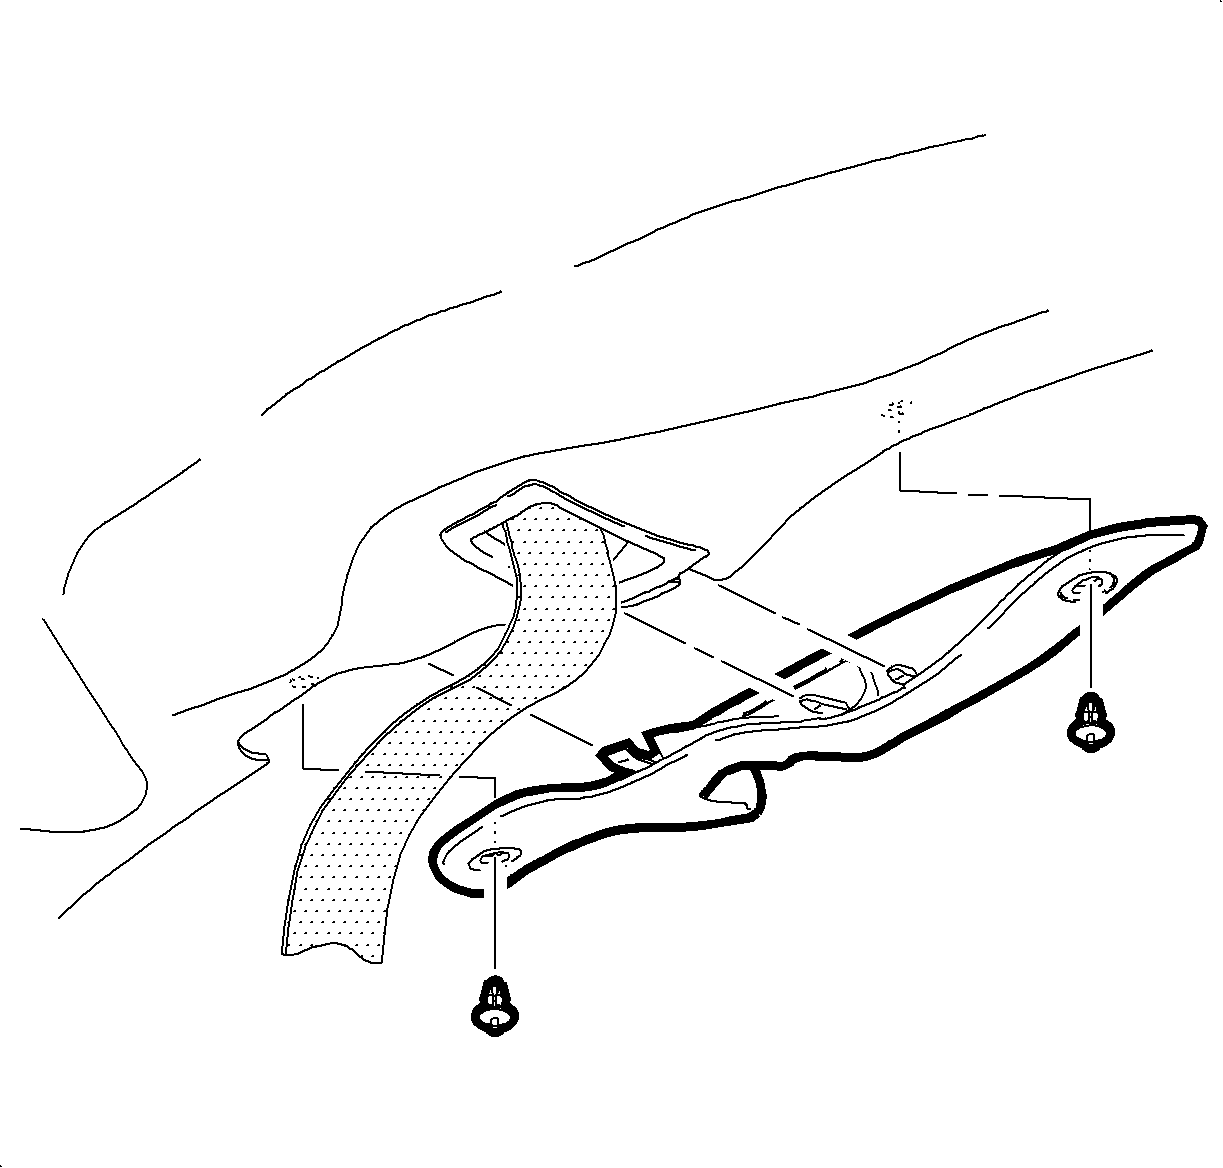
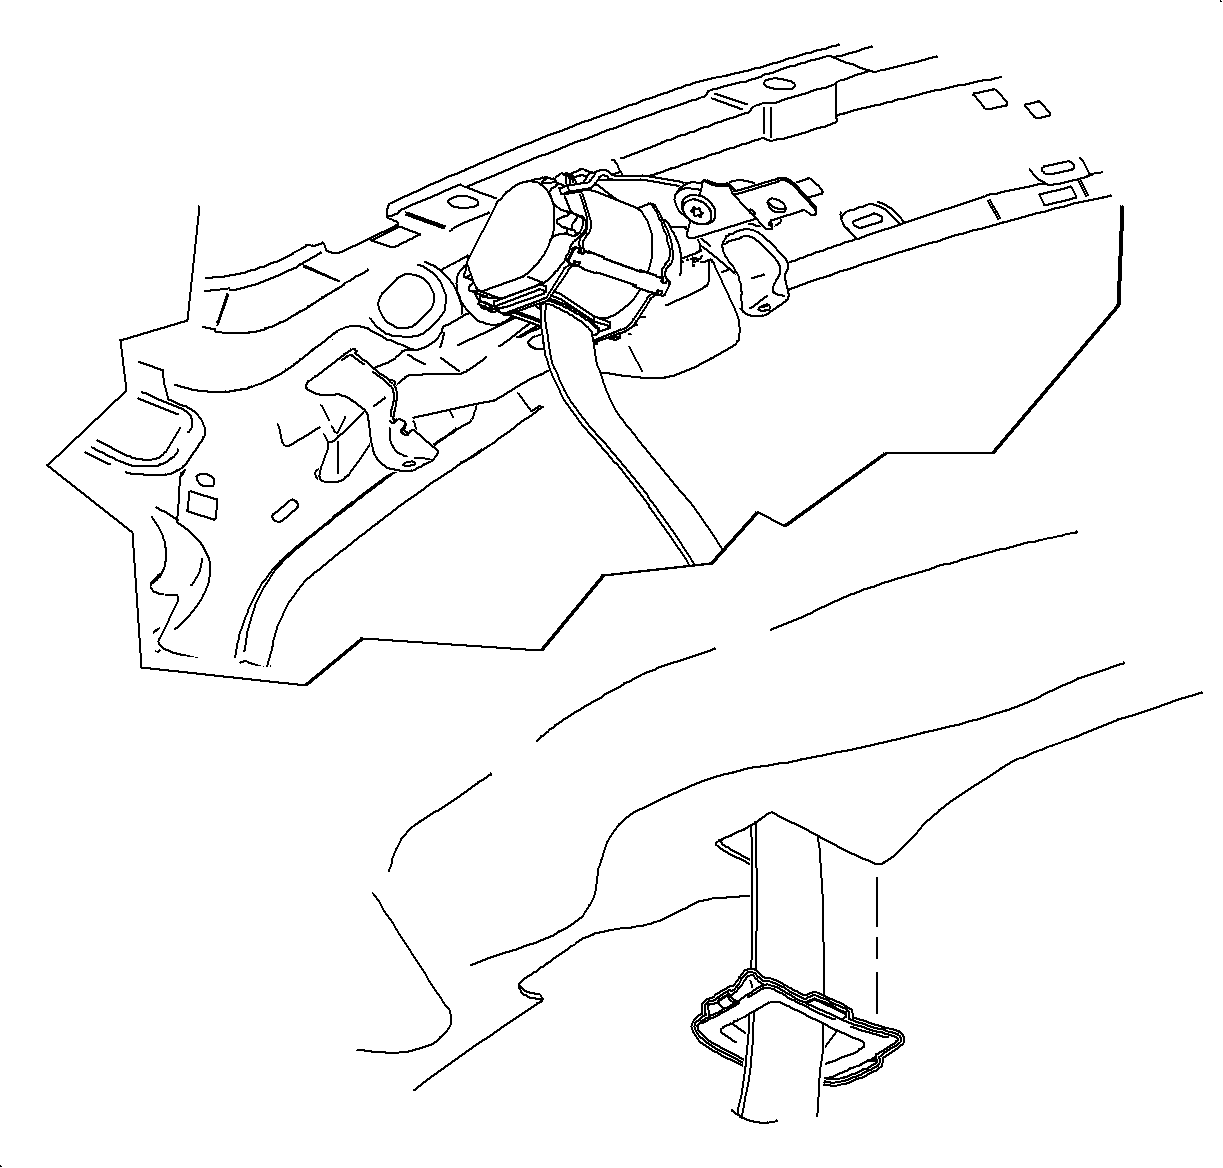
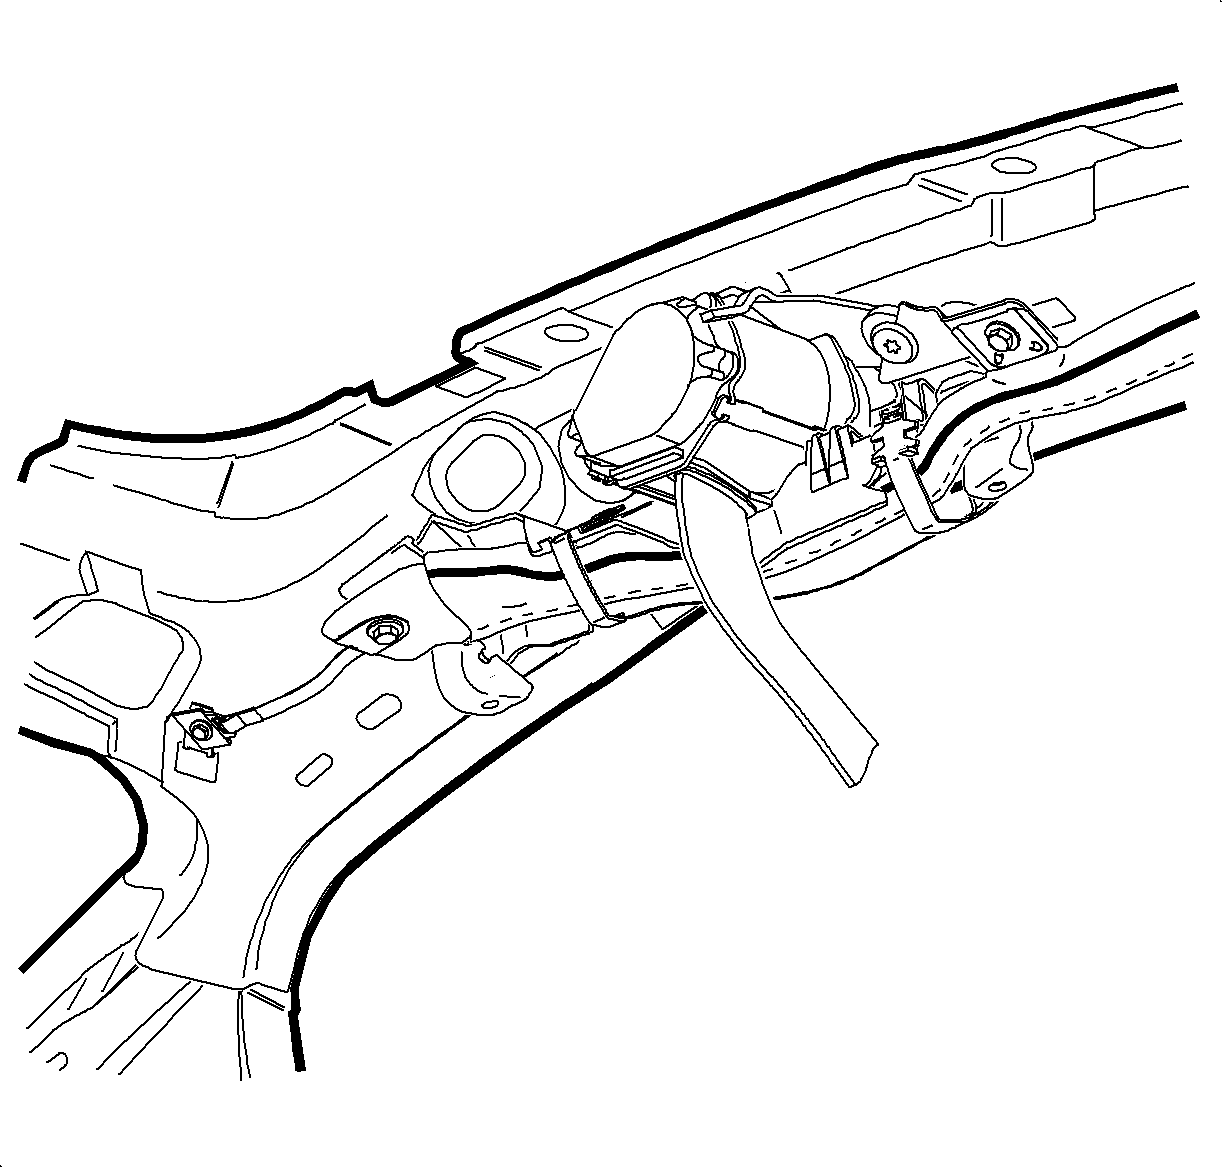
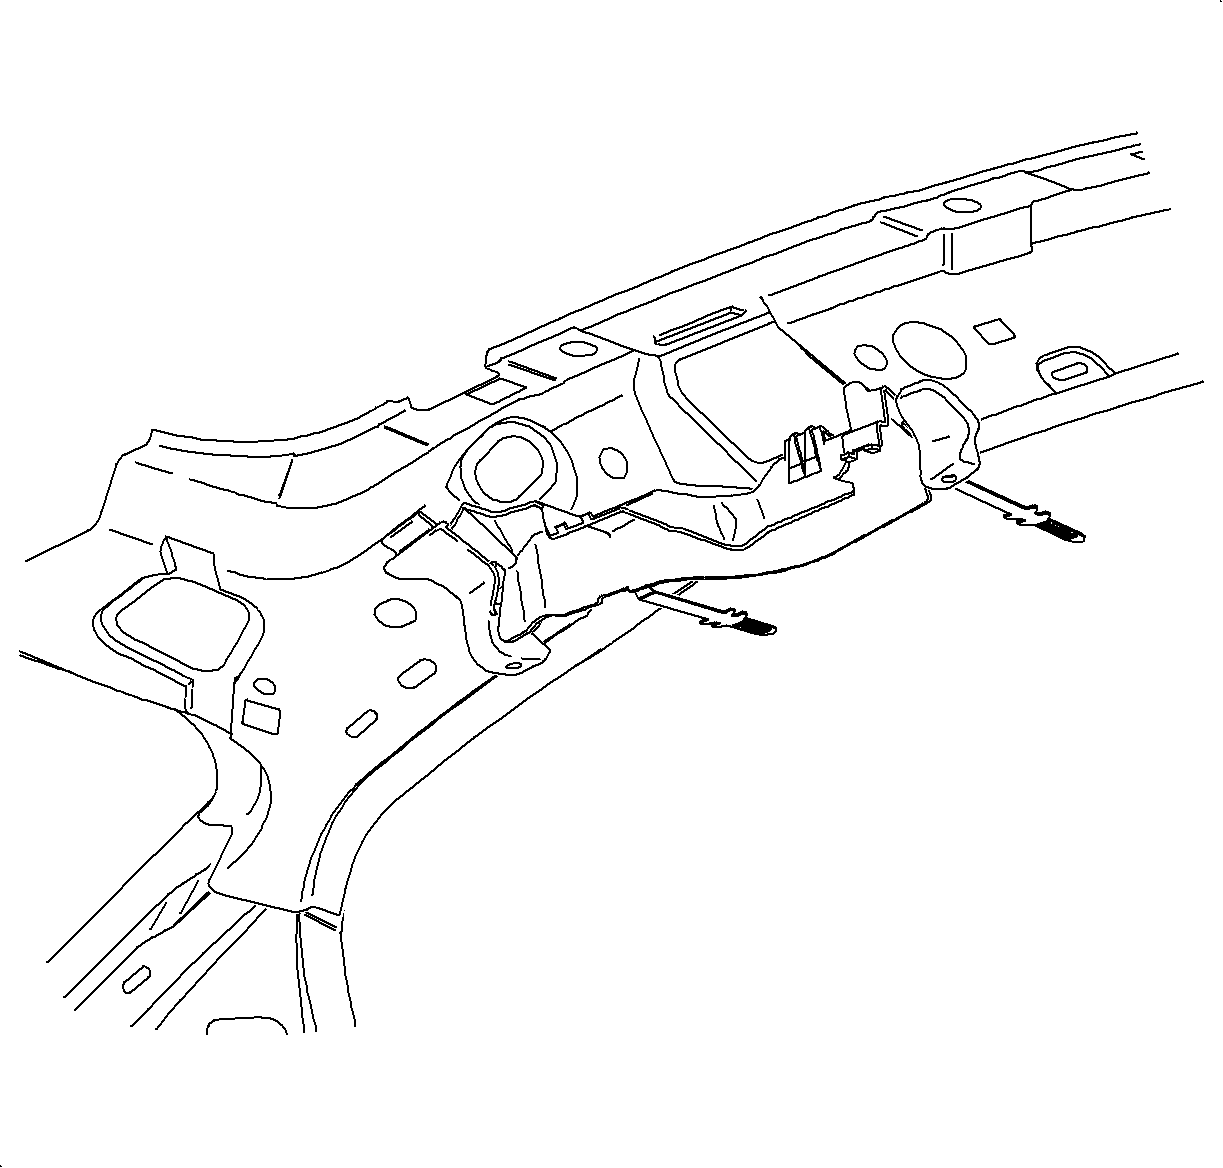
| 7.1. | Lift the forward edge up from behind the forward striker cover bracket. |
| 7.2. | Pull forward to slide the channel tab from behind the rear striker cover bracket and out from behind the head curtain inflator module, if equipped. |
Installation Procedure
- Install the curtain airbag channel.
- Install the left front seat belt. Refer to Seat Belt Retractor Replacement - Right Front
- If the vehicle has a head curtain inflator module:
- Install the headliner. Refer to Headlining Trim Panel Replacement
- Install the striker cover. Refer to Striker Cover Replacement
- Enable the SIR head curtain inflator module, if equipped. Refer to Enabling the SIR System
- Restore the weatherstrip to its original position.
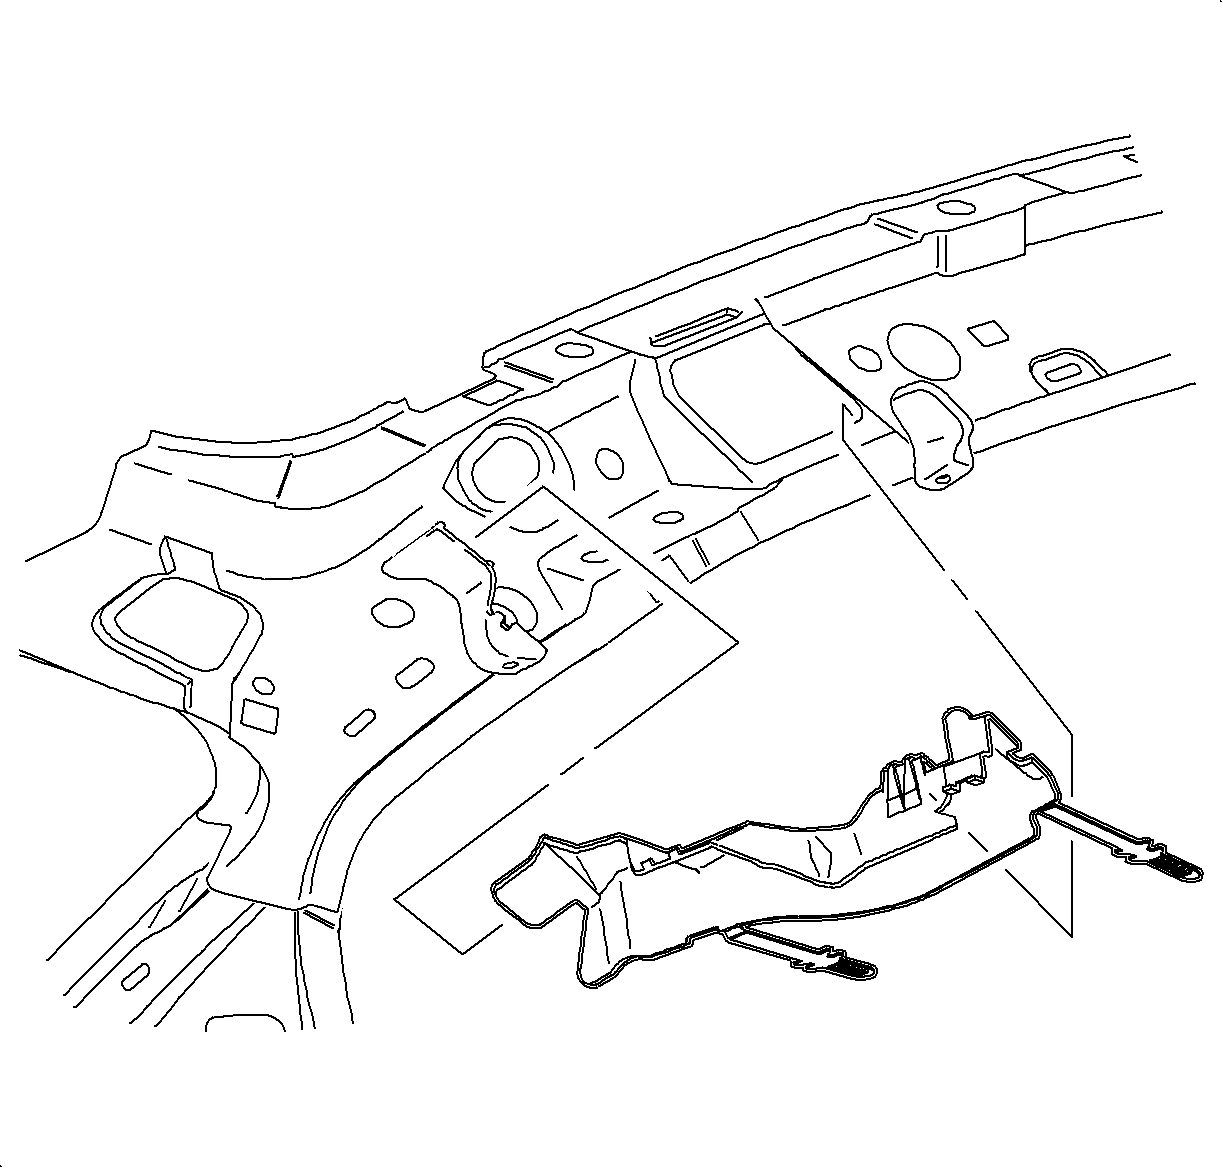
| 1.1. | Slide the channel tab under the rear striker bracket. |
| 1.2. | Hook the channel on the sheet metal while sliding it behind the forward striker bracket. |

Caution: The head curtain inflator module tethers must be routed correctly. Improper routing may result in personal injury or improper curtain airbag deployment.
| 3.1. | Install the bolt to the seat belt bracket. |
Tighten
Tighten the head curtain inflator module bolt to 8 N·m (71 lb in).
| 3.2. | Route the tether below the coathook location. |
| 3.3. | Secure the tether to the roof rail Velcro® pad. |
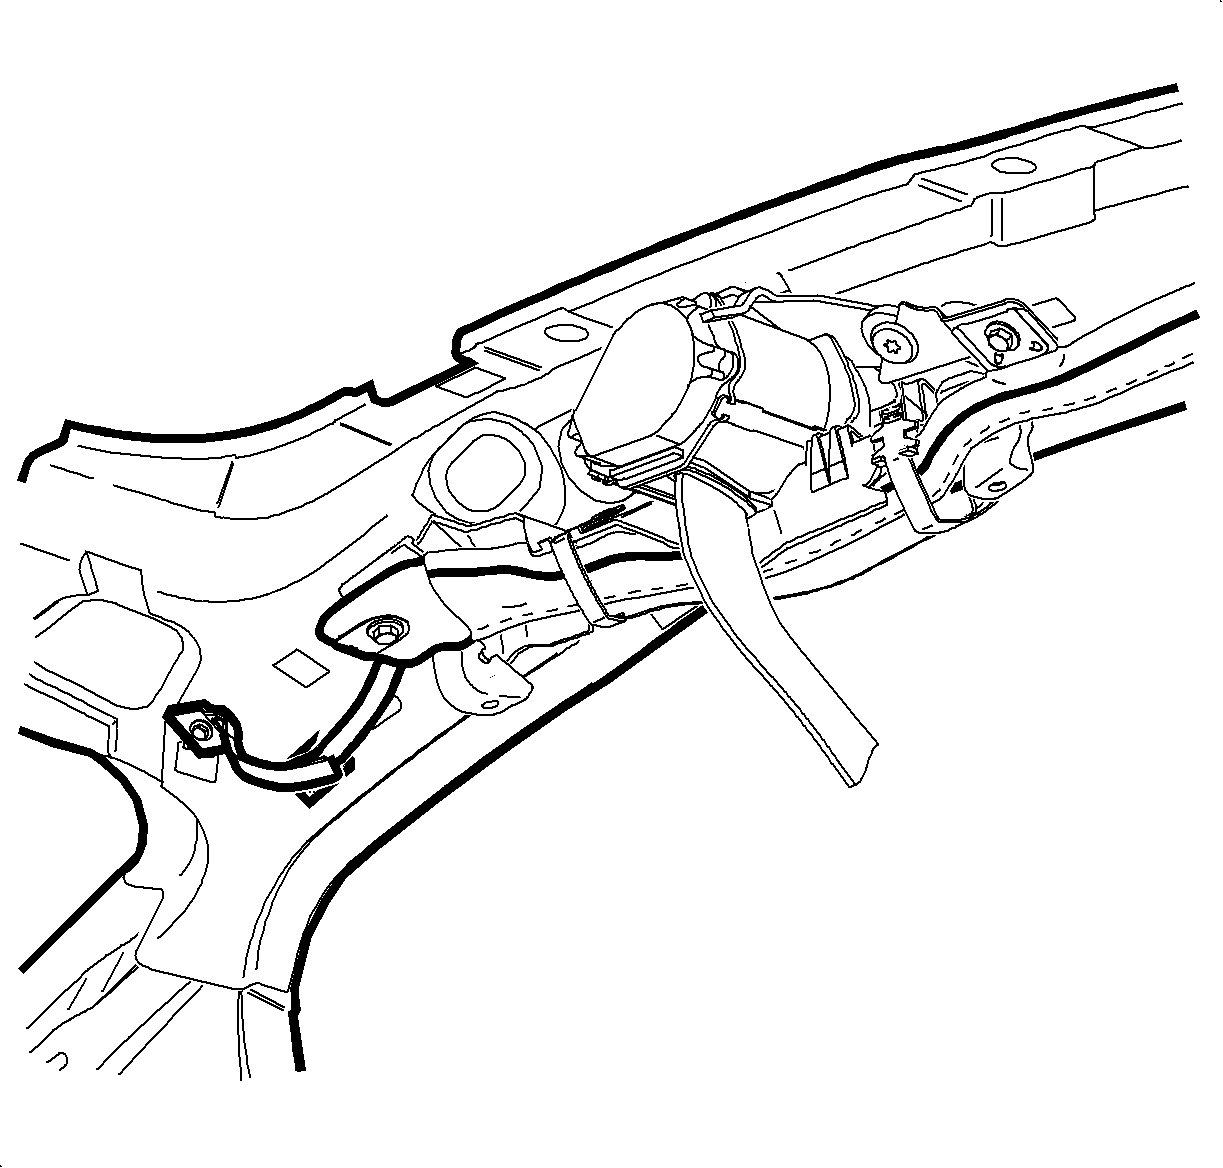
| 3.4. | Ensure there is no slack in the tether. |


