Tools Required
| • | J 35268-A Camshaft/Front Main Seal Installer |
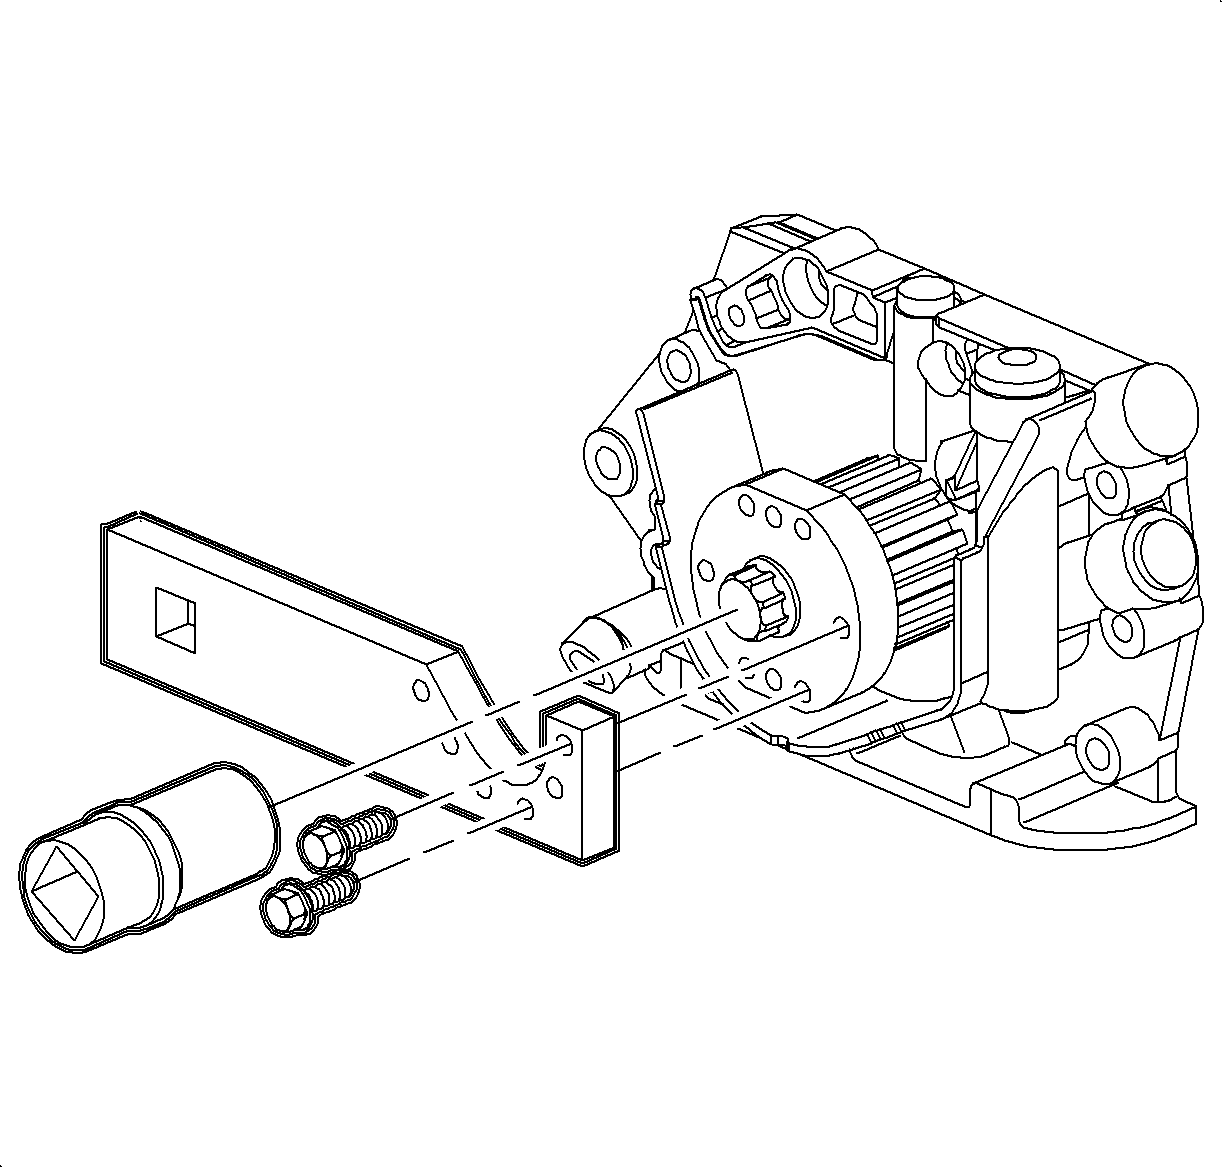
| • | J 42065 Crank Hub Holding Tool |
| • | J 42098 Crank Hub TORX Socket |
Removal Procedure
- Disconnect the negative battery cable.
- Remove the air cleaner assembly. Refer to Air Cleaner Assembly Replacement .
- Remove the timing belt cover. Refer to Timing Belt Front Cover Replacement .
- Remove the timing belt. Refer to Timing Belt Replacement .
- Remove the rear timing belt cover. Refer to Timing Belt Rear Cover Replacement .
- Remove the A/C compressor and idler power steering bracket bolts.
- Position the A/C compressor and idler bracket out of the way of the oil pump housing and secure.
- Remove the generator lower mounting bolt.
- Loosen the upper generator mounting bolt.
- Pivot the generator out of the way and secure.
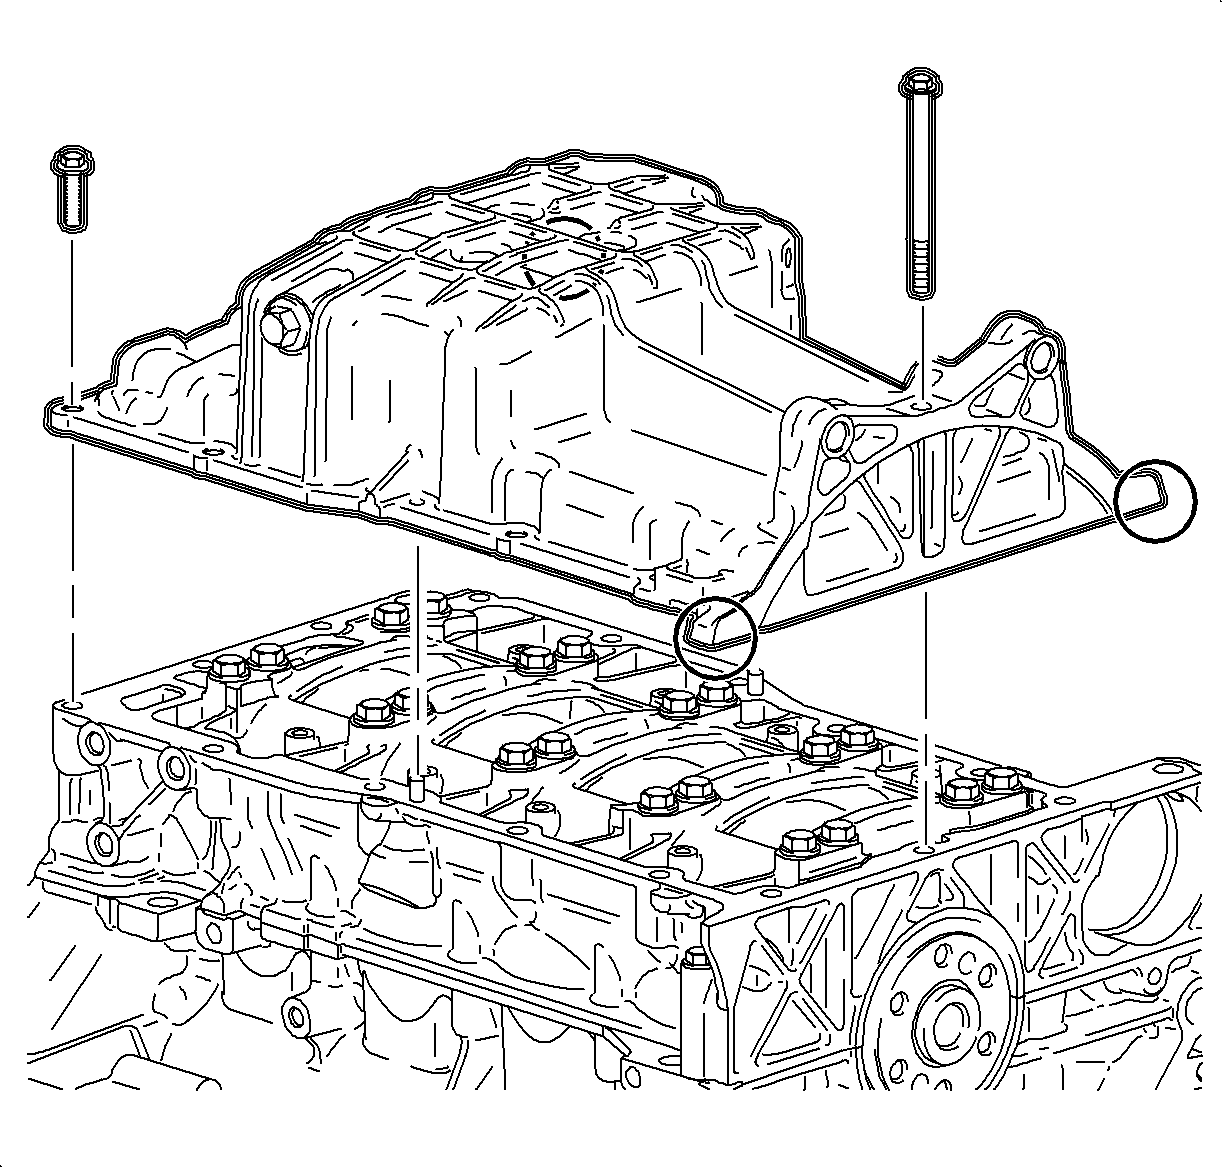
- Remove the oil pan. Refer to Oil Pan Replacement .
- Remove the oil pump pickup tube.
- Mount the J 42065 to the crankshaft drive gear.
- Use the J 42098 to remove the crankshaft drive gear bolt.
- Remove the crankshaft drive gear.
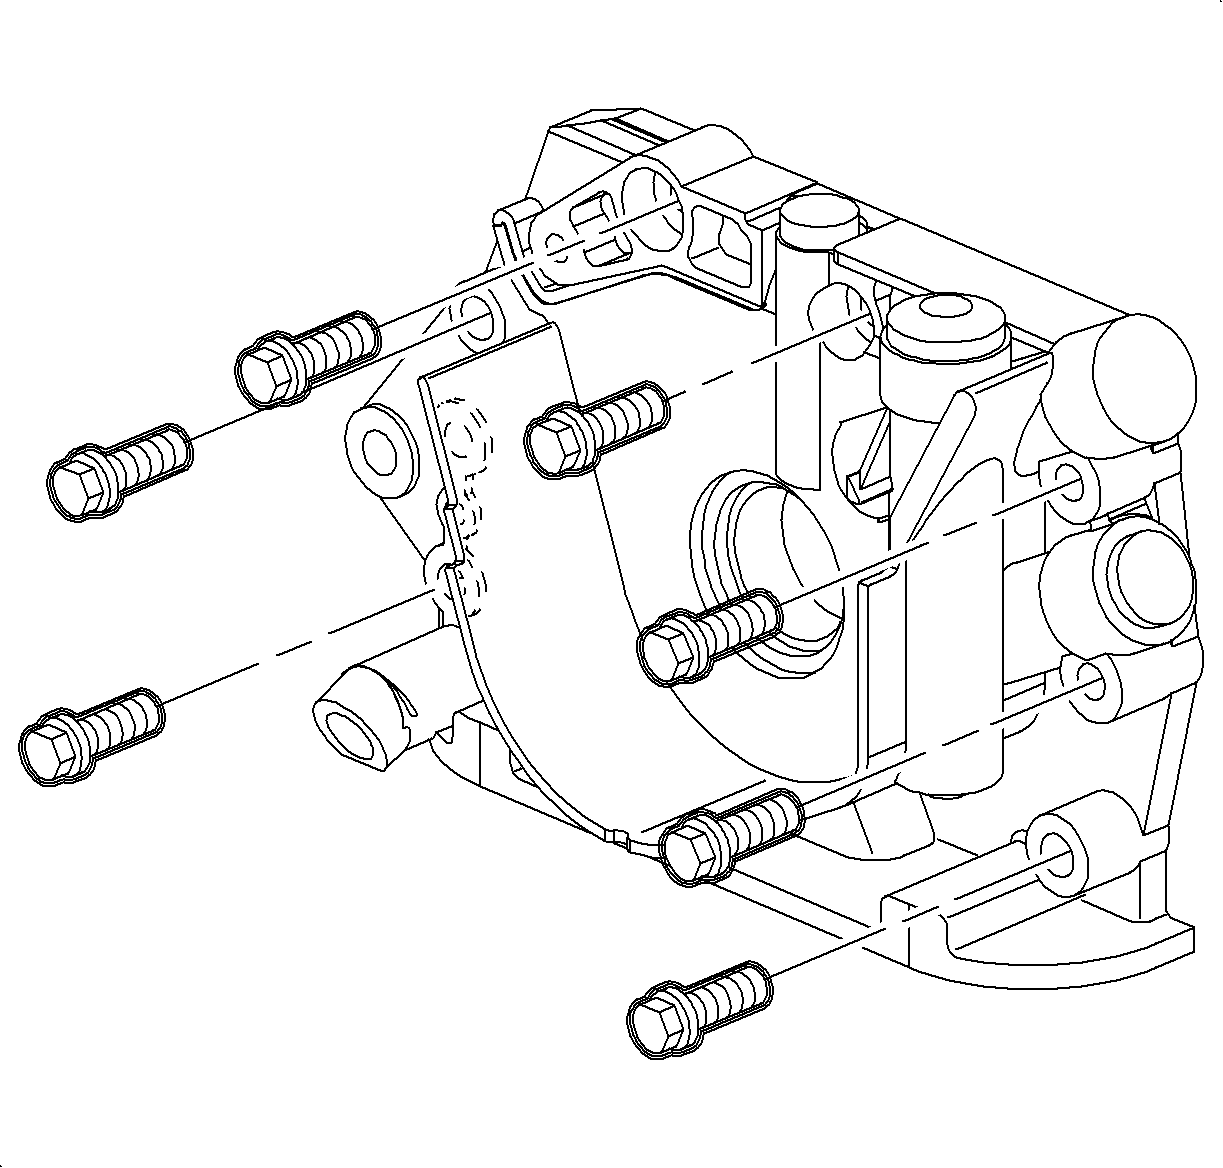
- Remove the oil pump bolts.
- Remove the 3 oil pan housing bolts that thread into the oil pump.
- Remove the oil pump.
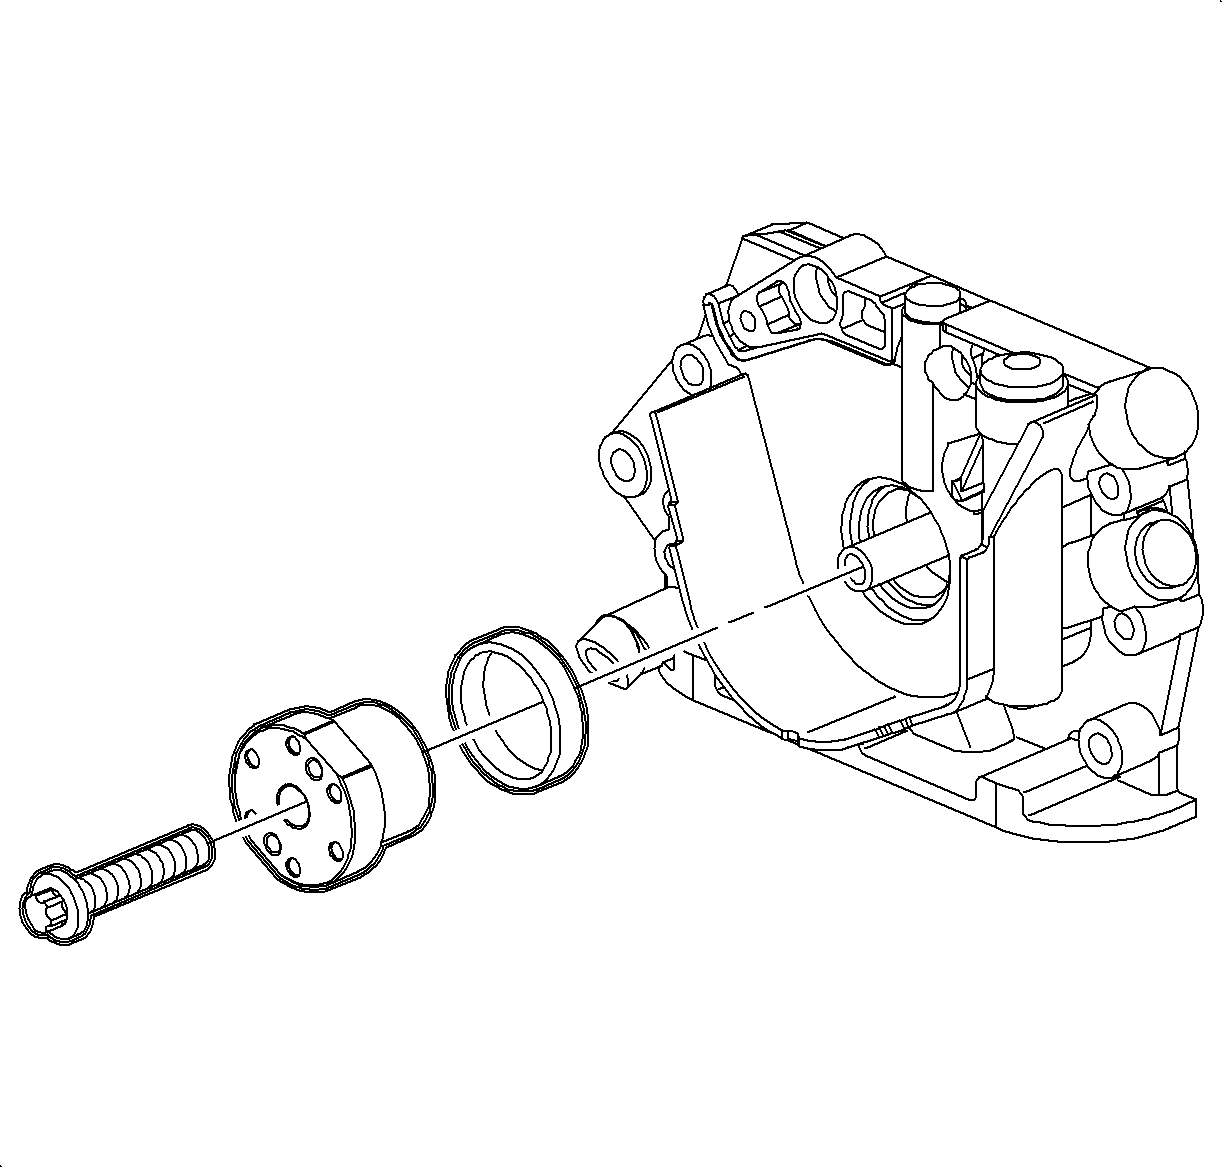
- Remove the font main oil seal and collar from the oil pump.
- Clean the oil pump sealing surfaces if the pump is to be reinstalled.
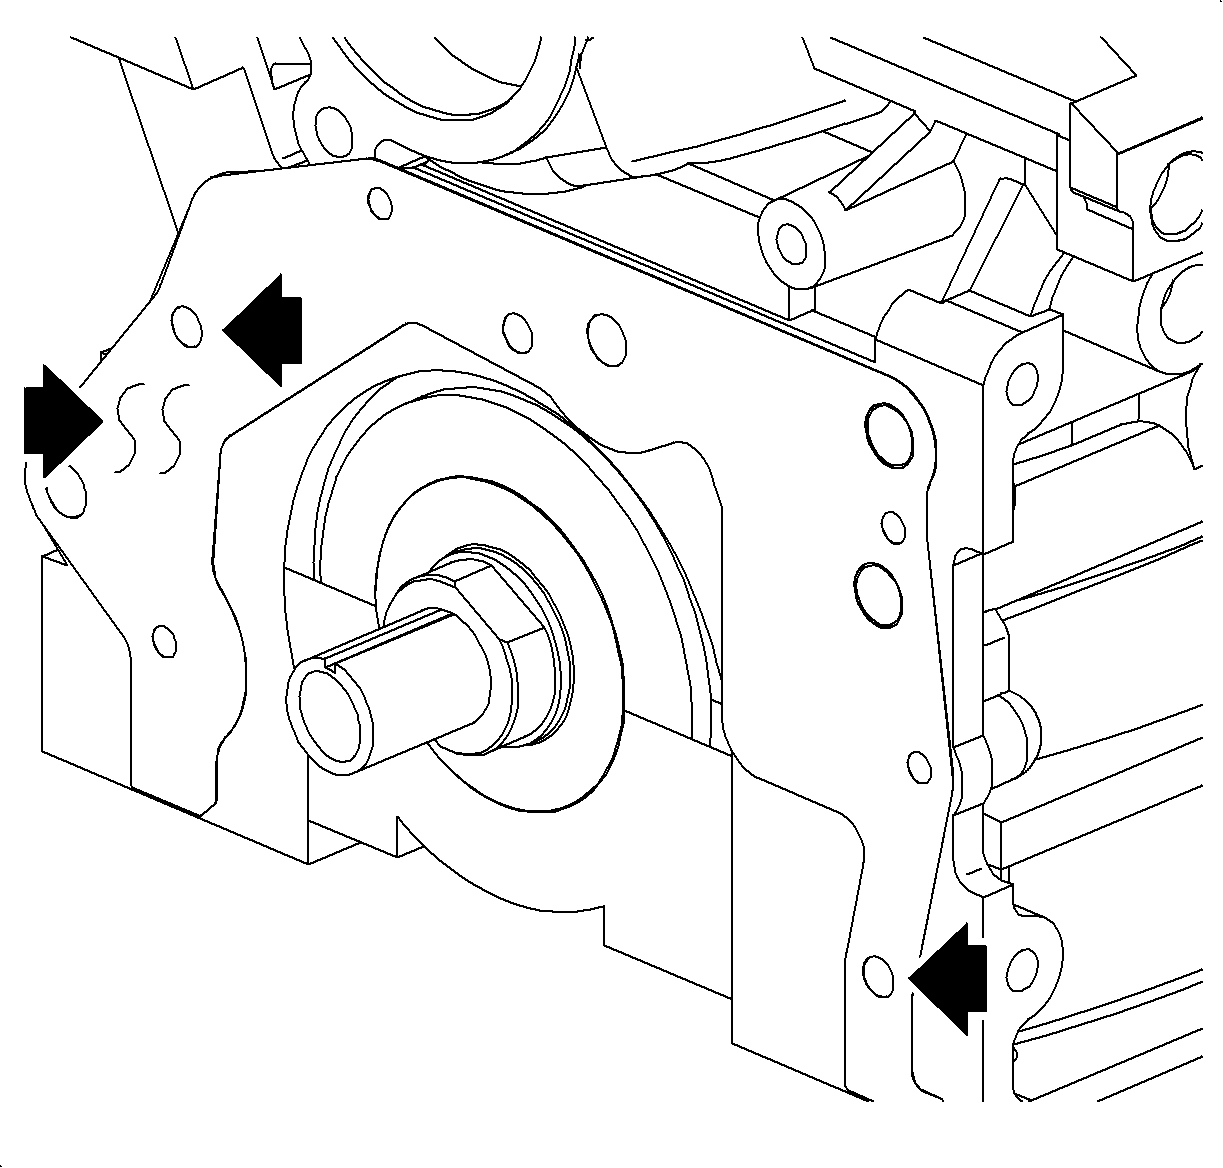
- Clean the engine block and upper oil pan housing sealing surfaces.
- Ensure all old sealant, gasket material and residual oils removed.
Caution: Refer to Battery Disconnect Caution in the Preface section.
Installation Procedure
- Install the oil pump gasket.
- Install the oil pump and align with the guide pins.
- Apply Permatex® Threadlocker® Blue P/N 21485278 or equivalent to the oil pump bolts and install the bolts.
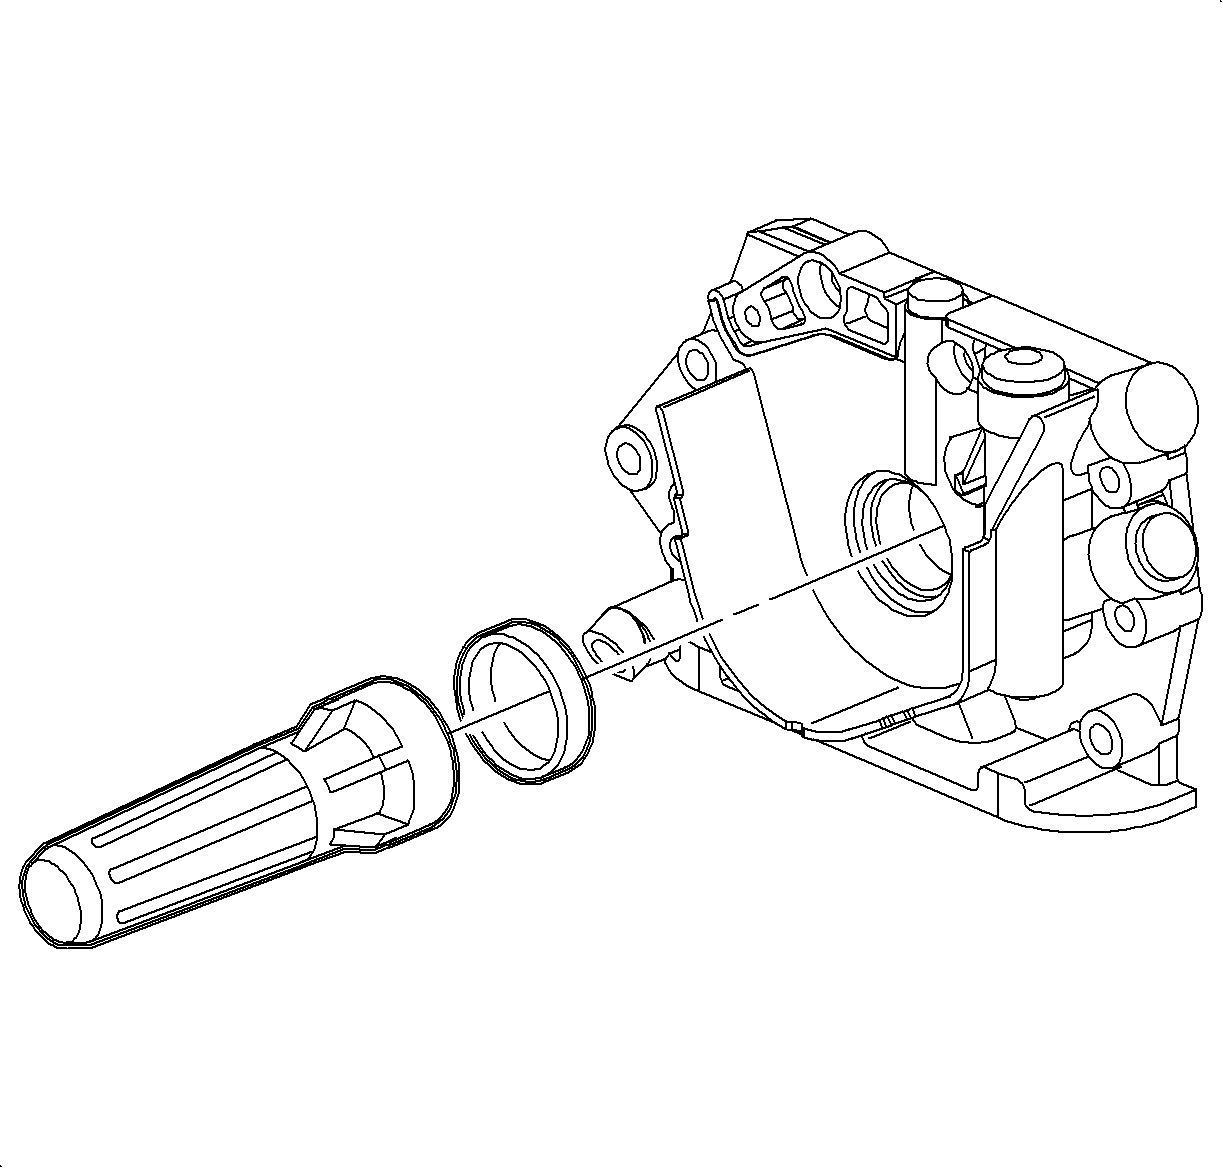
- Install the oil pump collar.
- Install the front main oil seal. Coat the lip of the front main oil seal with a small amount of clean engine oil to aid in installation.
- Use the J 35268-A to install the front main oil seal.
- Ensure that the front main oil seal is fully and evenly seated.
- Install the crankshaft drive gear.
- Install a new crankshaft drive gear bolt.
- Install the oil pump pickup tube.
- Install the oil pump pickup tube bolts.
- Install the oil pan. Refer to Oil Pan Replacement .
- Release and pivot the generator into place and install the generator lower mounting bolt.
- Position the A/C compressor and idler pulley bracket.
- Install the A/C compressor and bracket bolts.
- Install the rear timing belt cover. Refer to Timing Belt Rear Cover Replacement .
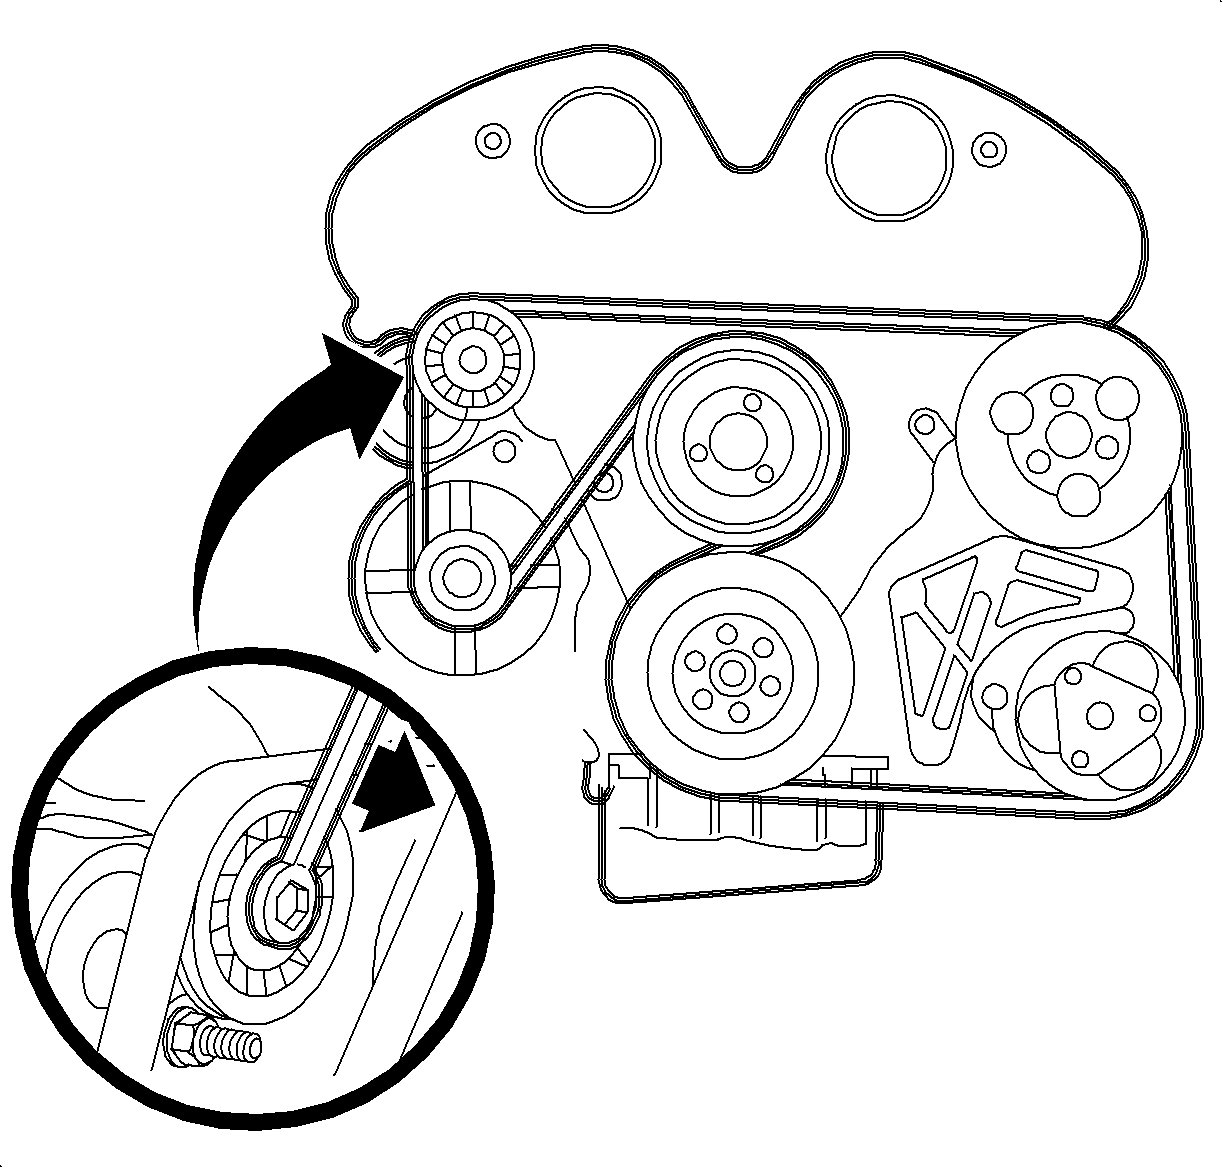
- Install and tighten the drive belt idler pulley for camshafts 3 and 4. Re-tighten the oil pump bolts.
- Install the timing belt. Refer to Timing Belt Replacement .
- Install the intake air cleaner. Refer to Air Cleaner Assembly Replacement .
- Reconnect the negative battery cable.
Notice: Refer to Fastener Notice in the Preface section.
Tighten
Tighten the oil pump bolts - L81 to 9 N·m (80 lb in).

Tighten
Tighten the crankshaft drive gear bolt - L81 to 250 N·m (184 lb ft) plus 45 degrees plus 15 degrees.
Tighten
Tighten the oil pump pickup tube bolts - L81 to 81 N·m (71 lb in).
Tighten
Tighten the generator lower mounting bolt - L81 to 40 N·m (30 lb ft).
Tighten
Tighten the A/C compressor and bracket bolts to 40 N·m (30 lb ft).
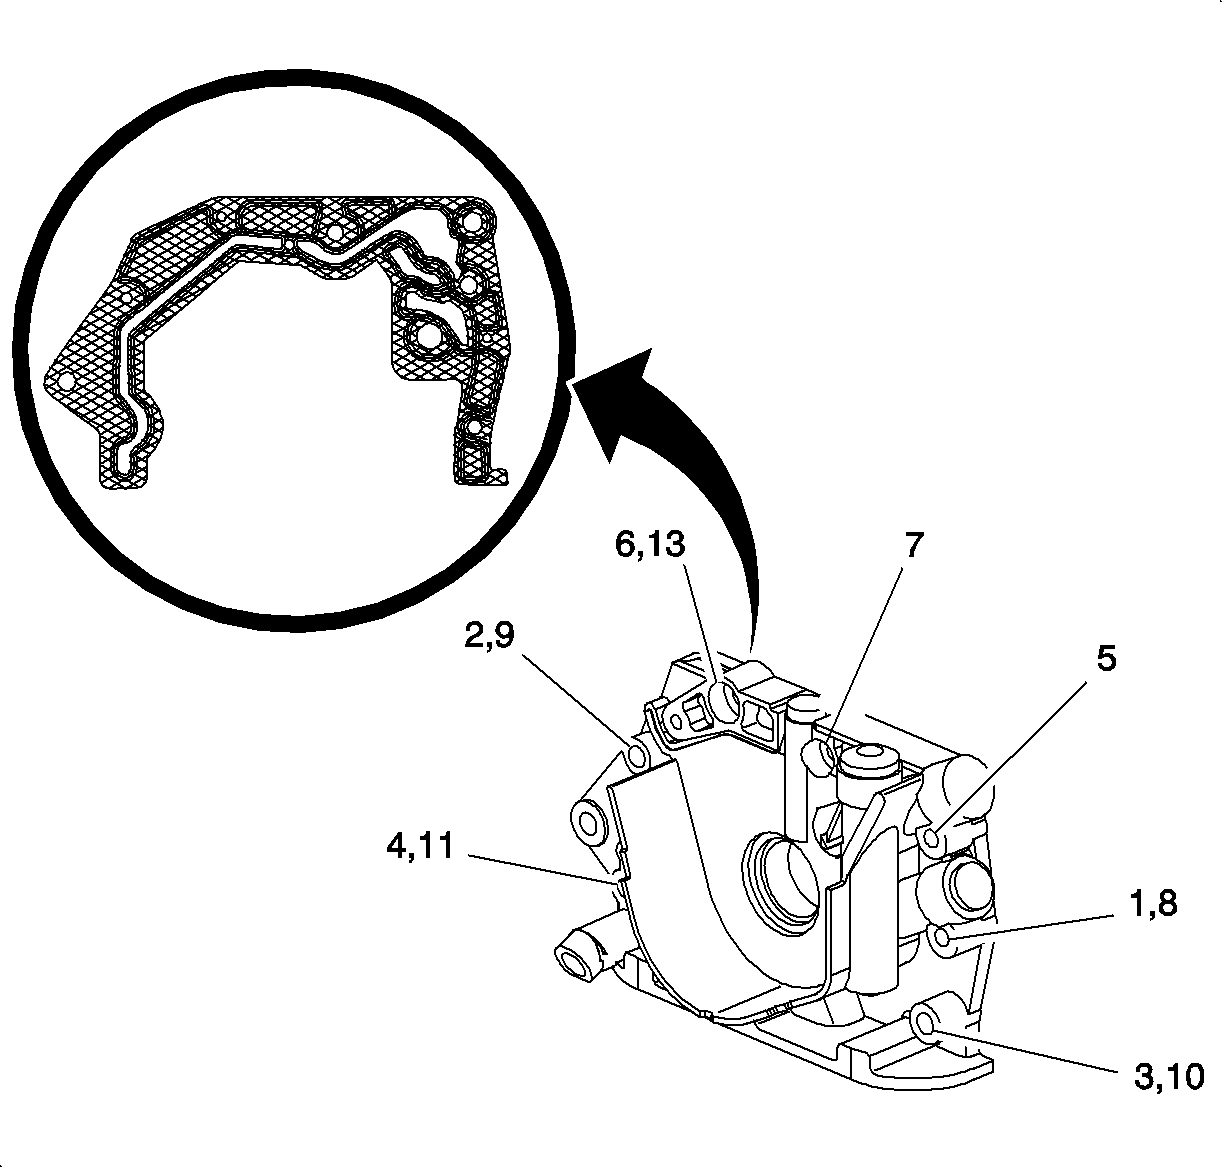
Important: The oil pump bolts must be re-tightened to the appropriate specifications AFTER the generator mounting bolts and the drive belt idler pulley for camshafts 3 and 4 have been tightened to specifications to allow for proper compression of the oil pump gasket.
Tighten
Tighten the oil pump bolts to 9 N·m (80 lb in).

Tighten
Tighten the battery terminal bolts to 17 N·m (13 lb ft).
