- Coat the camshaft lobes with Molykote or its equivalent when you
install a new camshaft.
- Replace all of the valve lifters when you install a new camshaft
in order to ensure the durability of camshaft lobes and lifter rollers.
- Lubricate all of the camshaft journals with engine oil.

- Install the camshaft.
- Install the camshaft retainer and the camshaft retainer bolts.
Tighten
Tighten the camshaft retainer bolts to 12 N·m (106 lb ft).
Notice: Use the correct fastener in the correct location. Replacement fasteners
must be the correct part number for that application. Fasteners requiring
replacement or fasteners requiring the use of thread locking compound or sealant
are identified in the service procedure. Do not use paints, lubricants, or
corrosion inhibitors on fasteners or fastener joint surfaces unless specified.
These coatings affect fastener torque and joint clamping force and may damage
the fastener. Use the correct tightening sequence and specifications when
installing fasteners in order to avoid damage to parts and systems.
- Lower the front of the engine.
- Connect the A/C condenser line bracket to the front crossmember.
- Install the fans and the fan shroud.
- Raise and support the vehicle. Refer to SECTION 0A.
- Install the lower fan shroud bolts. Refer to
Fan Shroud Replacement
in Engine Cooling.
- Connect the cooling fan electrical connectors.
- Lower the vehicle.
- Install the radiator. Refer to
Radiator Replacement
in Engine Cooling.
- Install the upper radiator support, the nuts, and the screws.
Refer to
Radiator Support Replacement
in Engine Cooling.
- Install the secondary air injection pump intake duct and bolts.
Move the pump aside. Refer to
Secondary Air Injector Pump Replacement
in Engine Controls.
- Install the relay bracket to the left side of the radiator support.
- Connect the high fill reservoir hose to the radiator.
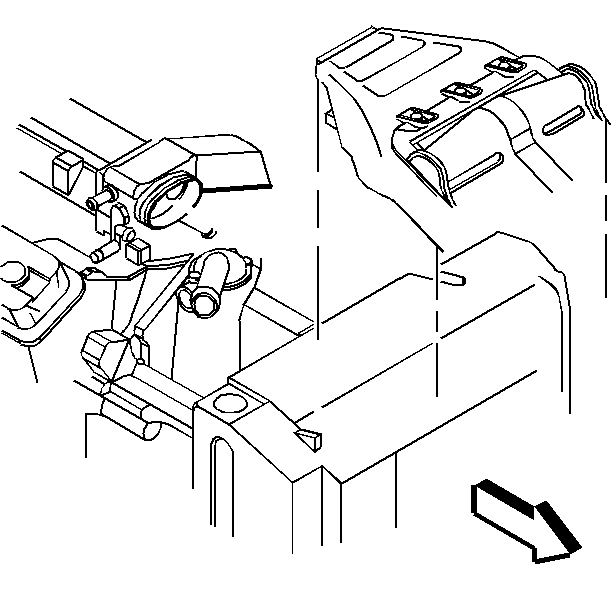
- Install the air cleaner.
- Install the valve lifters. Refer to
Valve Lifter Replacement
.
- Install the camshaft sprocket and the timing chain. Refer to
Timing Chain, Sprockets, and WP Driveshaft Replace
.
- Install the valve rocker arms and valve pushrods. Refer to
Valve Rocker Arm, Push Rod, and Stud Replacement
.

- Install the oil pump driveshaft.
- Install the oil pump driveshaft bolt.
Tighten
Tighten the oil pump driveshaft bolt to 18 N·m (13 lb ft).
Notice: Use the correct fastener in the correct location. Replacement fasteners
must be the correct part number for that application. Fasteners requiring
replacement or fasteners requiring the use of thread locking compound or sealant
are identified in the service procedure. Do not use paints, lubricants, or
corrosion inhibitors on fasteners or fastener joint surfaces unless specified.
These coatings affect fastener torque and joint clamping force and may damage
the fastener. Use the correct tightening sequence and specifications when
installing fasteners in order to avoid damage to parts and systems.
- Install the intake manifold. Refer to
Intake Manifold Replacement
.
- Install the engine front cover. Refer to
Engine Front Cover Replacement
.
