For 1990-2009 cars only
Removal Procedure
Required
| • | J 4245 Snap Ring Pliers #21 Internal |
| • | J 23128-A Seal and Seal Seat Remover and Installer |
| • | J 9553-01 O-ring Remover |
- Recover the refrigerant. Refer to Refrigerant Recovery and Recharging .
- If the compressor is on the vehicle, loosen the mounting brackets. Reposition the compressor, if necessary.
- Remove the Clutch Plate and Hub Assembly.
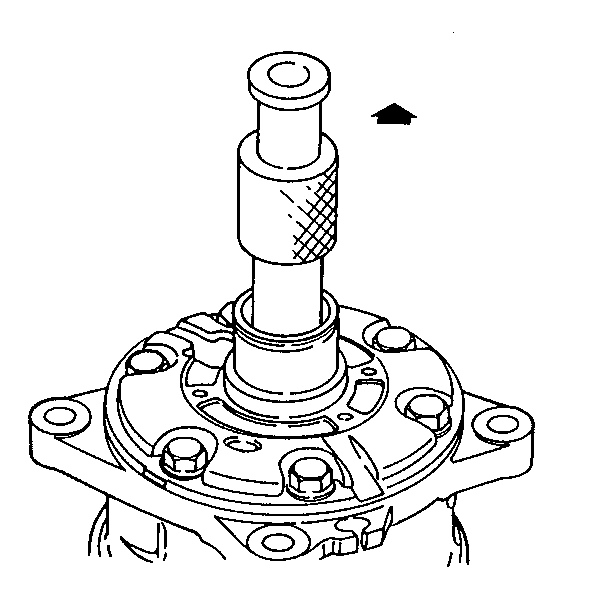
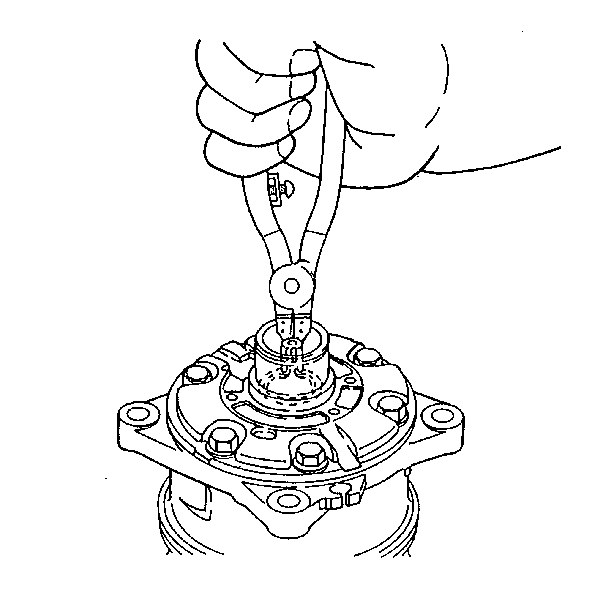
- Use the J 4245 in order to remove the shaft seal retainer ring.
- Clean the inside of the compressor neck area.
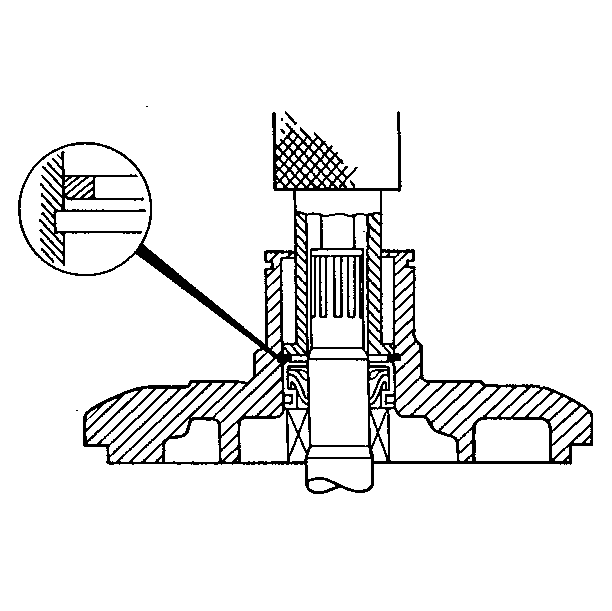
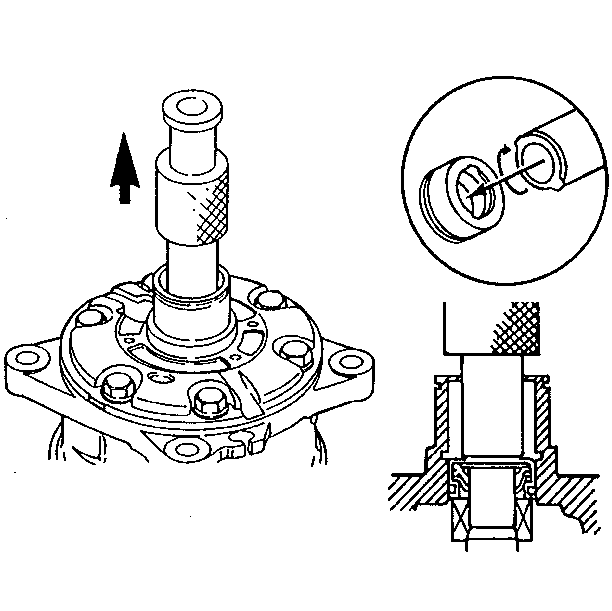
- Fully engage the knurled tangs of the J 23128-A into the recessed portion of the seal.
- Remove the seal from the compressor. Use a rotary-pulling motion.
- Use the J 9553-01 in order to remove the O-ring.
- Inspect the shaft area for any dirt or foreign material.
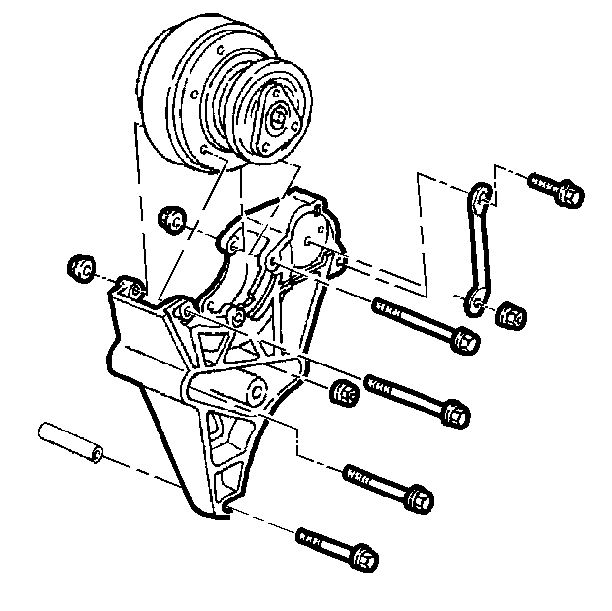
| • | If you are replacing the compressor shaft seal on the CCOT, refer to Compressor Clutch Plate and Hub Assembly . |
| • | If you are replacing the compressor shaft seal on the VDOT, refer to Compressor Clutch Plate and Hub Assembly Removal . |
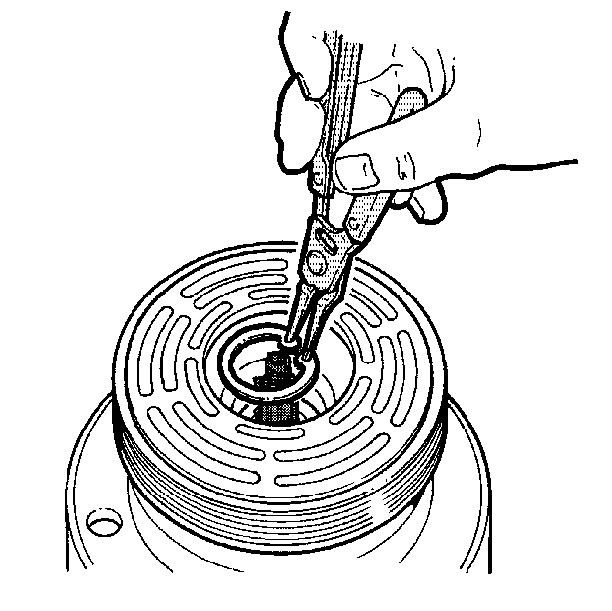
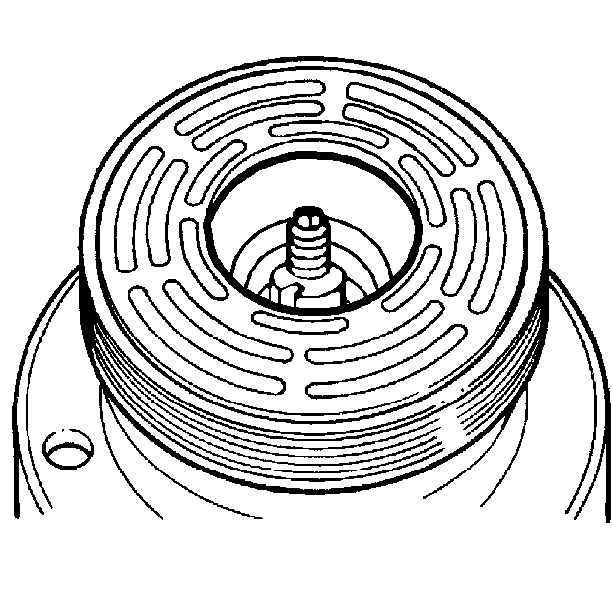
| • | Clean the O-ring groove surrounding the shaft. |
| • | Clean the exposed portion of the seal seat. |
| • | Clean the shaft itself. |
| • | Any dirt or foreign material that gets into the compressor may cause damage. |
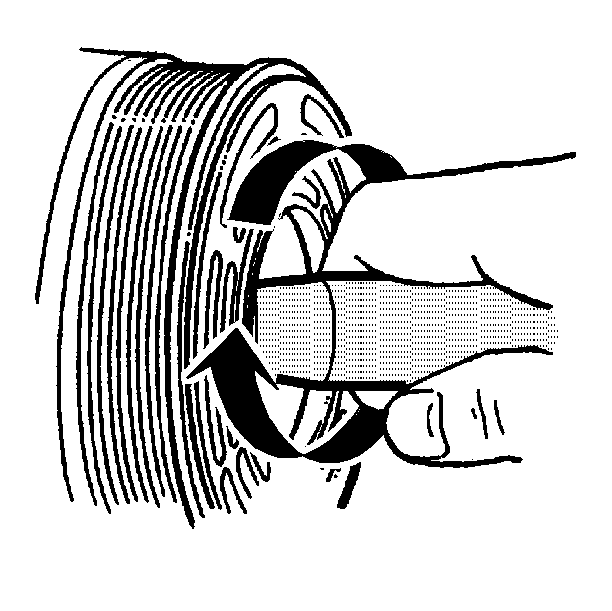
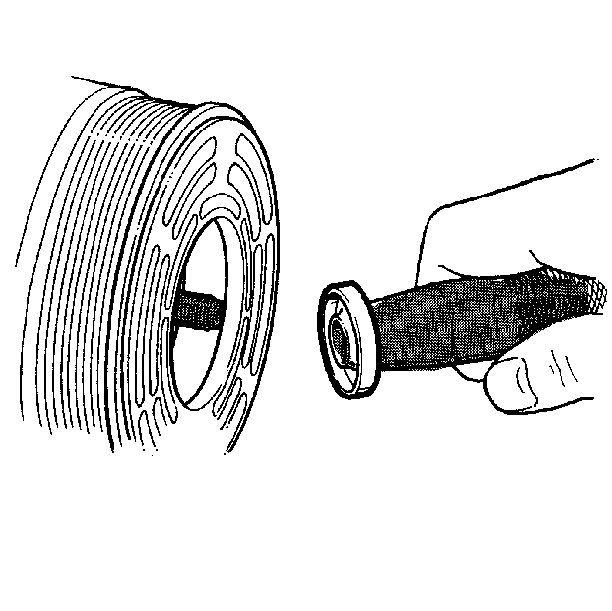
| • | Discard the seal. |
| • | Securely tighten the handle by hand. Do not use a wrench or pliers. |
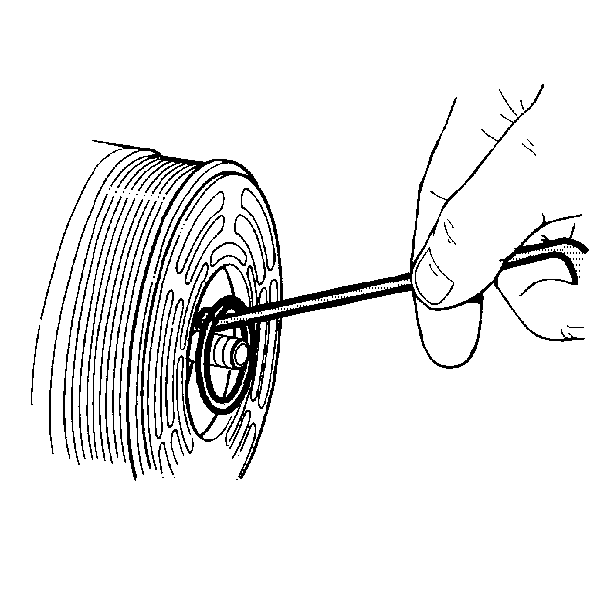

| • | Ensure that the O-ring groove and the compressor neck are free of dirt or foreign material. |
| • | These areas must be perfectly clean before the installation of new parts. |
Installation Procedure
Tools Required
| • | J 33011 O-ring Installer |
| • | J 23128-A Seal and Seal Seat Remover and Installer |
| • | J 34614 Seal Protector |
| • | J 39400 Halogen Leak Detector |
- Assemble the new O-ring onto the J 33011 .
- Insert the J 33011 into the compressor neck until the Installer touches the bottom of the shaft area.
- Assemble the lip seal to the J 23128-A .
- Place the J 34614 over the end of the compressor shaft.
- Slide the new lip seal onto the shaft with a rotary motion until the seal stops.
- Leak test the compressor.
- Remove any excess oil from the shaft and the compressor neck.
- Use the J 4245 in order to install a new retainer ring.
- Install the clutch plate and hub assembly.
- Install the belt. Refer to Drive Belt Diagnosis in Engine Cooling.
- Tighten the brackets.
- Evacuate the refrigerant system. Refer to Evacuation .
- Charge the refrigerant system. Refer to A/C Charging Using ACR4 .
- Use the J 39400 in order to leak test the refrigerant system. Refer to Leak Testing .
Notice: Do not reuse the seals. Always use a new specification service kit. Ensure that the new seal is not scratched or damaged in any way. Ensure that the seal is free of lint and dirt. Lint or dirt on the seal may damage the seal surface. Lint or dirt on the seal may prevent sealing.
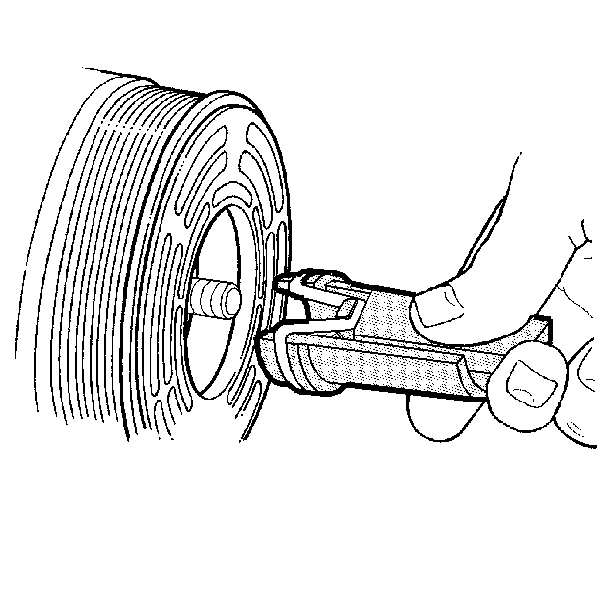
| • | Dip the new O-ring into clean 525 viscosity refrigerant oil. |
| • | Use a new specification service kit. |
| - | Do not damage the lip of the one piece seal. |
| - | Ensure that the seal seat and the seal lip are free of lint and dirt. |
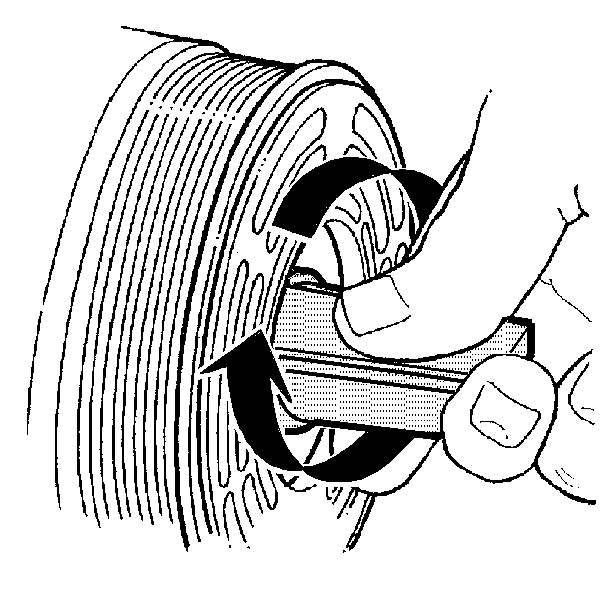
| 2.1. | Lower the movable slide of the Installer in order to release the O-ring into the O-ring groove. Ensure that the O-ring is in the lower groove. The top groove is for the retainer ring. |
| 2.2. | Rotate the J 33011 in order to seat the O-ring. |
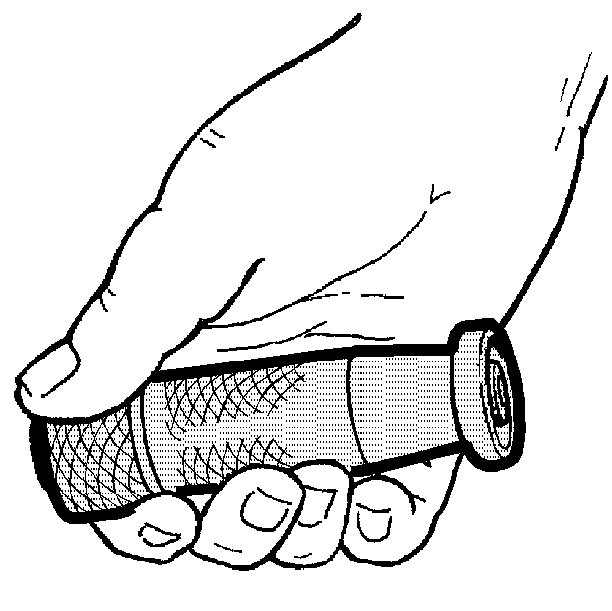
| 3.1. | Dip the new lip seal in clean 525 viscosity refrigerant oil. |
| 3.2. | Engage the knurled tangs of the J 33011 with the printed/stamped steel case side of the lip seal. |
| 3.3. | Ensure that the flared-out side of the lip seal is installed towards the compressor. |
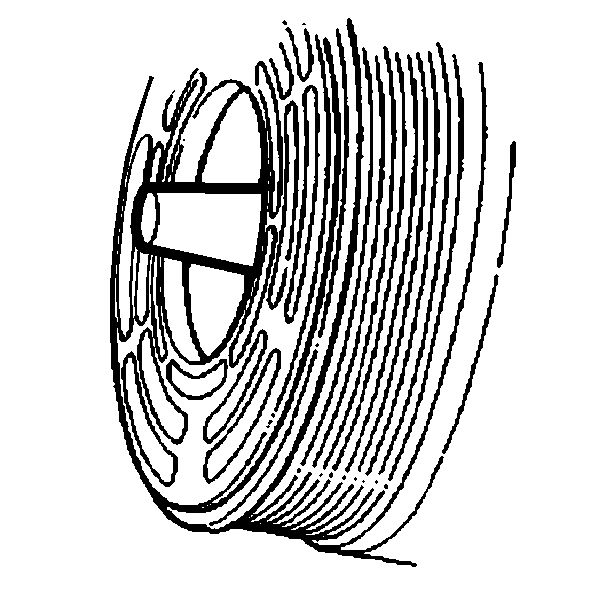
Notice: Use care when handling the seal protector. Do not nick the seal protector. This may damage the seal during installation. Ensure that the bottom of the seal protector is not flared. This may damage the seal during installation.
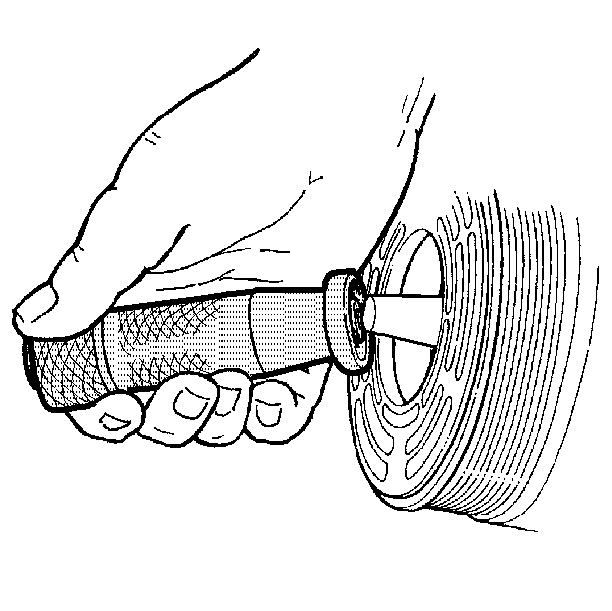
| 5.1. | Do not dislodge the O-ring. |
| 5.2. | Disengage the Installer. |
| 5.3. | Remove the J 34614 . |
| • | If you are working on the CCOT compressor, refer to Compressor Leak Testing . |
| • | If you are working on the VDOT compressor, refer to Compressor Leak Testing . |


| • | If you are replacing the compressor shaft seal on the CCOT, refer to Compressor Clutch Plate and Hub Assembly . |
| • | If you are replacing the compressor shaft seal on the VDOT, refer to Compressor Clutch Plate and Hub Assembly Removal . |

Compressor Shaft Seal Seltec Tm-16HD
Removal Procedure
- Remove the compressor magnetic clutch. Refer to Compressor Magnetic Clutch .
- Using the seal cover remover, remove the shaft seal cover. Engage the remover's hook and slowly draw out the cover.
- Remove the snap ring using internal snap ring pliers.
- Using the shaft seal remover/installer, remove the shaft seal. Engage the remover's hook and slowly draw out the shaft seal.
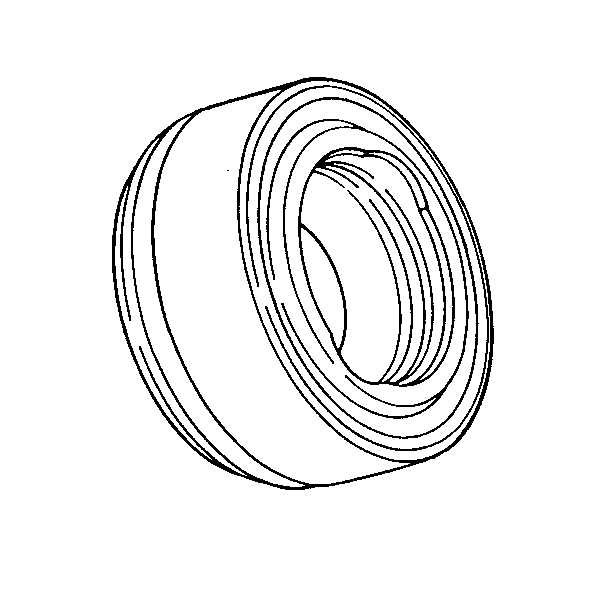
- Discard the shaft seal.
Inspection Procedure
| • |
|
| • |
Cleaning Procedure
- Clean the sealed section of the front cylinder head.
- Apply clean compressor oil to the new shaft seal and to the front cylinder head.
- Clean and apply clean compressor oil to the slip faces.
Installation Procedure
- Fit the guide onto the end of the compressor drive shaft.
- Install the shaft seal into the front cylinder head by slipping it over the guide.
- Using internal snap ring pliers, install the snap ring.
- Use the installing end of the remover to press in the snap ring until it clicks.
- Install the compressor magnetic clutch. Refer to Compressor Magnetic Clutch .
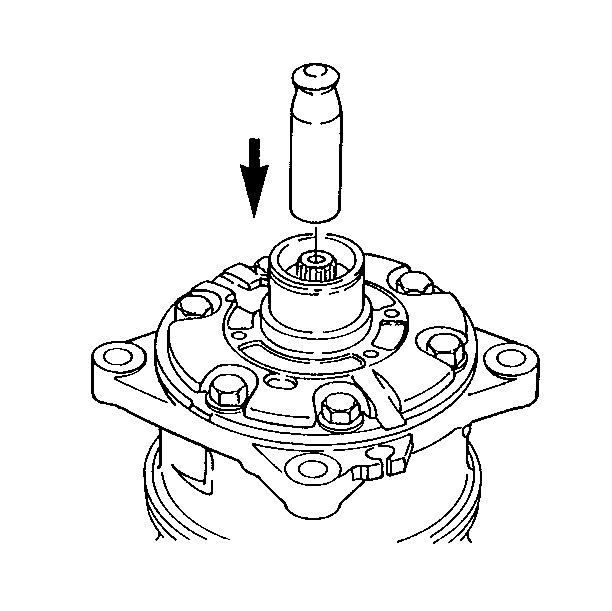
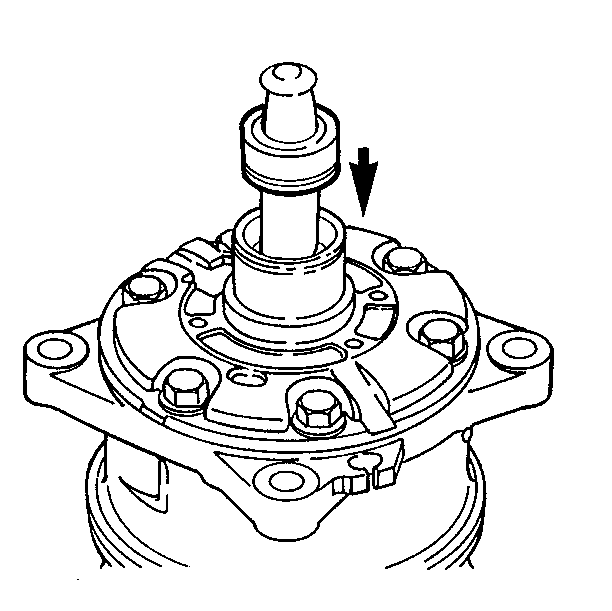
| 2.1. | Use the installing end of the seal remover and insert the shaft seal as far into the front cylinder head as it will go. |
| 2.2. | Remove the guide when the shaft seal is in place. |

Important: The round edge of the snap ring must face toward the compressor.
