For 1990-2009 cars only
- Disable the SIR System. Refer to Disabling the SIR System in SIR.
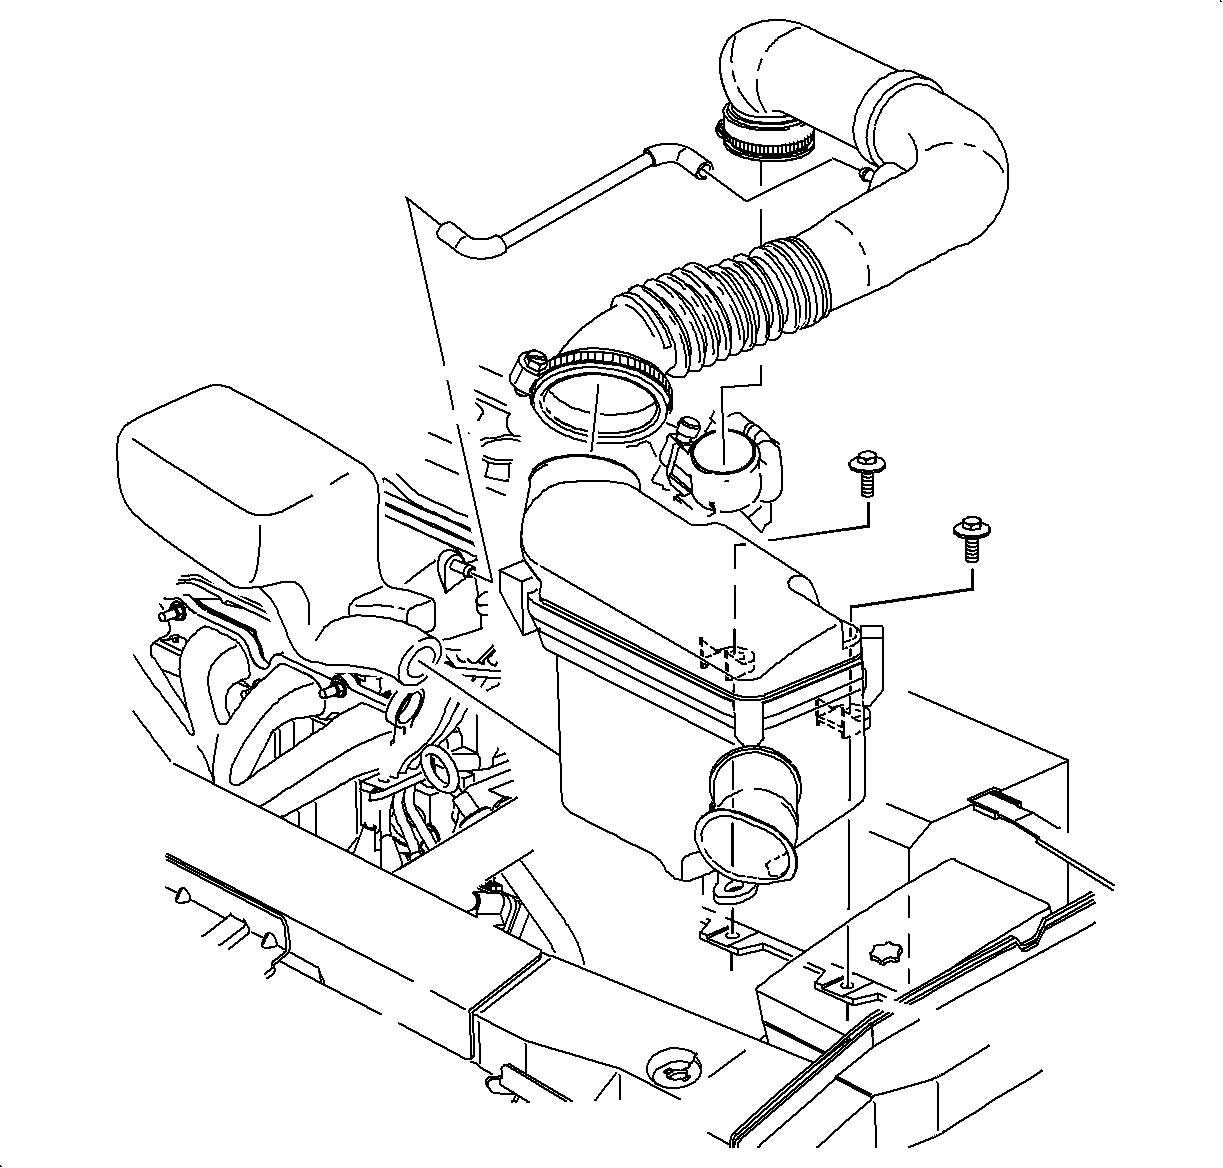
- Remove the air cleaner and duct assembly. Refer to Air Cleaner Housing and Duct Assembly Replacement in HVAC.
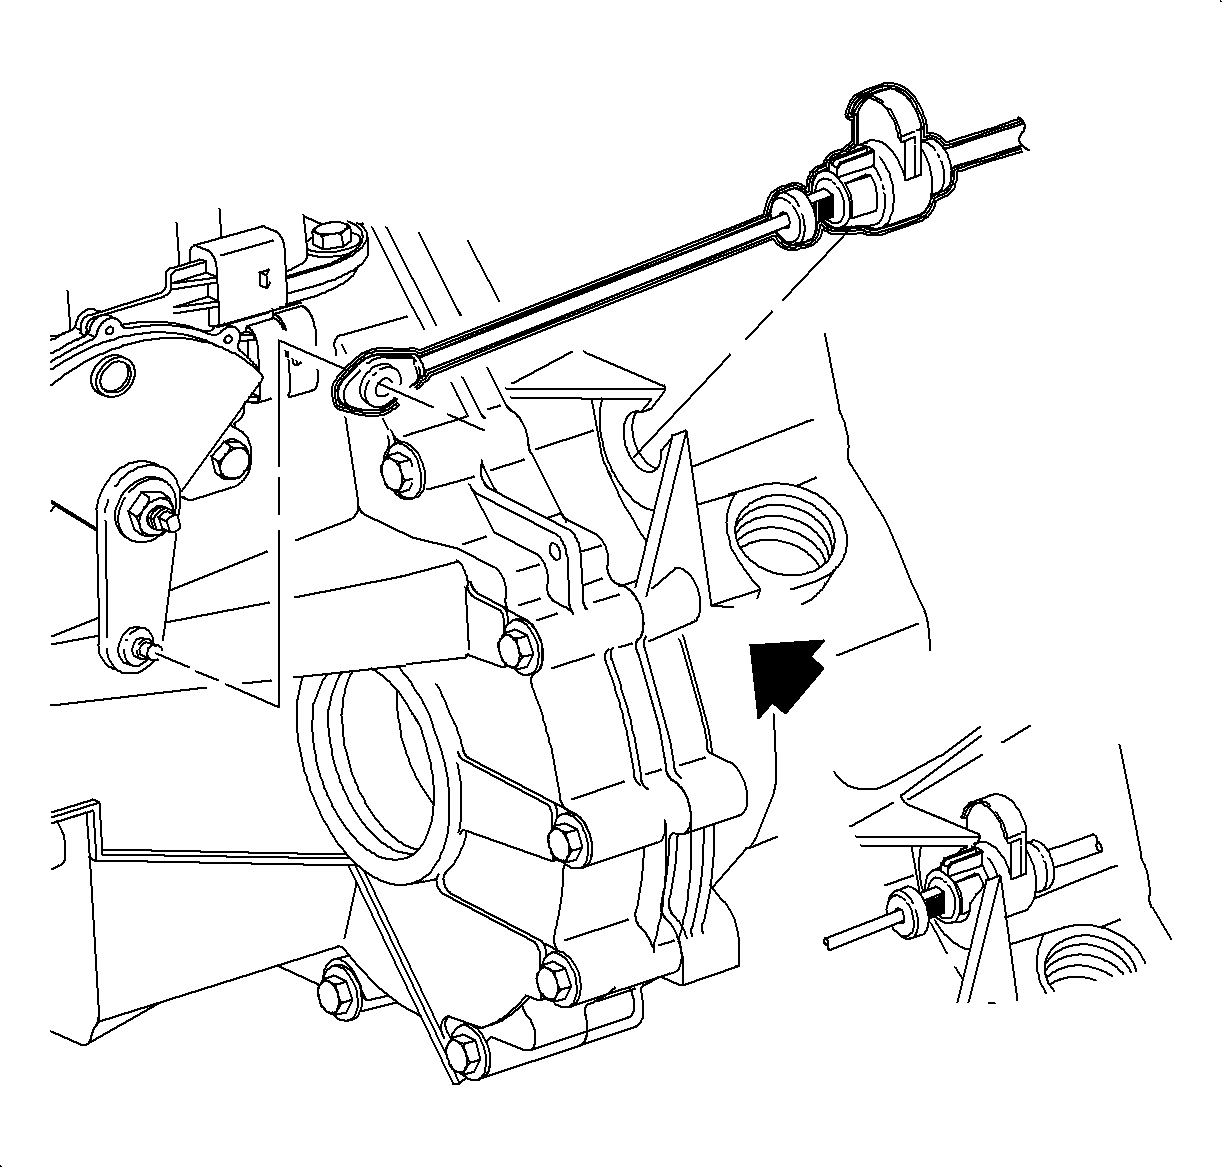
- Disconnect the control cable assembly from the control lever assembly.
- Carefully, press the 2 retaining tabs and remove the control cable assembly from the converter housing.
- Remove the console. Refer to Console Replacement in Instrument Panel, Gages and Console.
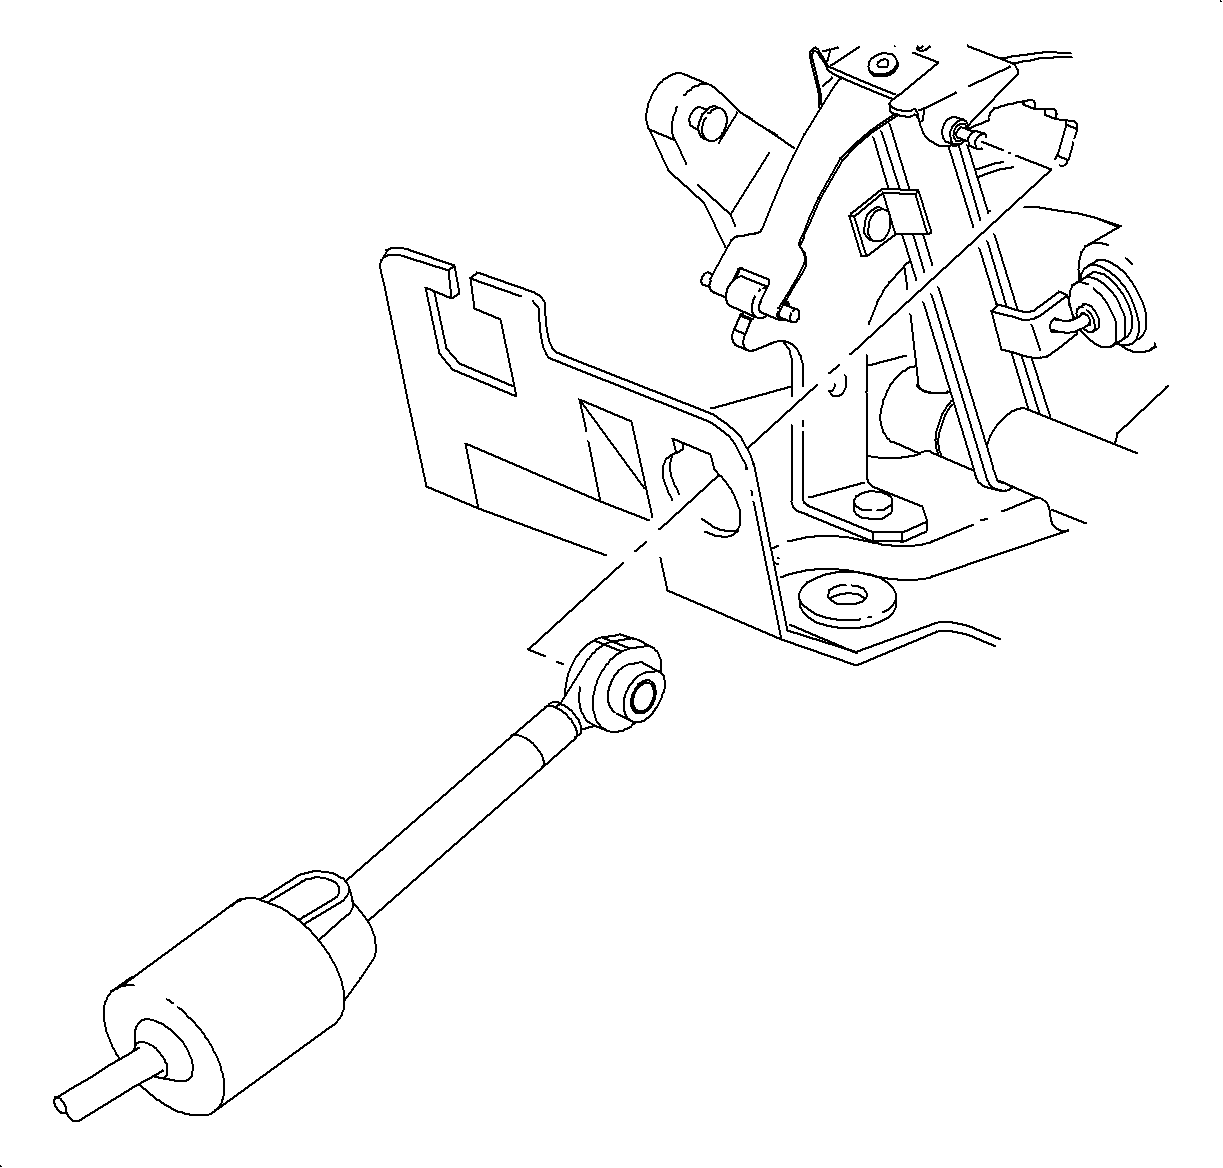
- Place the shifter in 2nd gear and disconnect the control cable end from the control base assembly lever.
- Depress the 2 tabs on the control cable housing and remove the control cable assembly from the control base assembly.
- Separate the carpeting at the front of the dash, under the control cable assembly.
- Remove the retainers, on both sides of the cable pass-through opening, holding the sound deadening material.
- Roll back the sound deadening material at the front of the dash to gain access to the cable pass-through grommet.
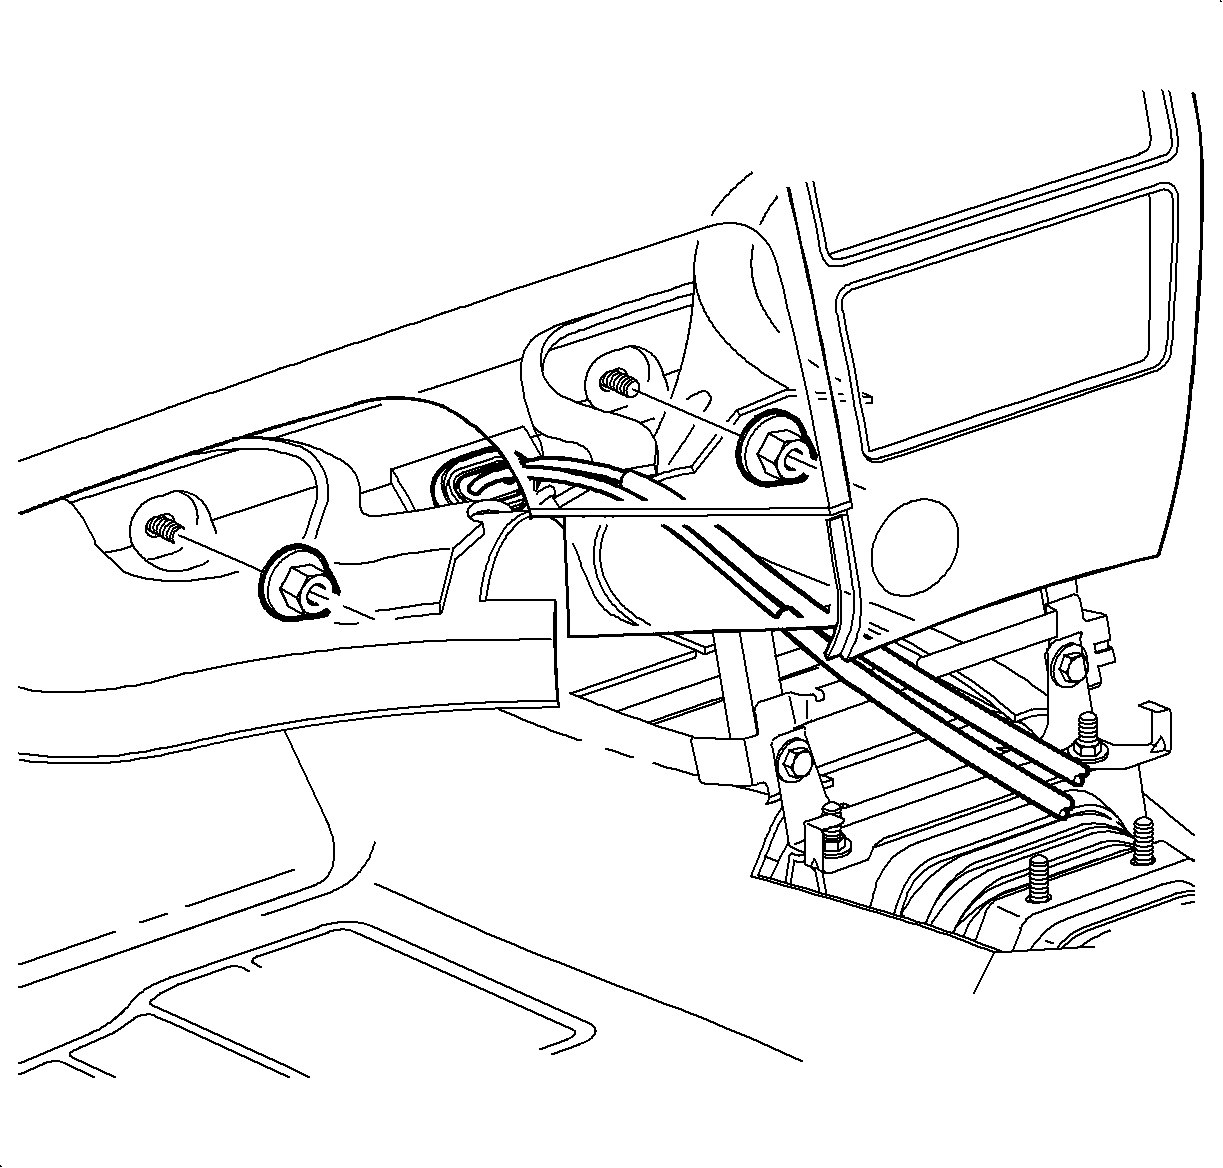
- Place a large flat-blade screwdriver against the driver's side of the cable pass-through grommet, as shown.
- Push the grommet toward the passenger side of the vehicle and outward to disengage the grommet from the floor pan, as indicated by the heavy arrow.
- Lift the vehicle. Refer to Lifting and Jacking the Vehicle in General Information.
- Remove the control cable and cable pass-through grommet from the outside of the vehicle.
Important: The carpet is held together by hook-and-loop fasteners.
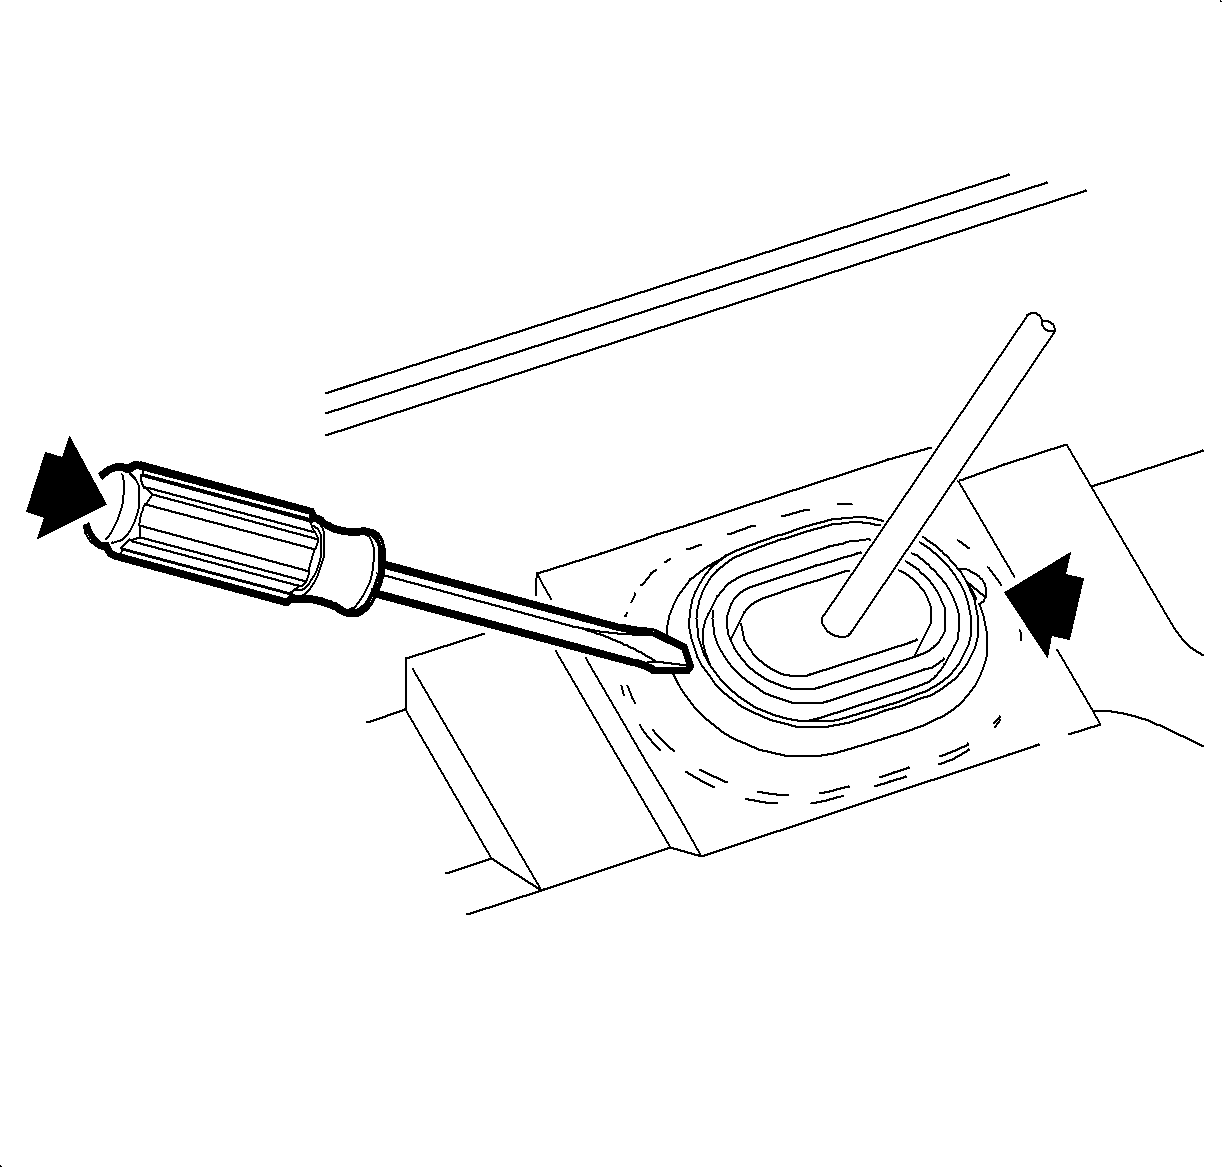
Notice: There is an extra retaining tab on the passenger side of the cable pass-through grommet (indicated by the thin arrow). Removing the grommet passenger side first may cause damage to the floor pan.
Caution: Refer to Vehicle Lifting Caution in the Preface section.
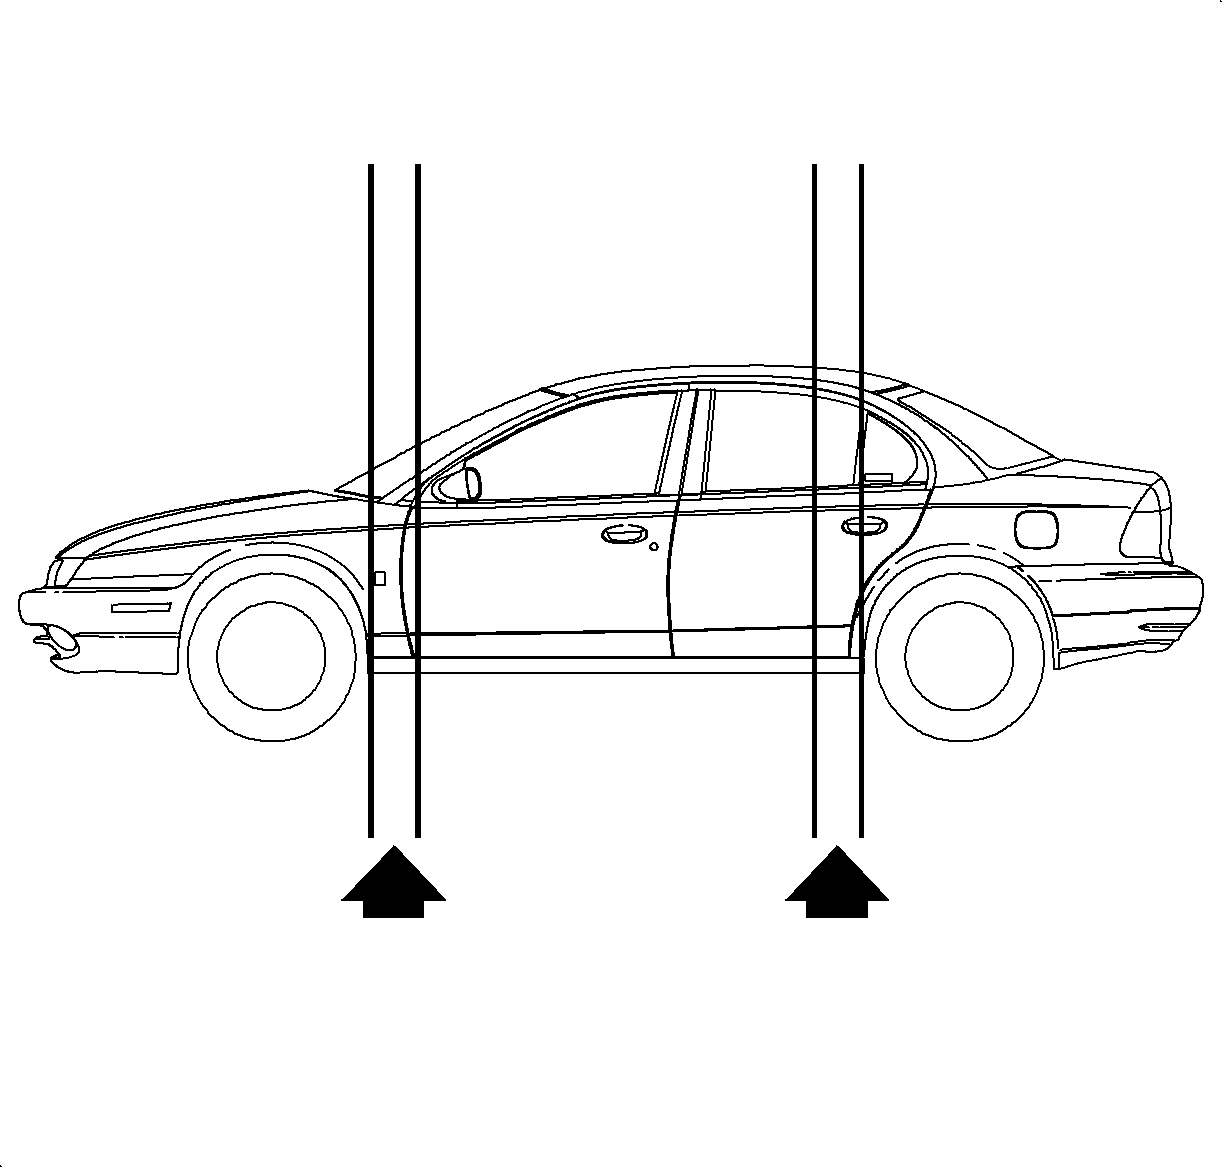
Important: When removing and installing the control cables, it is helpful to have a second person inside the vehicle to guide the cables and prevent them from being tangled.
Installation Procedure
- Guide the control cable assembly through the cable pass-through hole in the floor pan.
- Insert the cable pass-through grommet into the cable pass-through hole in the floor pan, engaging the passenger side of the grommet first. Snap the driver's side of the grommet into place by pressing inward and toward the passenger side of the vehicle.
- Lower the vehicle.
- Connect the control cable end to the control base assembly.
- Install the control cable housing to the control base assembly.
- Replace the sound deadening material and re-secure to the form of the dash.
- Replace the carpeting.
- Install the console. Refer to Console Replacement in Instrument Panel, Gages, and Console.
- Install the control cable into the converter housing. Make sure both tabs snap into the housing.
- Connect the control cable to the control lever.
- Install the air cleaner and duct assembly. Refer to Air Cleaner Housing and Duct Assembly Replacement in HVAC.
- Enable the SIR system. Refer to Enabling the SIR System in SIR.
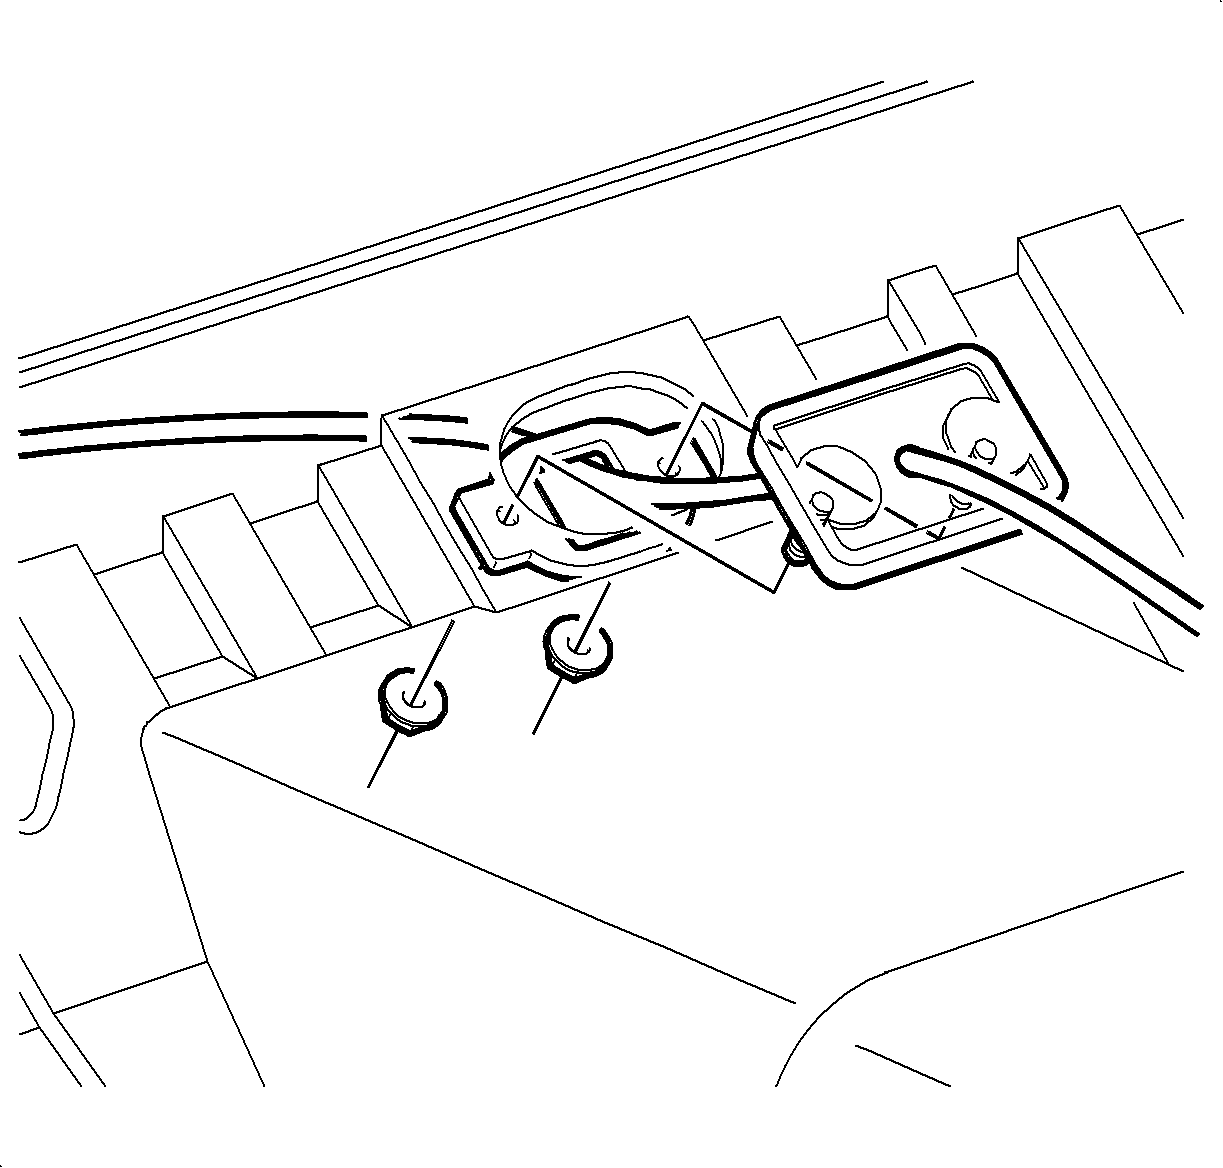
Important: All service replacement control cables will have the bolt-in type pass-through grommet.
Important: The bolt-in type cable pass-through grommet is installed from the inside of the vehicle.


